How to Wear the Tracker
Tundra Tracker
1 | Remove the Tracker Base Plate
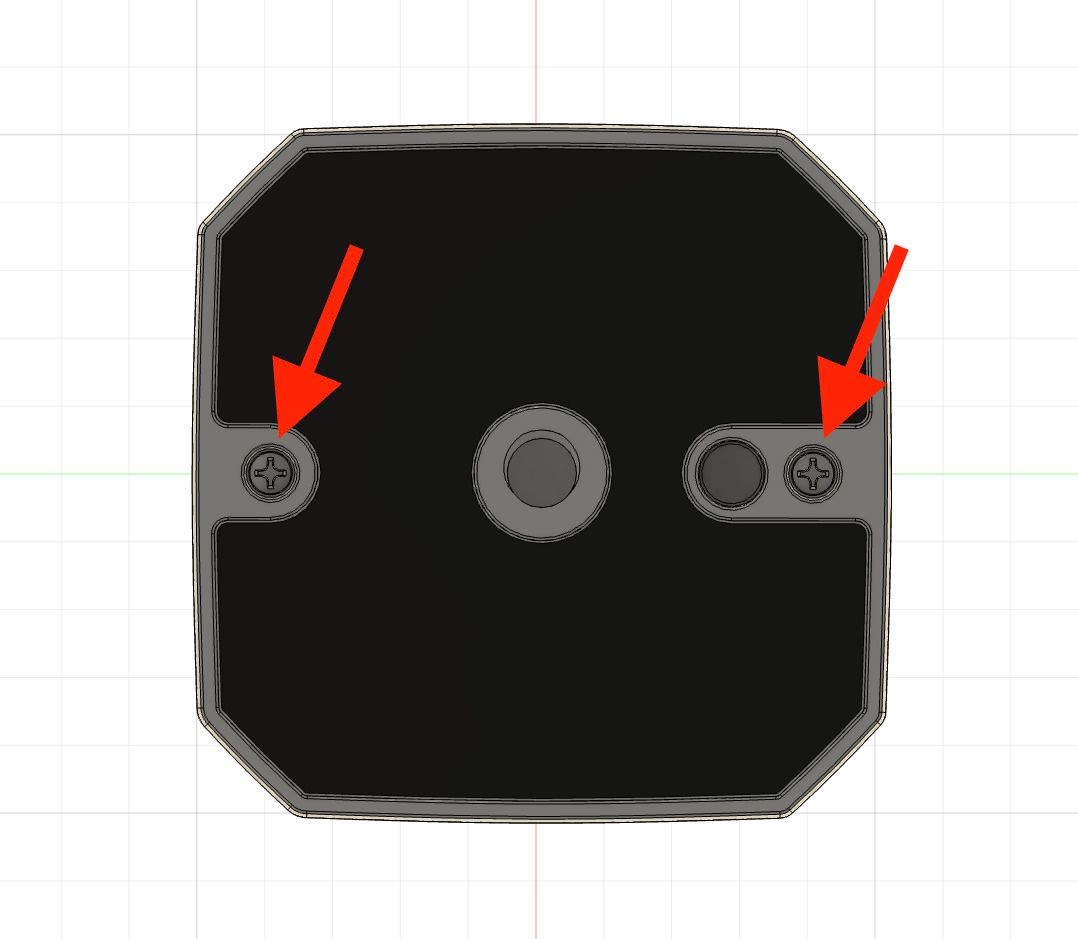
Remove the two screws securing the base plate. Be careful not to lose them.
2 | Attach the Adapter
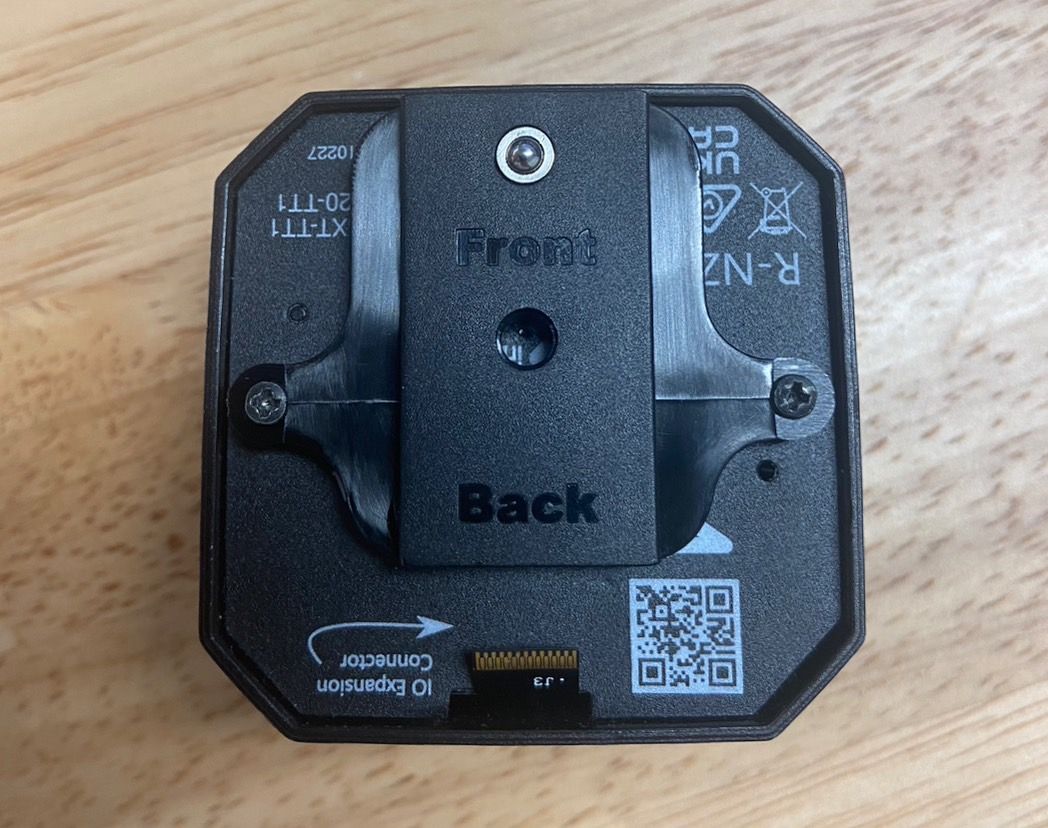
Take out the Tundra Tracker mounting adapter from the case and attach it to the tracker using the screws you just removed.
Make sure to align the orientation as shown in the image above.
VIVE Tracker (2018 / 3.0)
1 | Attach the Adapter
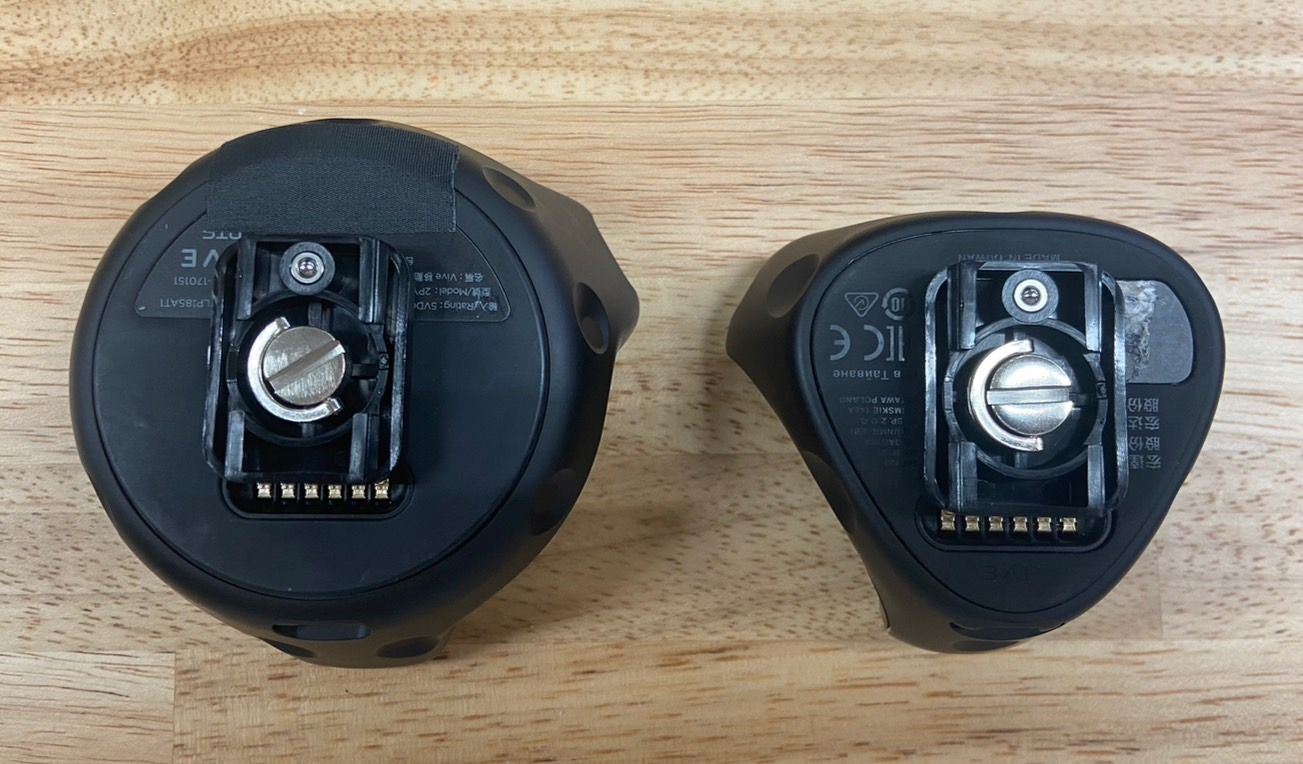
Take out the VIVE Tracker mounting adapter from the case and attach it using the included screws as shown in the image.
VIVE Tracker (Ultimate)
Requires Additional Parts
- Purchase the adapter for VIVE Tracker (Ultimate) separately. Please purchase the Universal Mounting Adapter for Ultimate Tracker for CG2.
- Not compatible with ContactGlove1 adapters. The dedicated mount for ContactGlove2 has "CG2" engraved on the slider section (bottom).
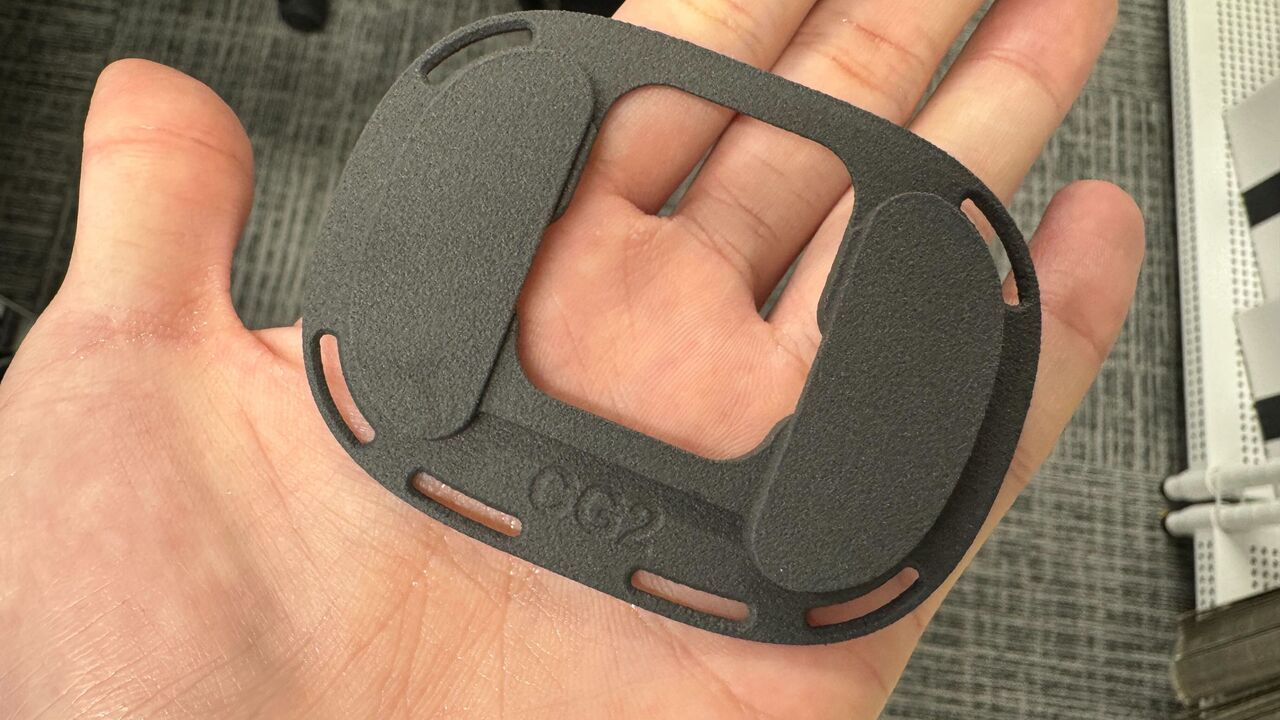
1 | Prepare the Following
- Universal Mounting Adapter for Ultimate Tracker (CG2 version)
- Tundra Tracker adapter (included with ContactGlove2)
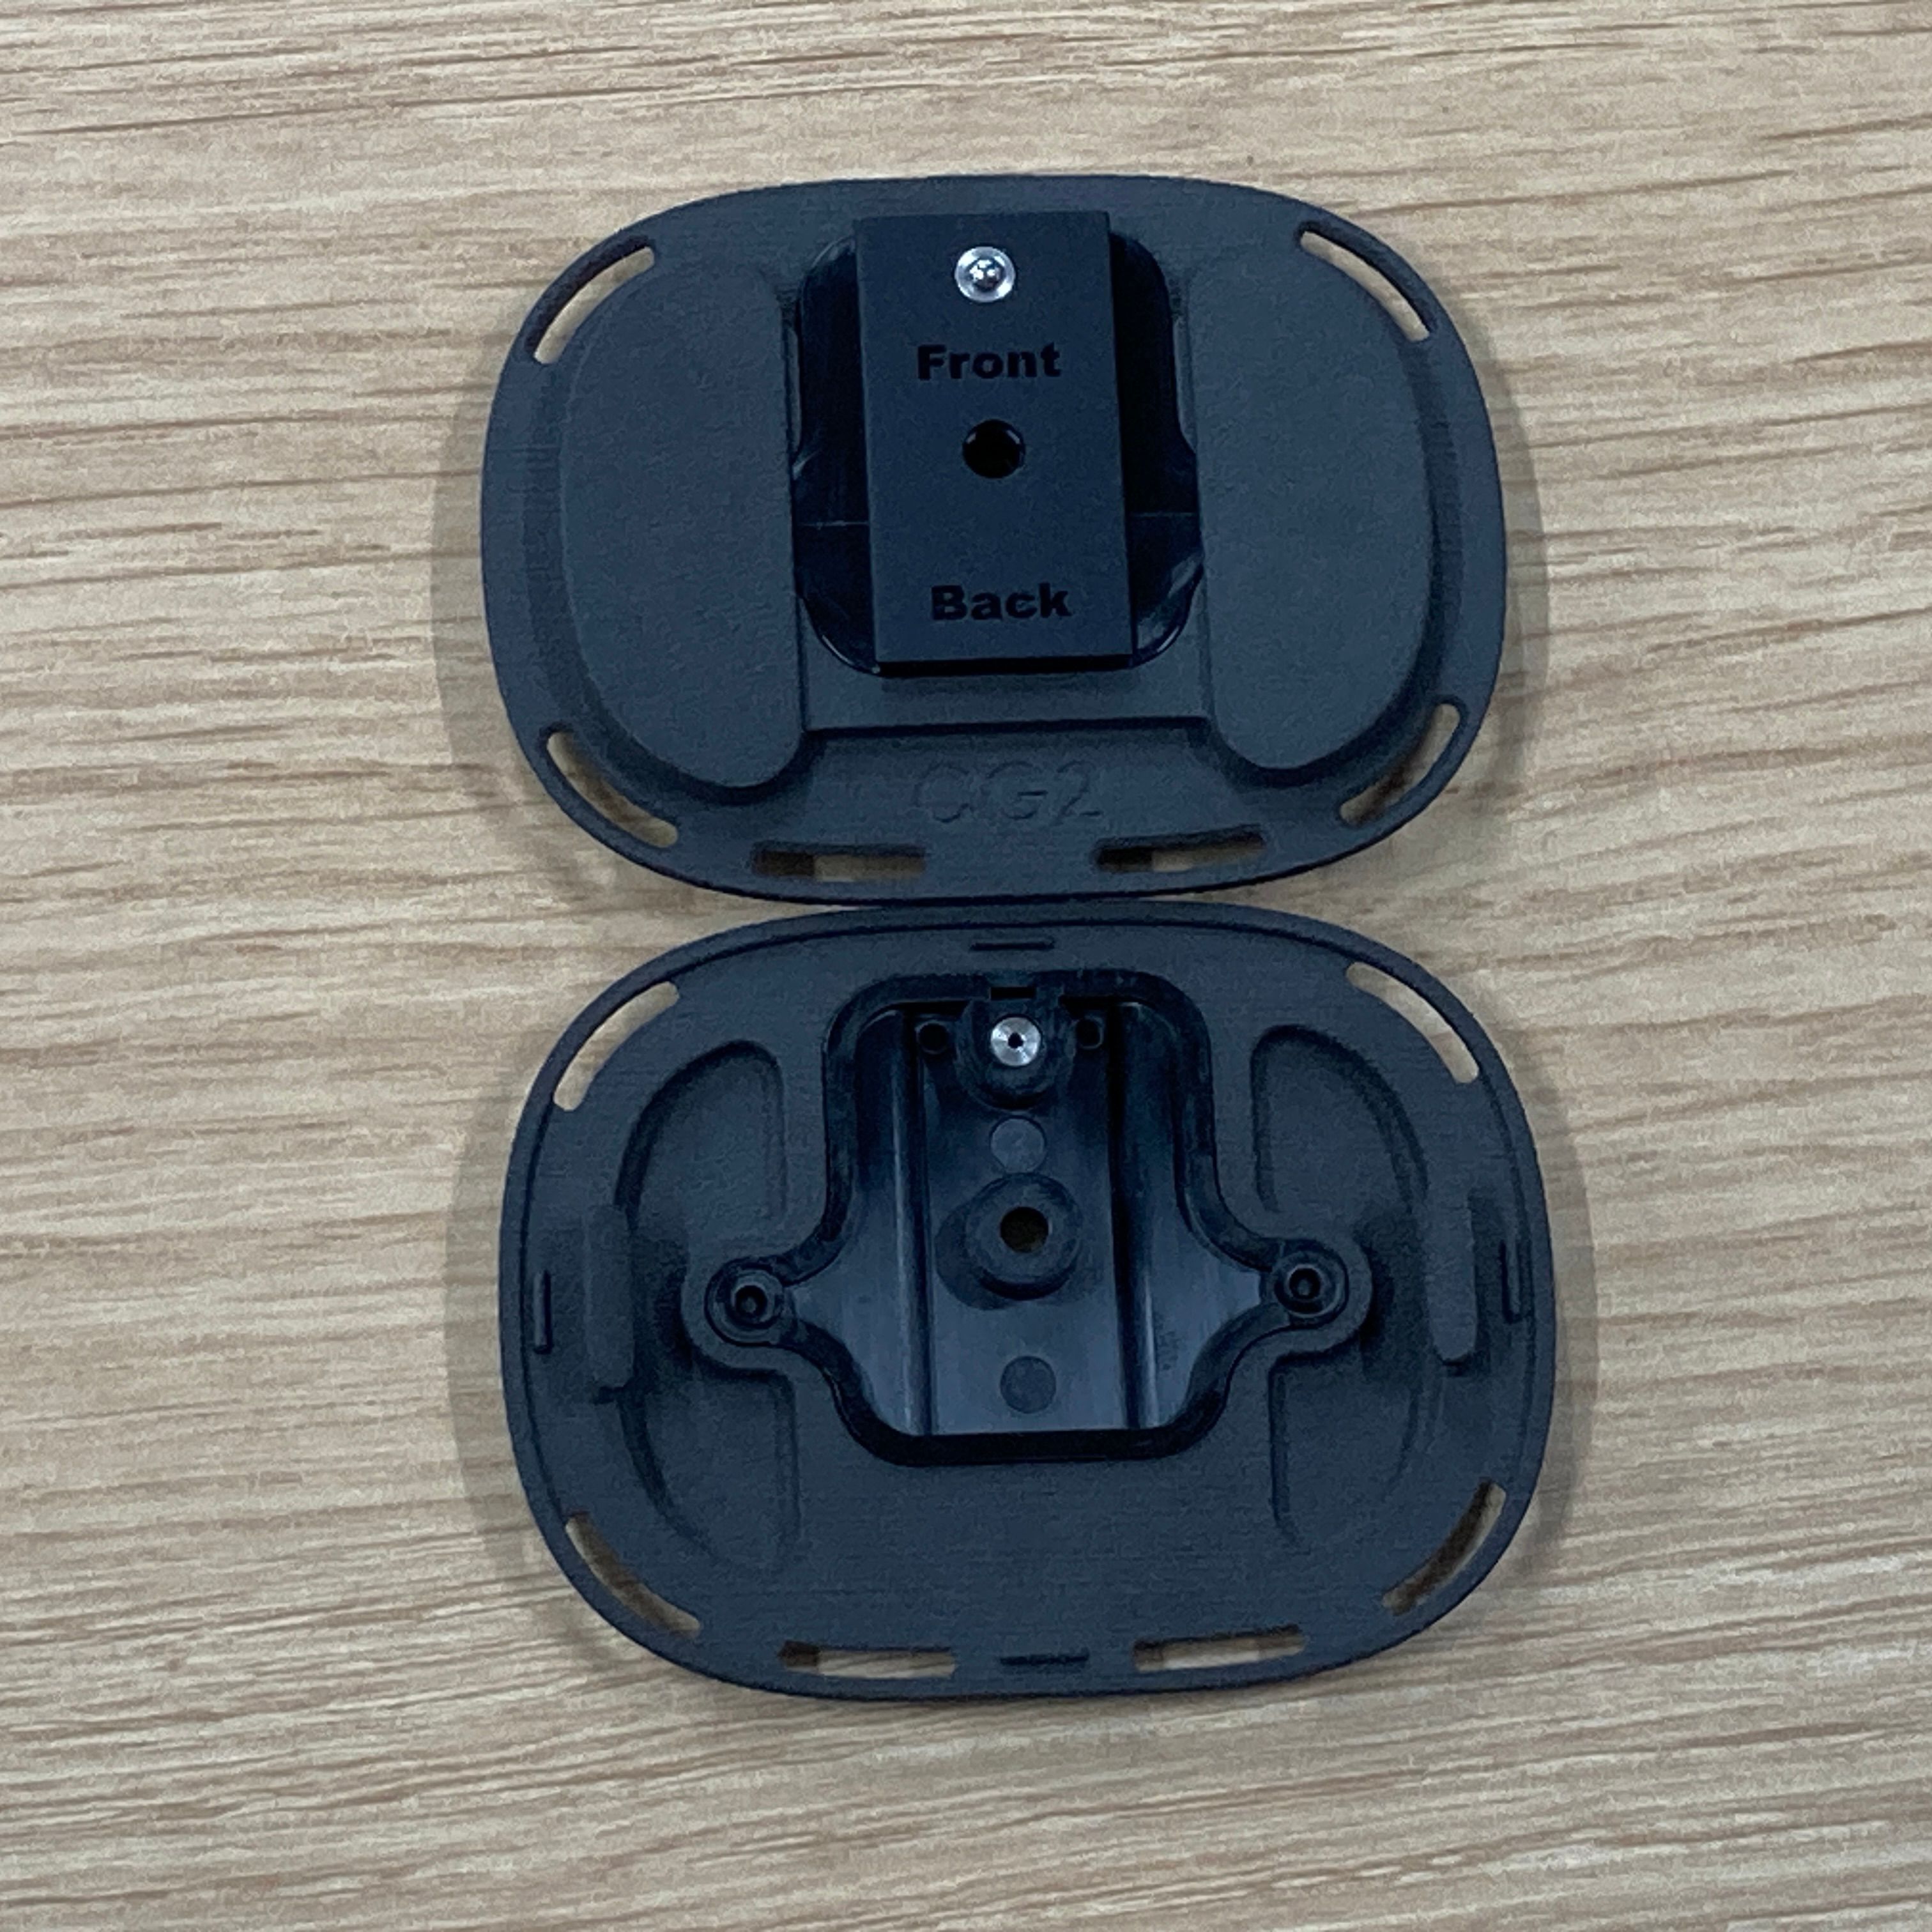
2 | Attach the Tundra Adapter to the Ultimate Adapter
Firmly insert the Tundra adapter into the side of the Ultimate adapter without engraving, oriented as shown.
3 | Attach the Combined Mount to the Tracker
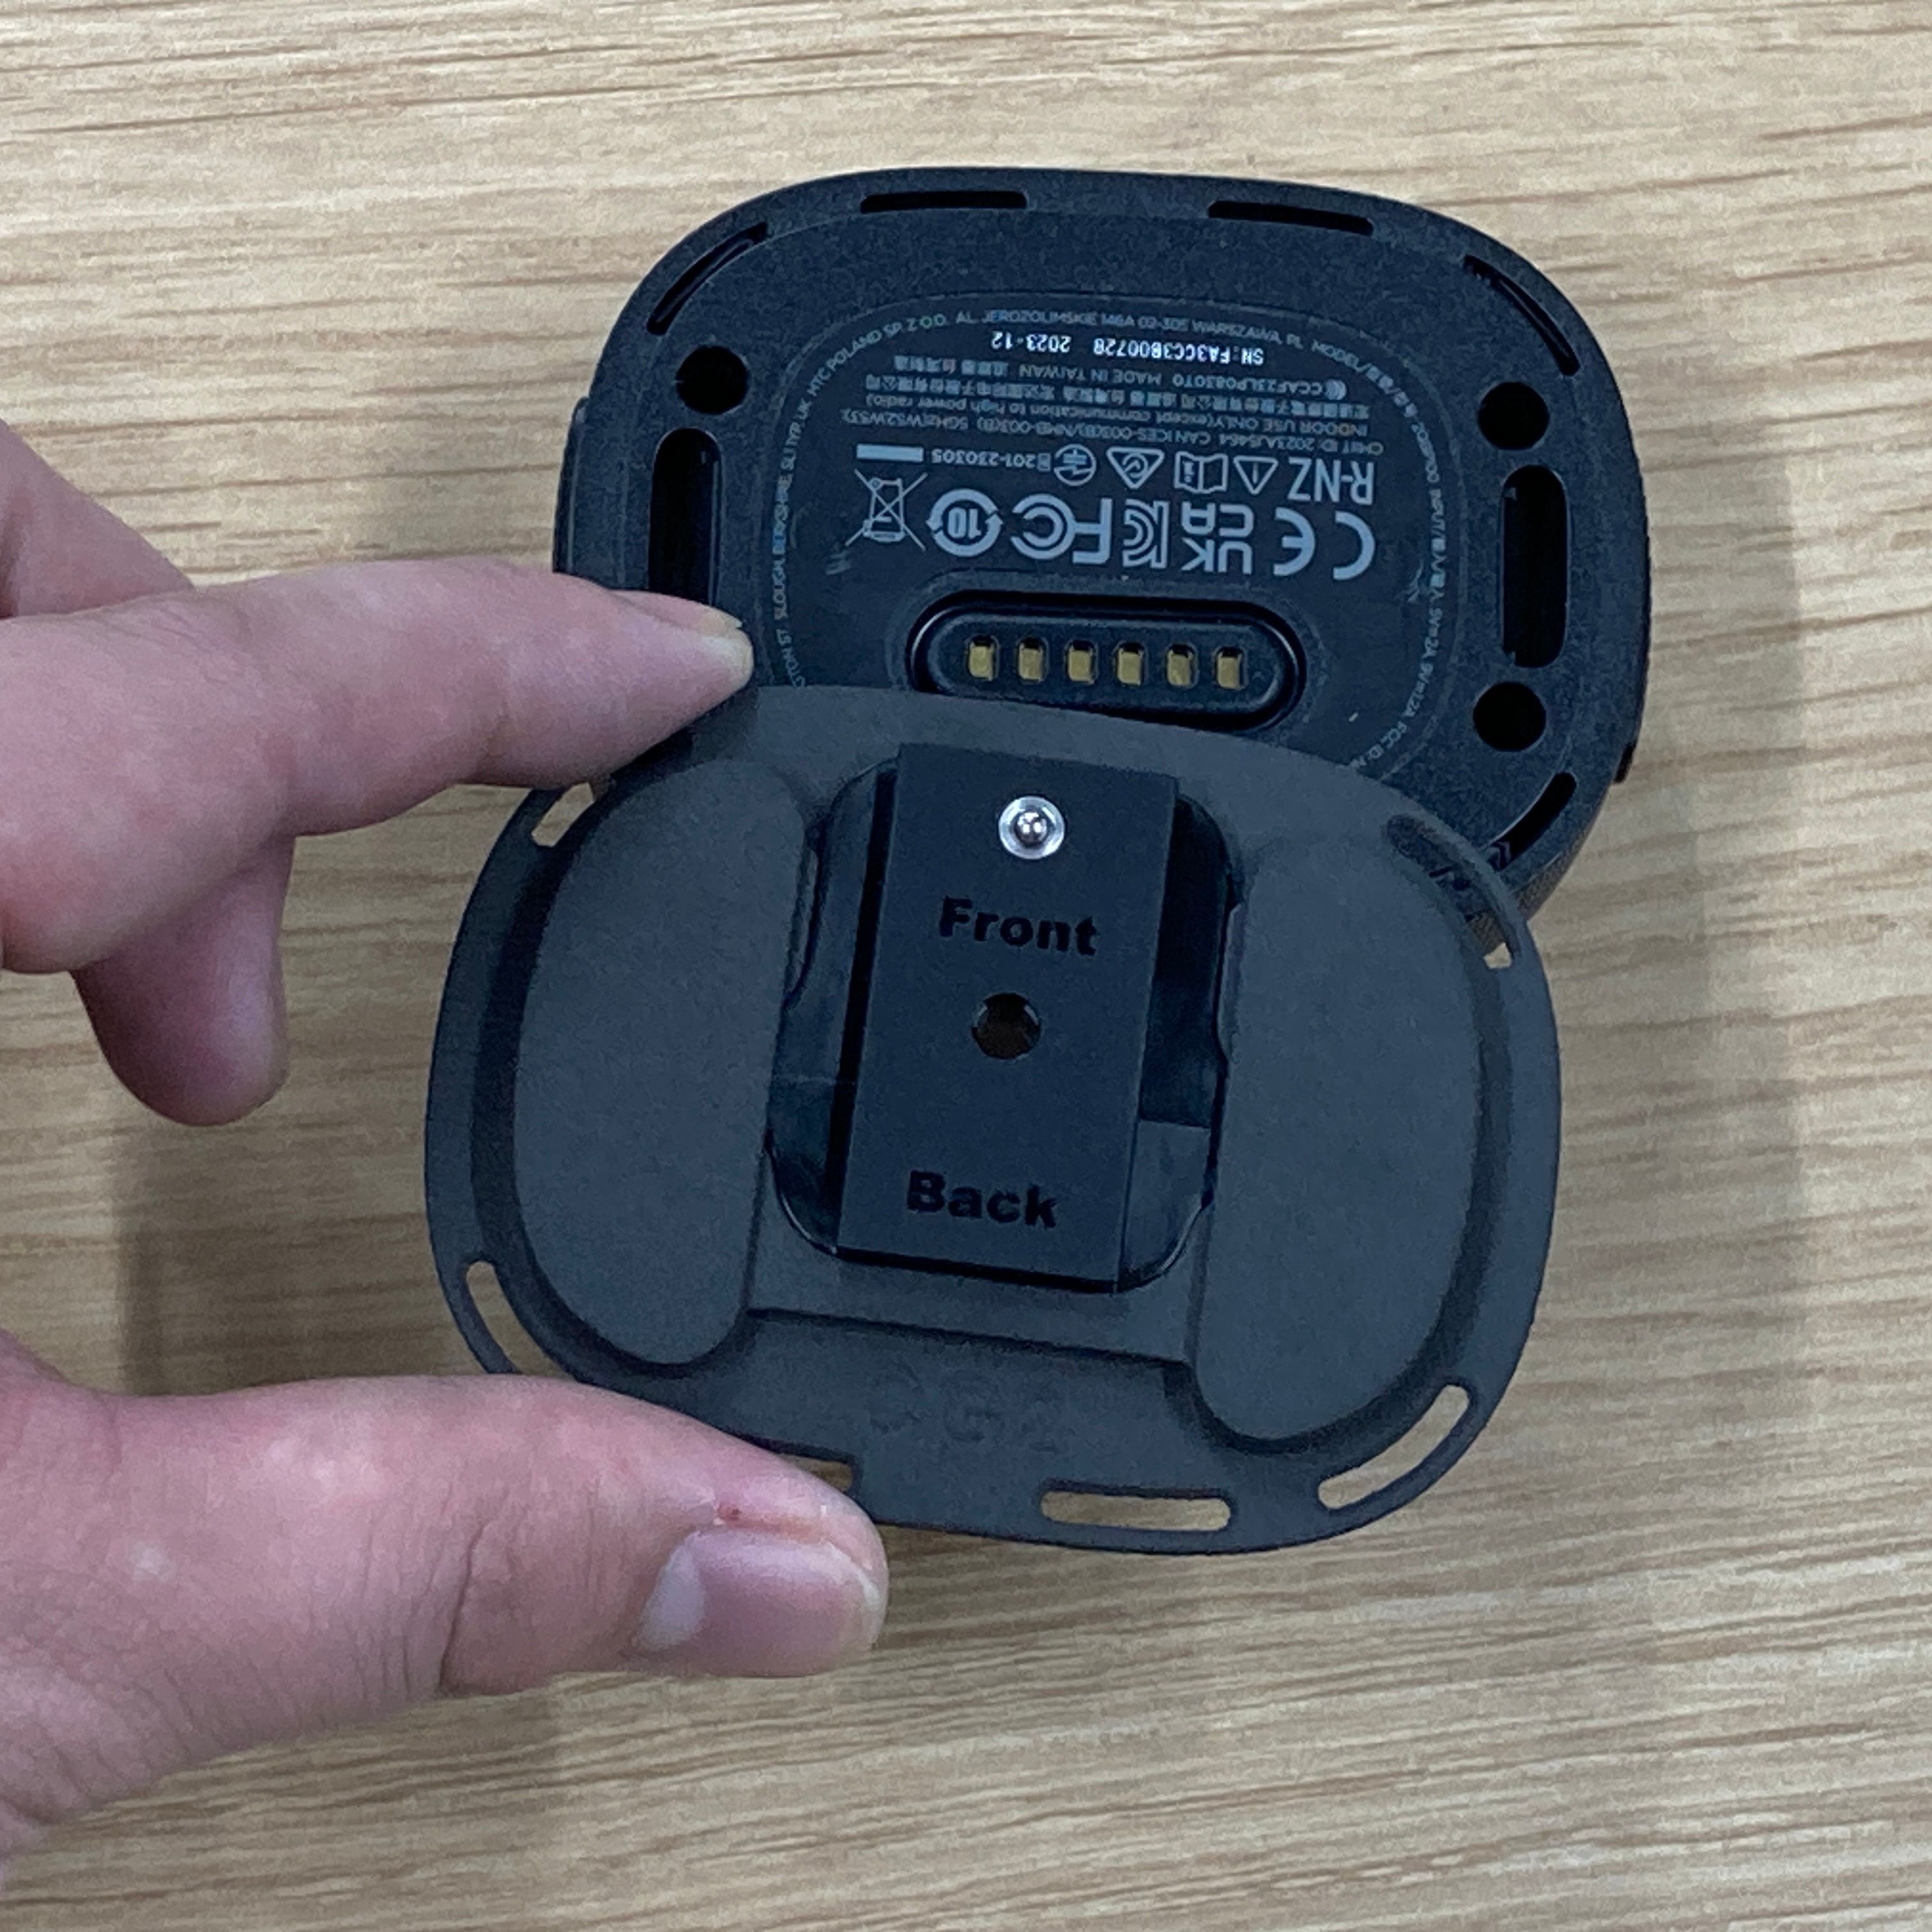
Align the two clips of the mount with the holes on the bottom of the tracker and press until you hear a click.
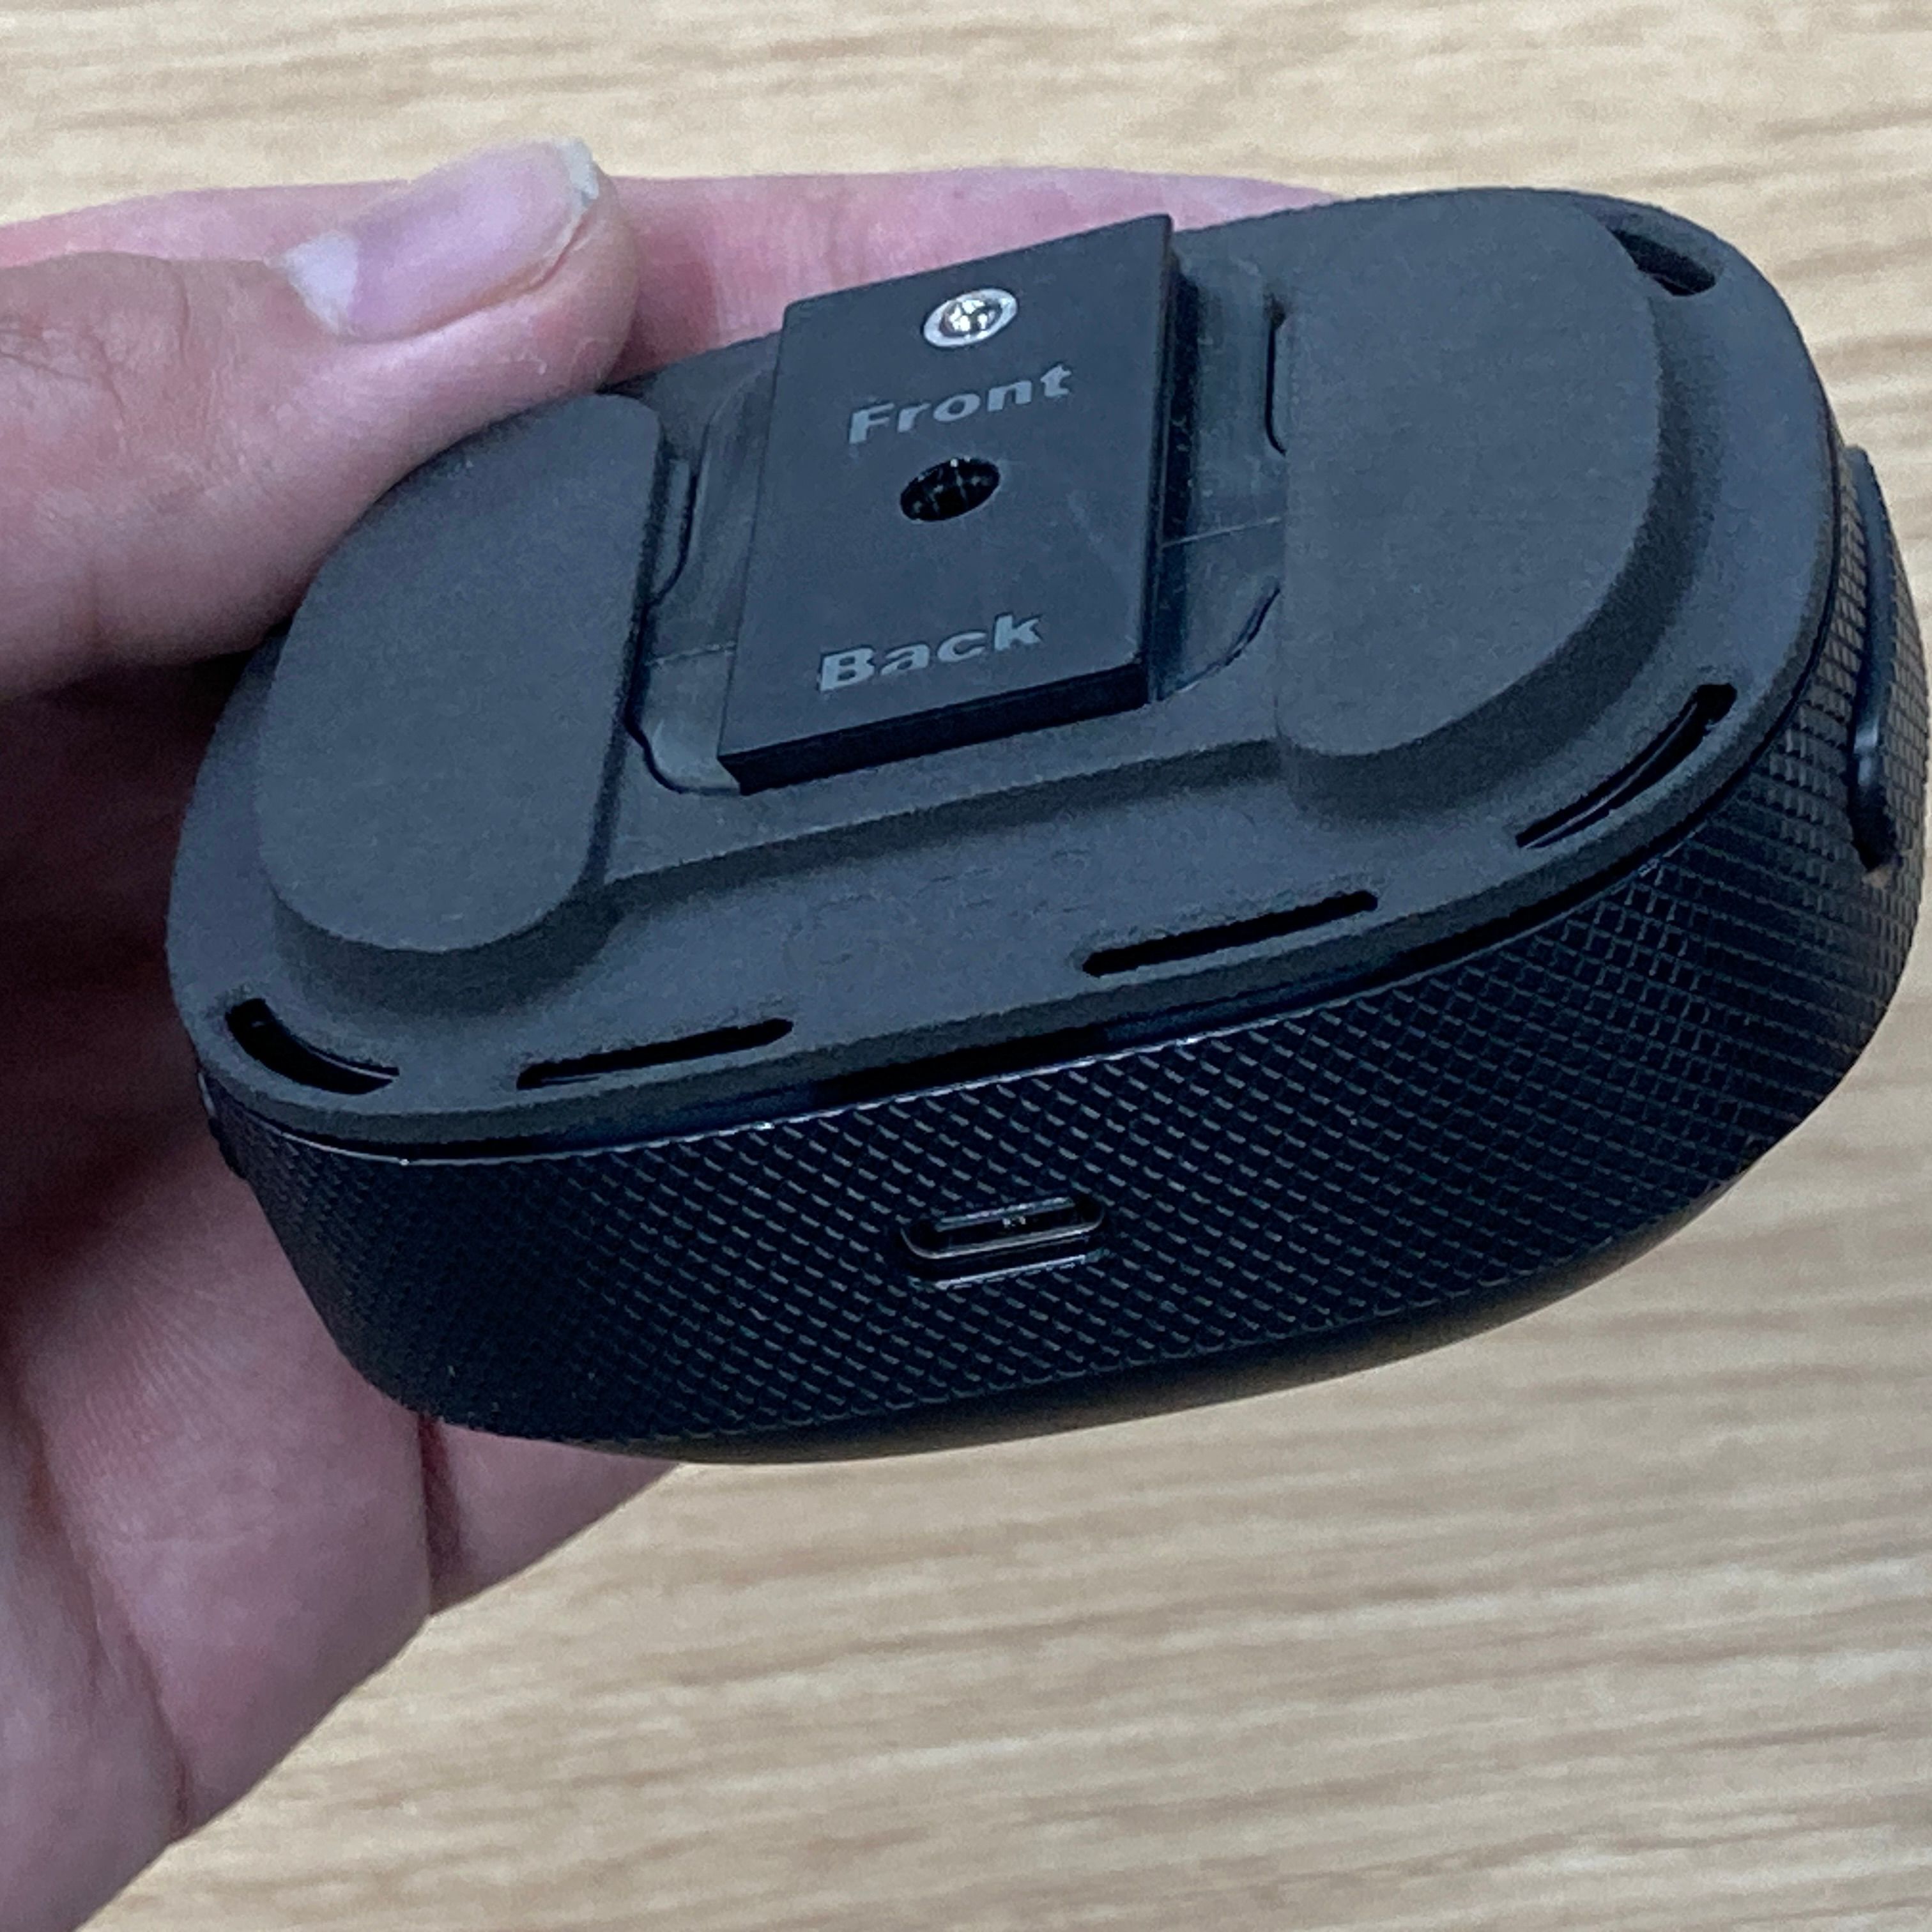
Make sure the orientation of the mount and tracker matches the image.
Quest Controllers (3 / 3S / Pro)
0 | About the Quest Controller Adapter
This adapter allows you to mount Quest 3/3S/Pro controllers to ContactGlove2.
It is compatible with all three models.
⚠️ Not compatible with Quest 2 controllers.
Purchase the adapter here
You can use Quest controllers as trackers, just like other trackers, by configuring them in DivingStation.
⚠️ SteamVR environment is required.
1 | Replace the Battery Cover with the Original One
If you're using a third-party strap or battery cover, replace it with the original one.
⚠️ Third-party straps cannot be used.
⚠️ For Quest Pro, do not use with silicone covers attached.
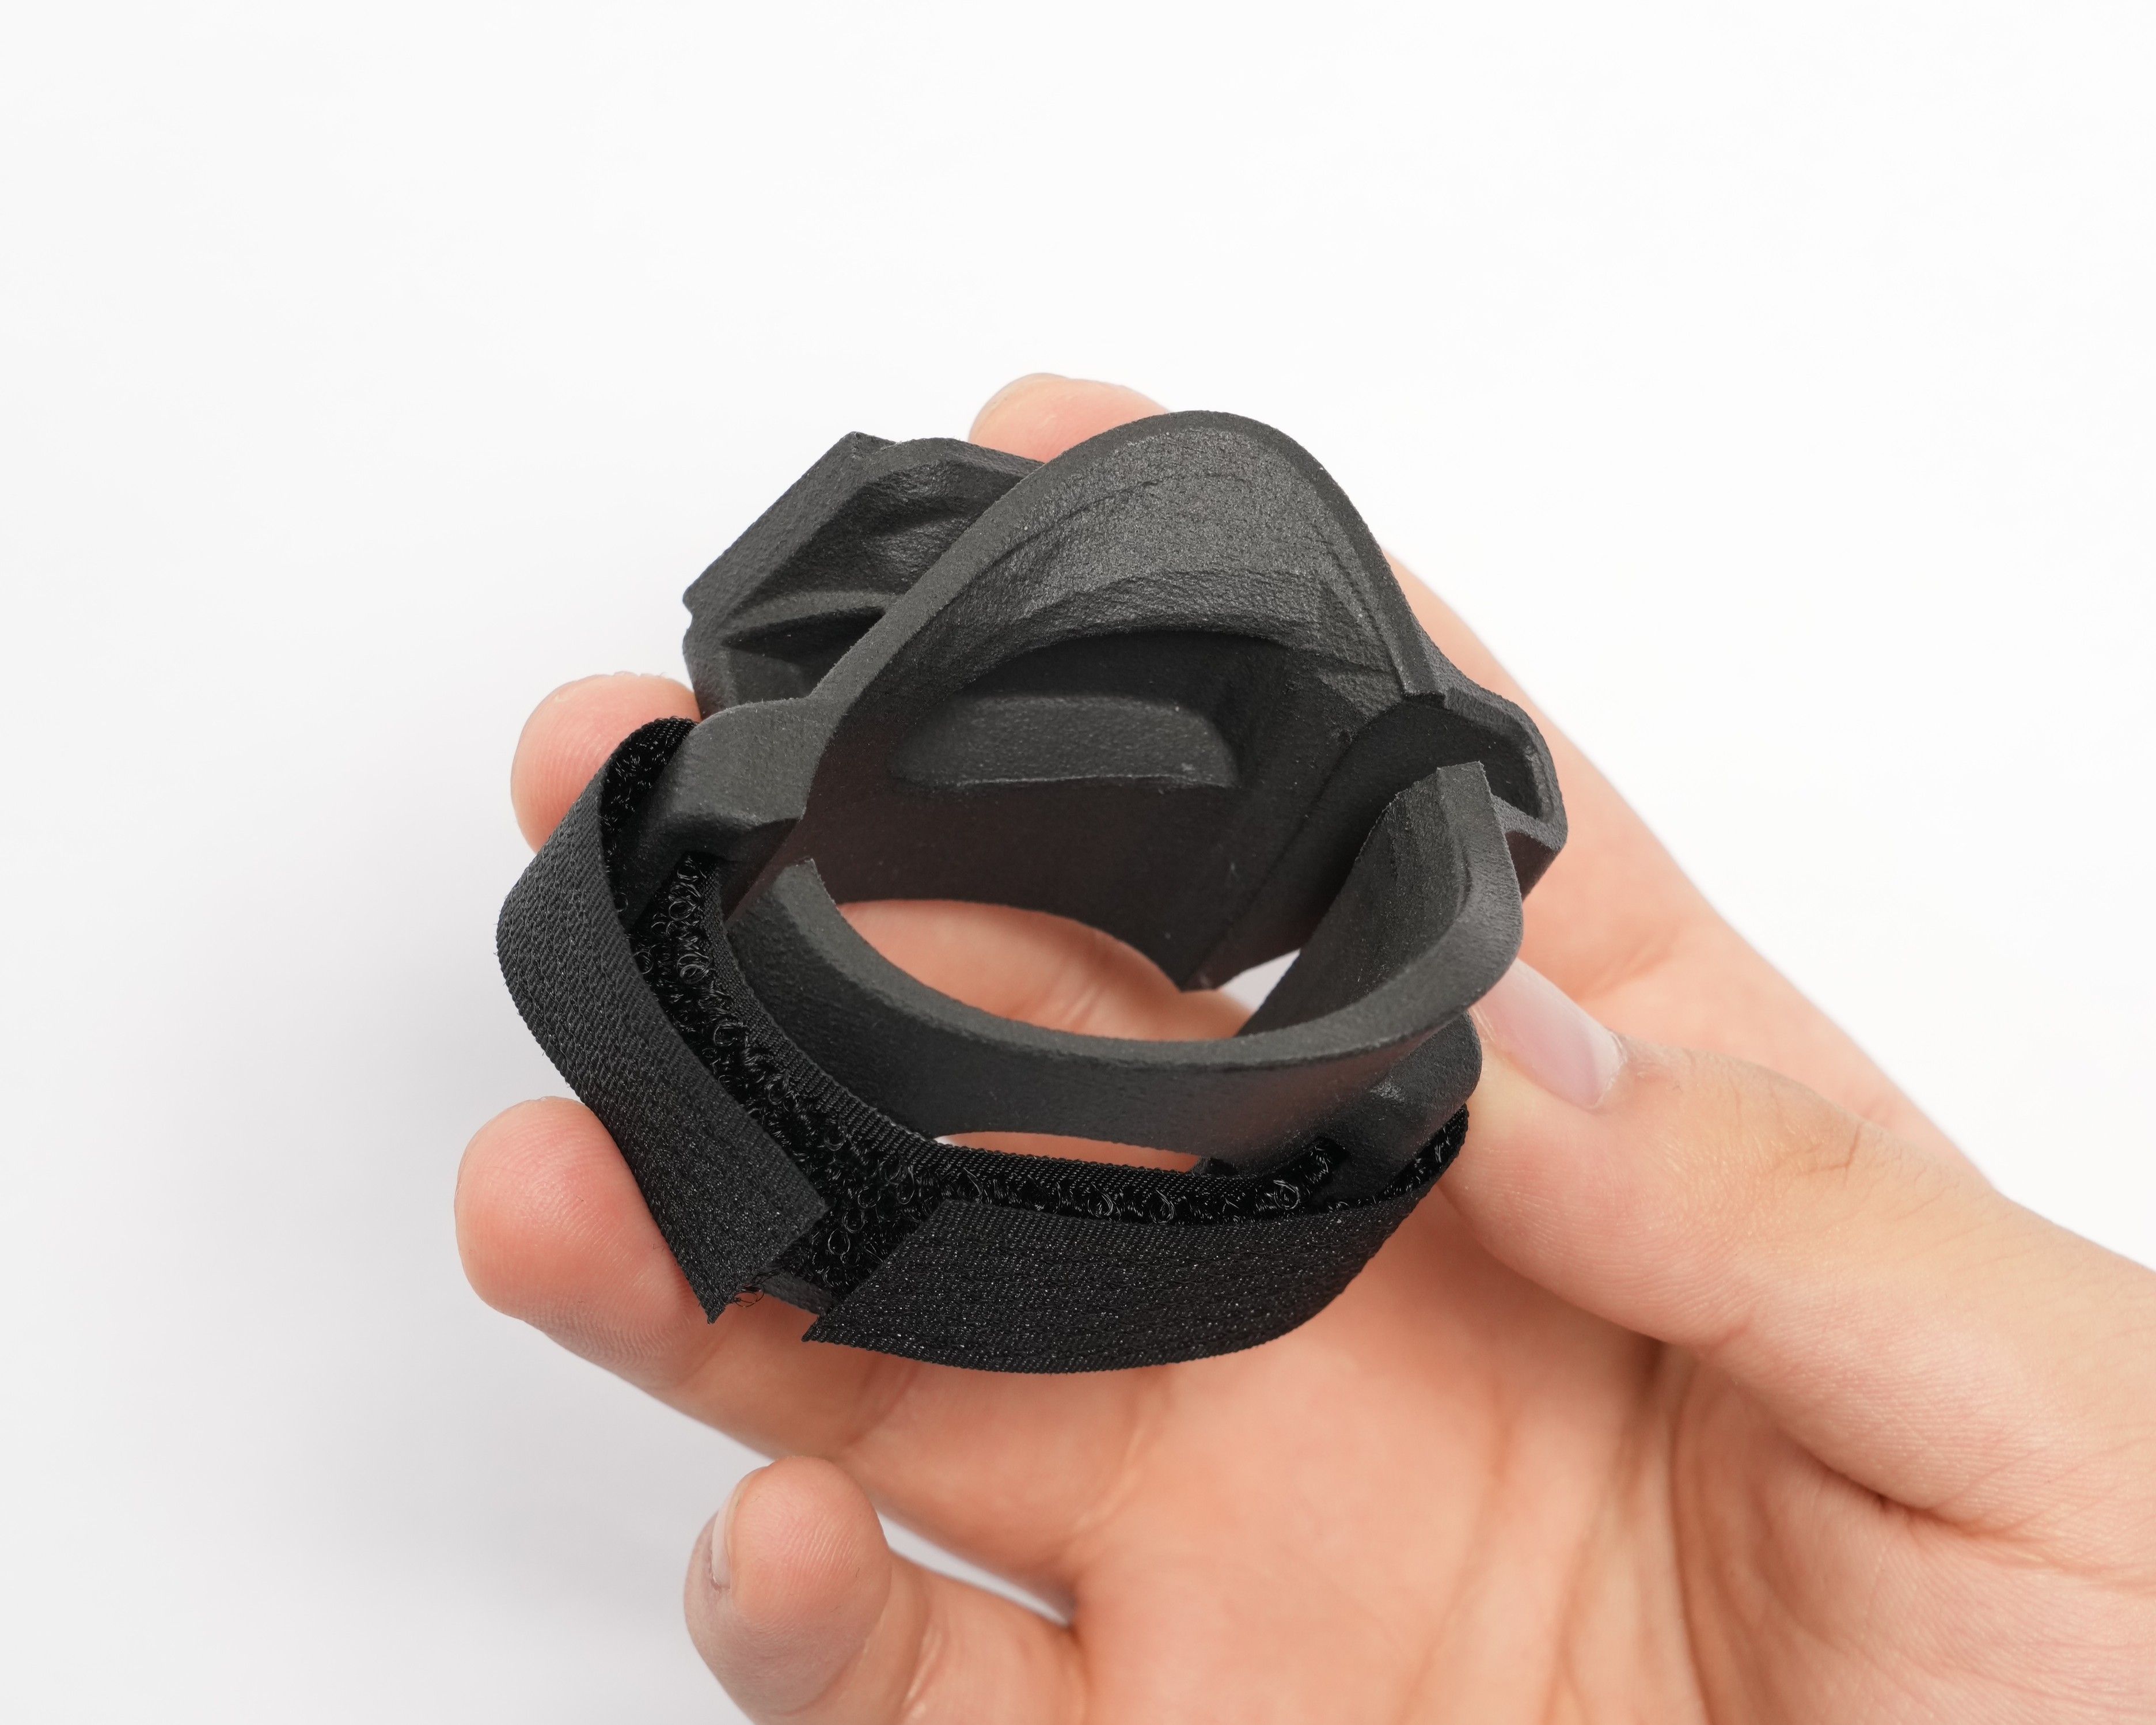
2 | Insert the Controller into the Mount
Insert the controller from the top of the mount.
Make sure the grip button and the mount’s indentation align properly.
| Mount Indentation | Controller Orientation |
|---|---|
 | 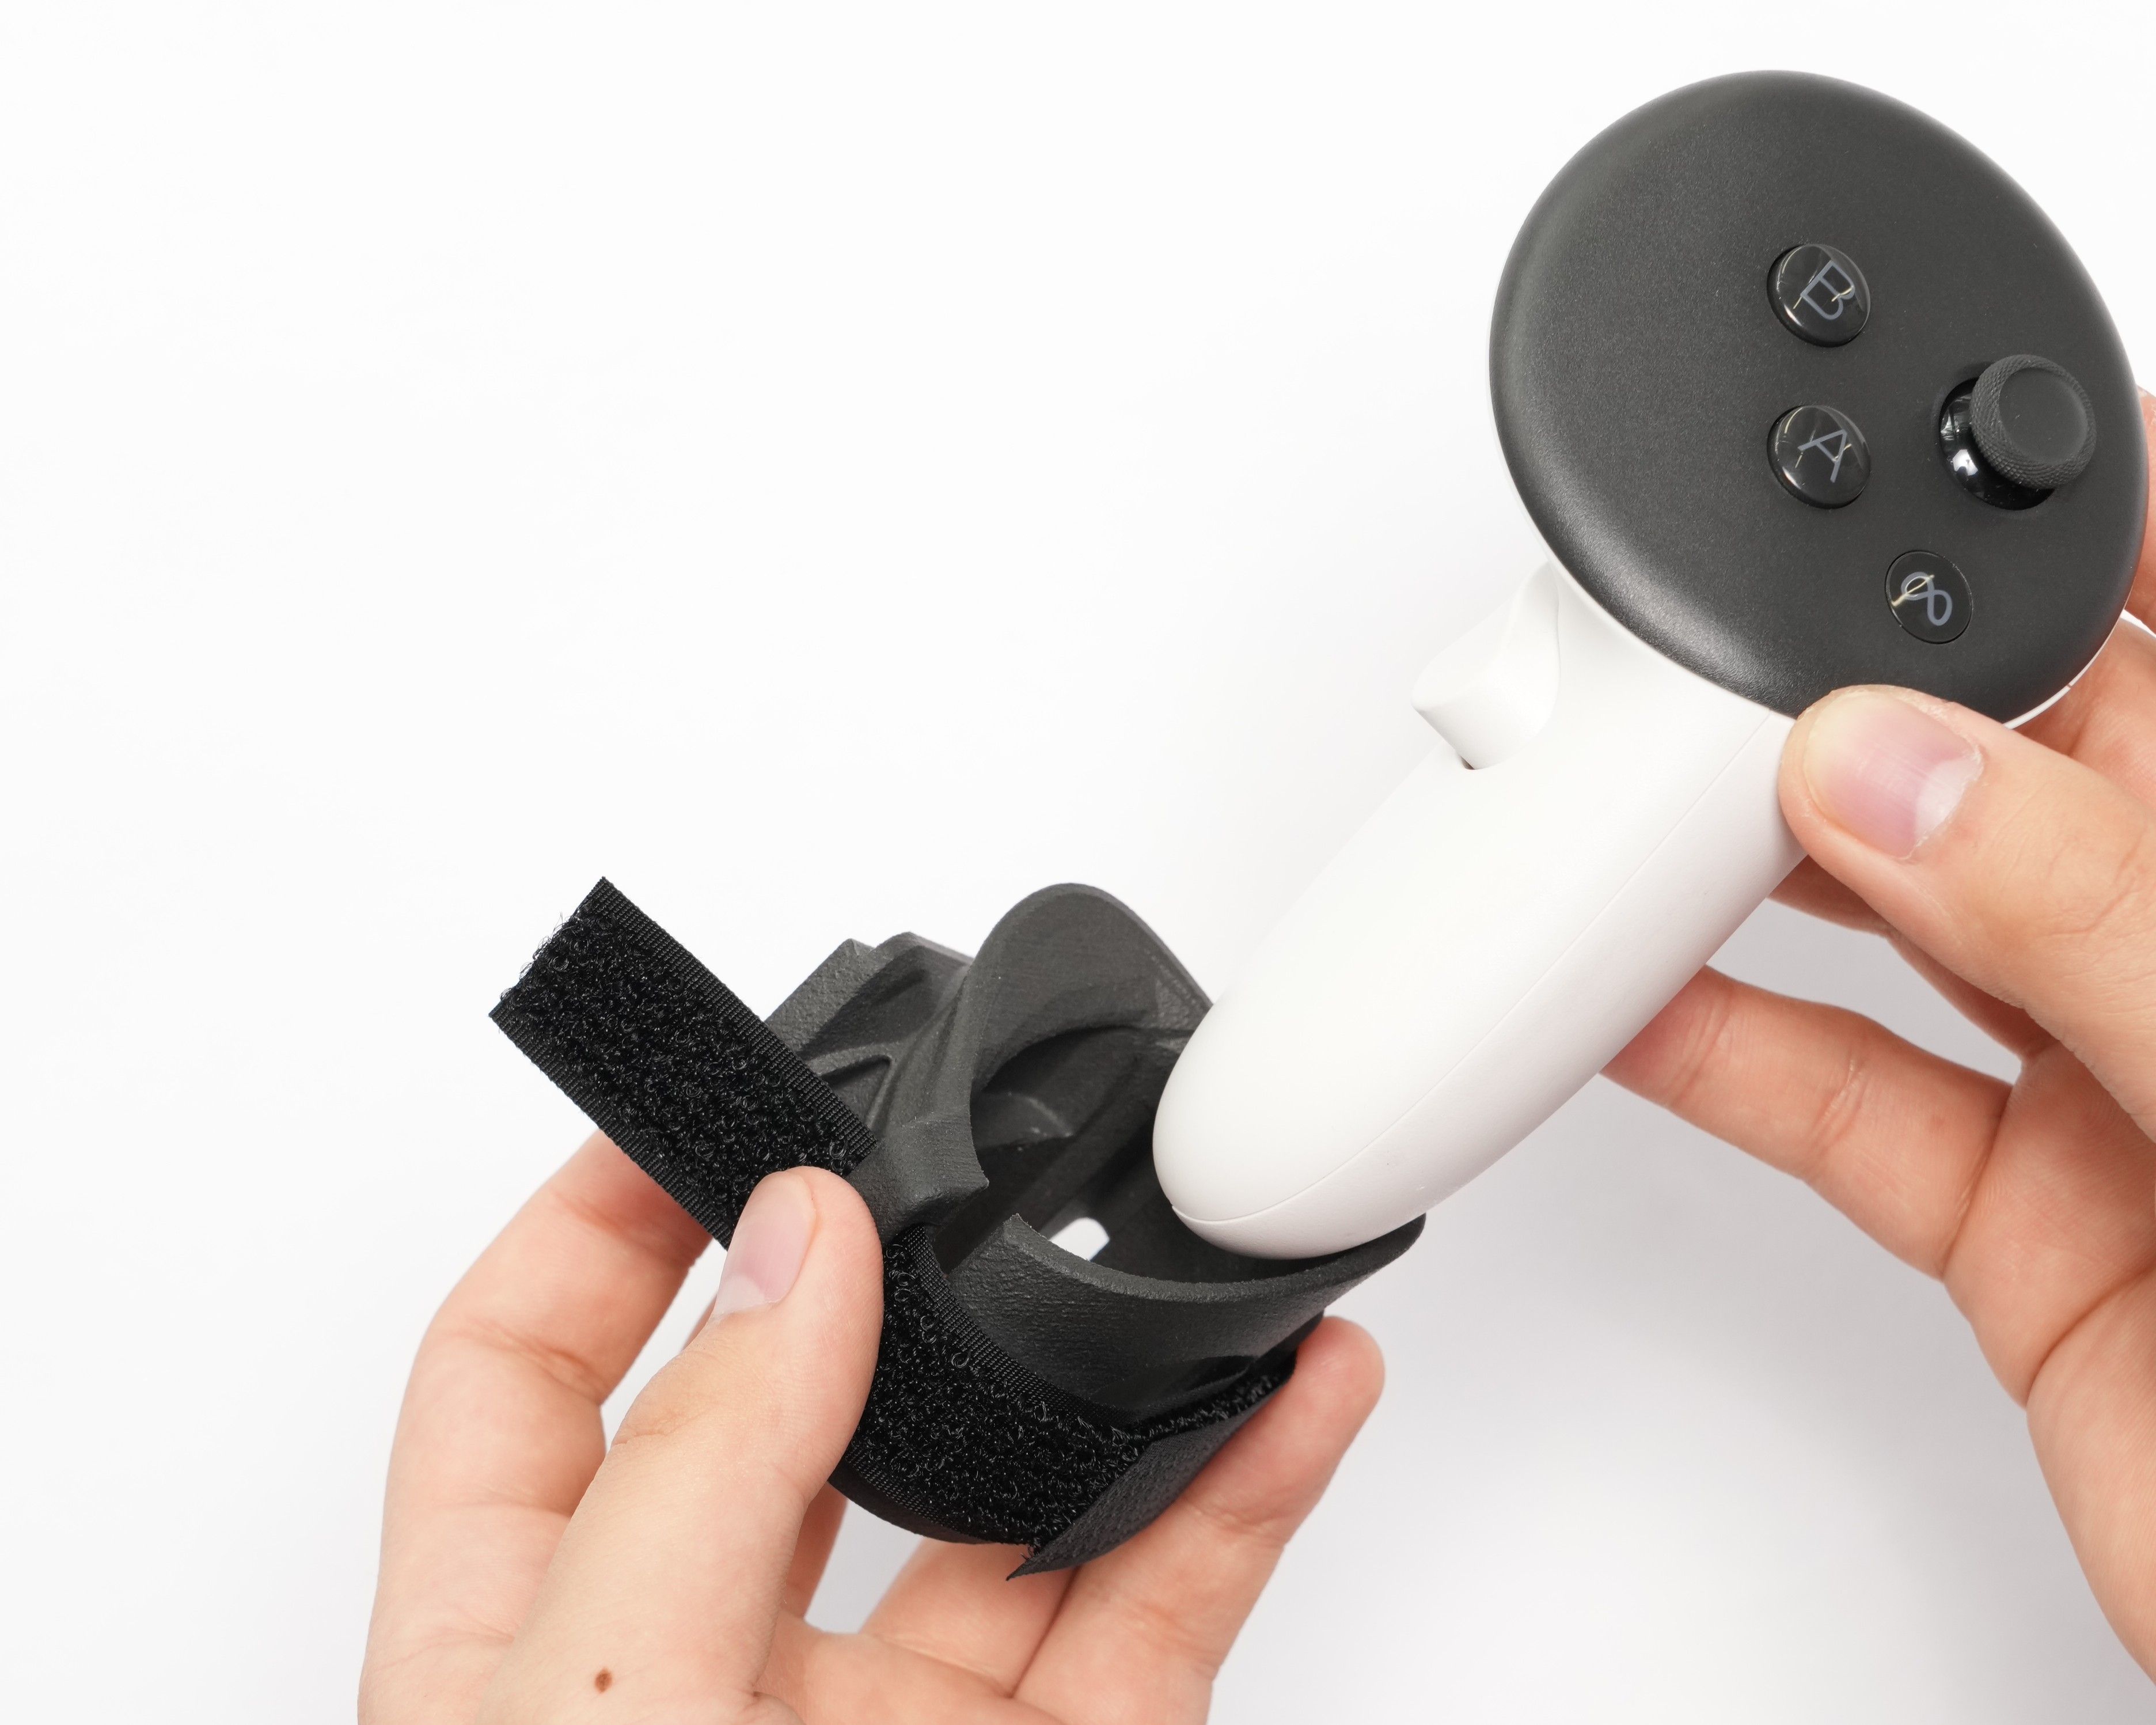 |
⚠️ Do not forcefully spread the mount — it may break.
| Once fully inserted, secure the Velcro strap tightly. |
|---|
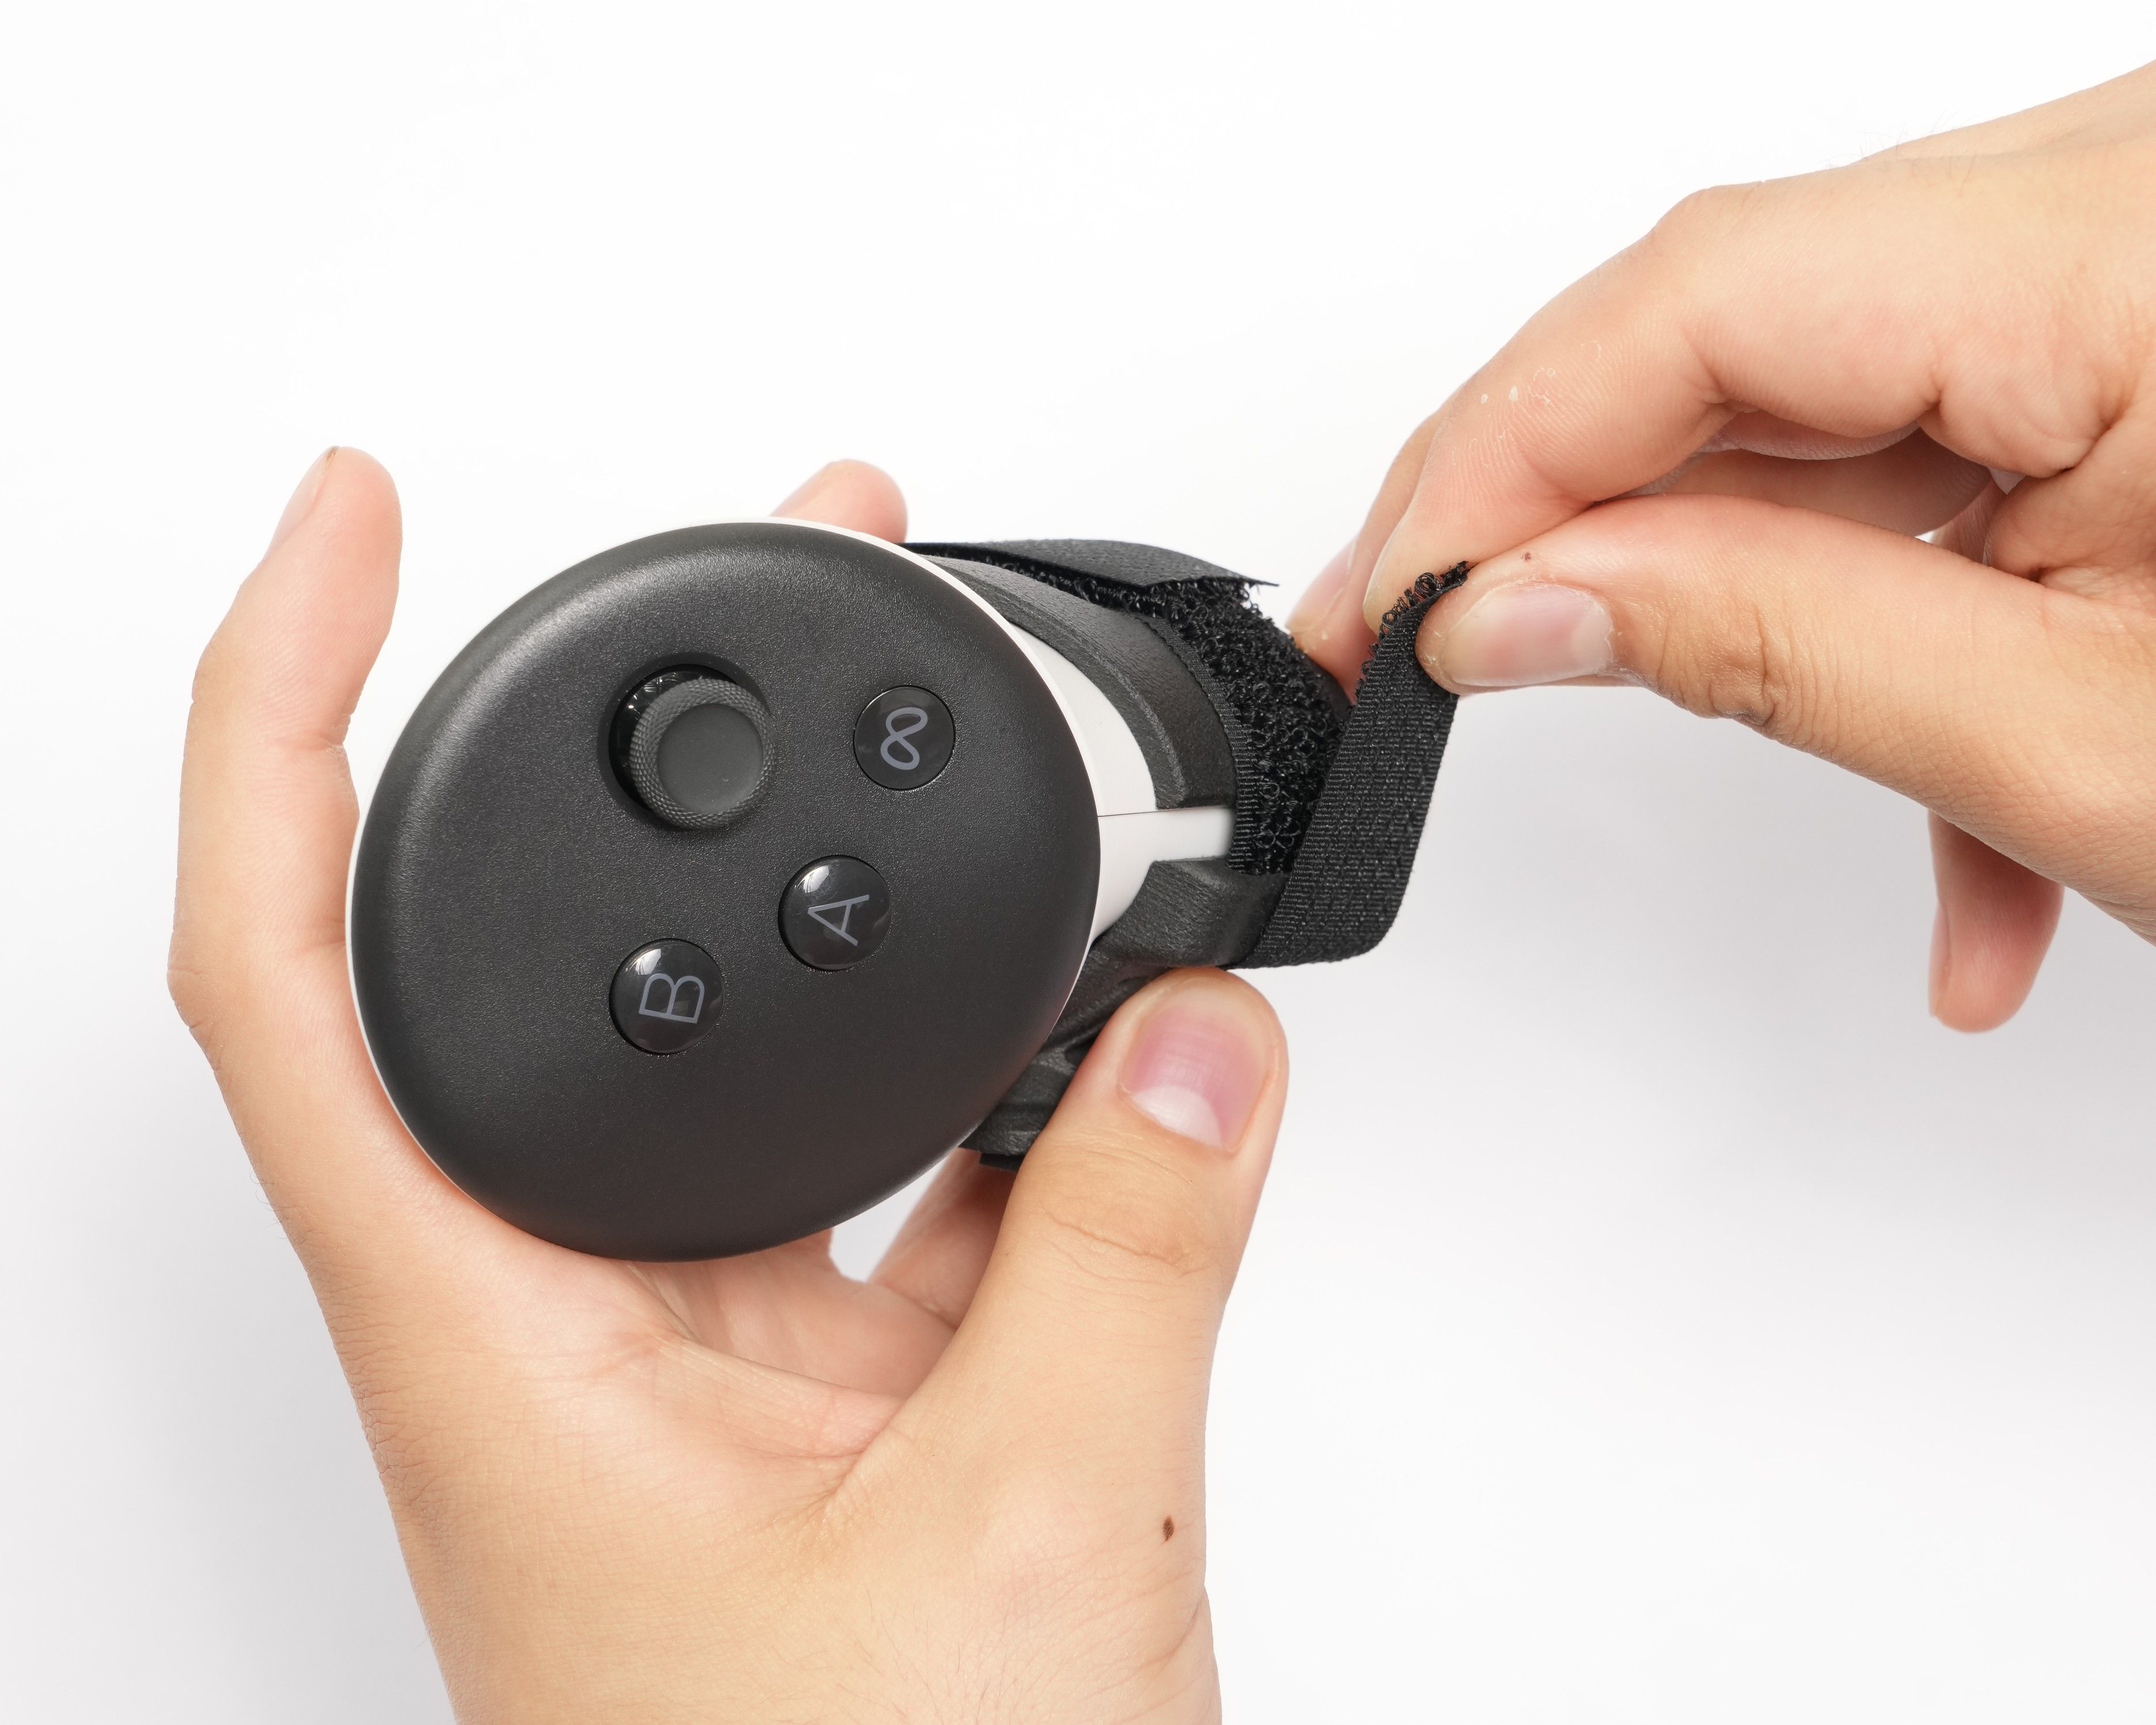 |
| ⚠️ If not secured properly, the controller may fall out. |
Attaching the Tracker to the ContactGlove2
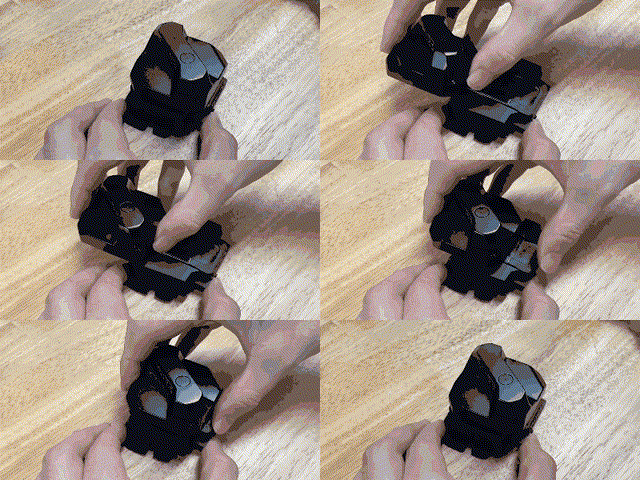
0 | Remove the Front Cover of ContactGlove2
Be careful not to lose the screws.
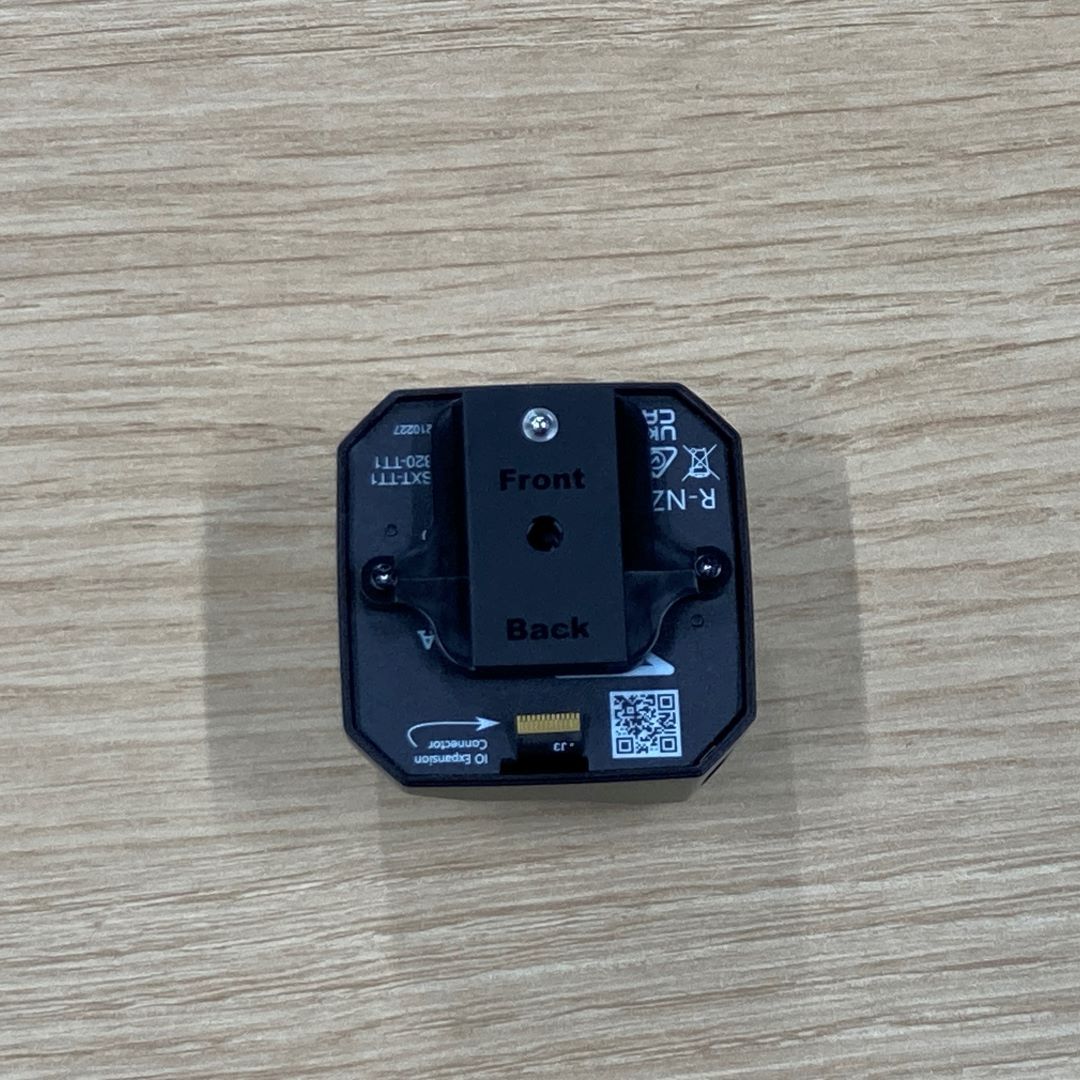
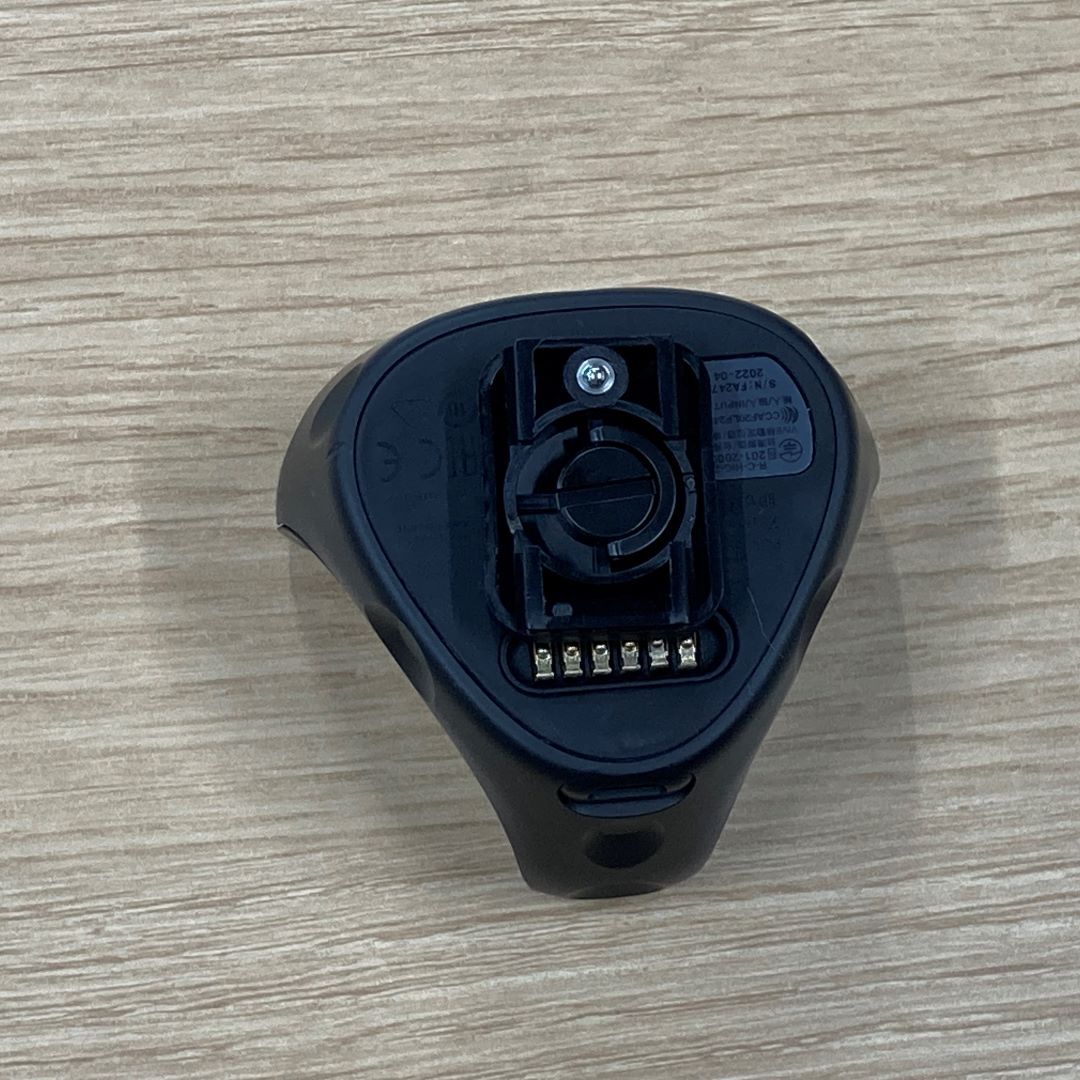
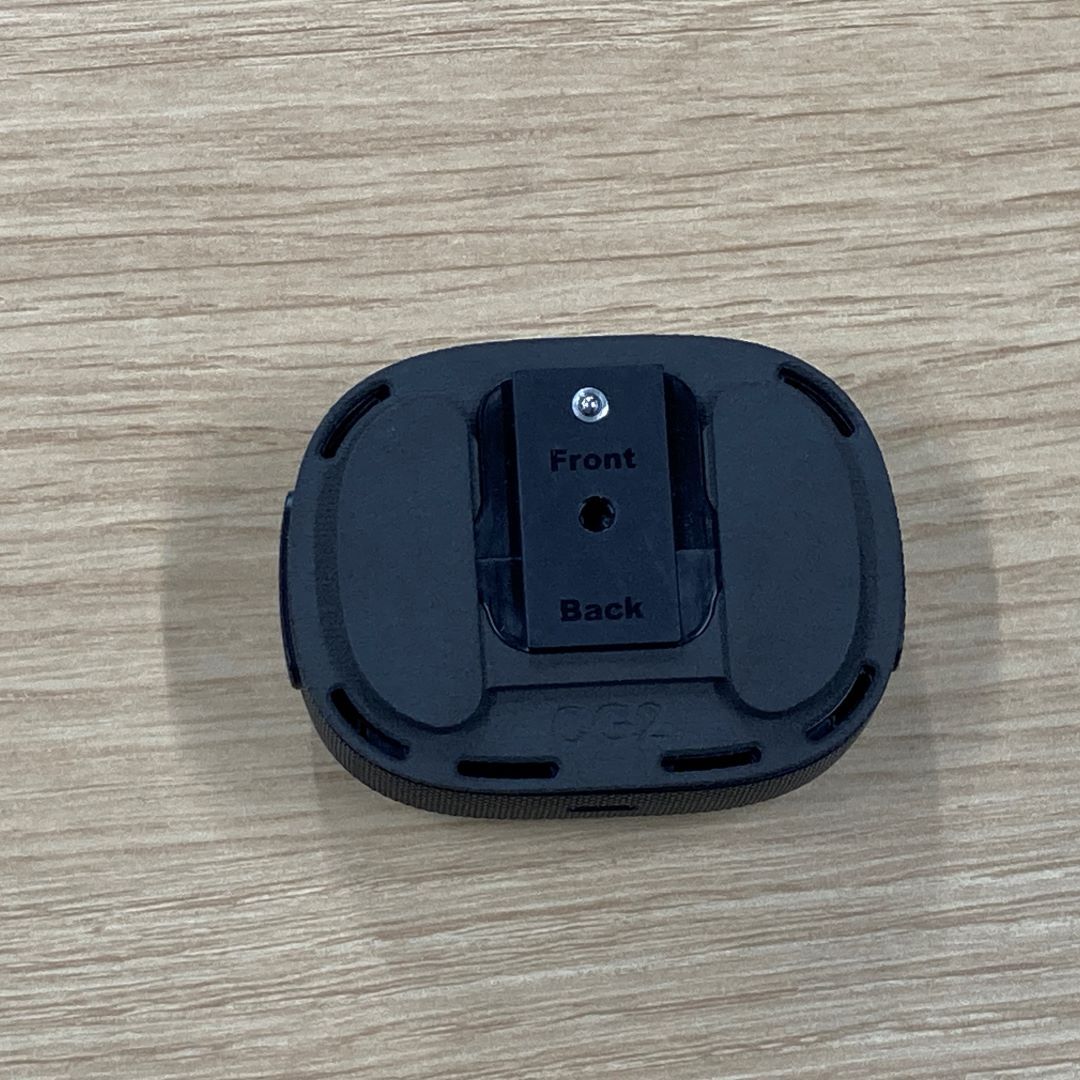
1-1 | Check the Orientation of the Tracker
| Glove | Tundra | VIVE | VIVE (Ultimate) |
|---|---|---|---|
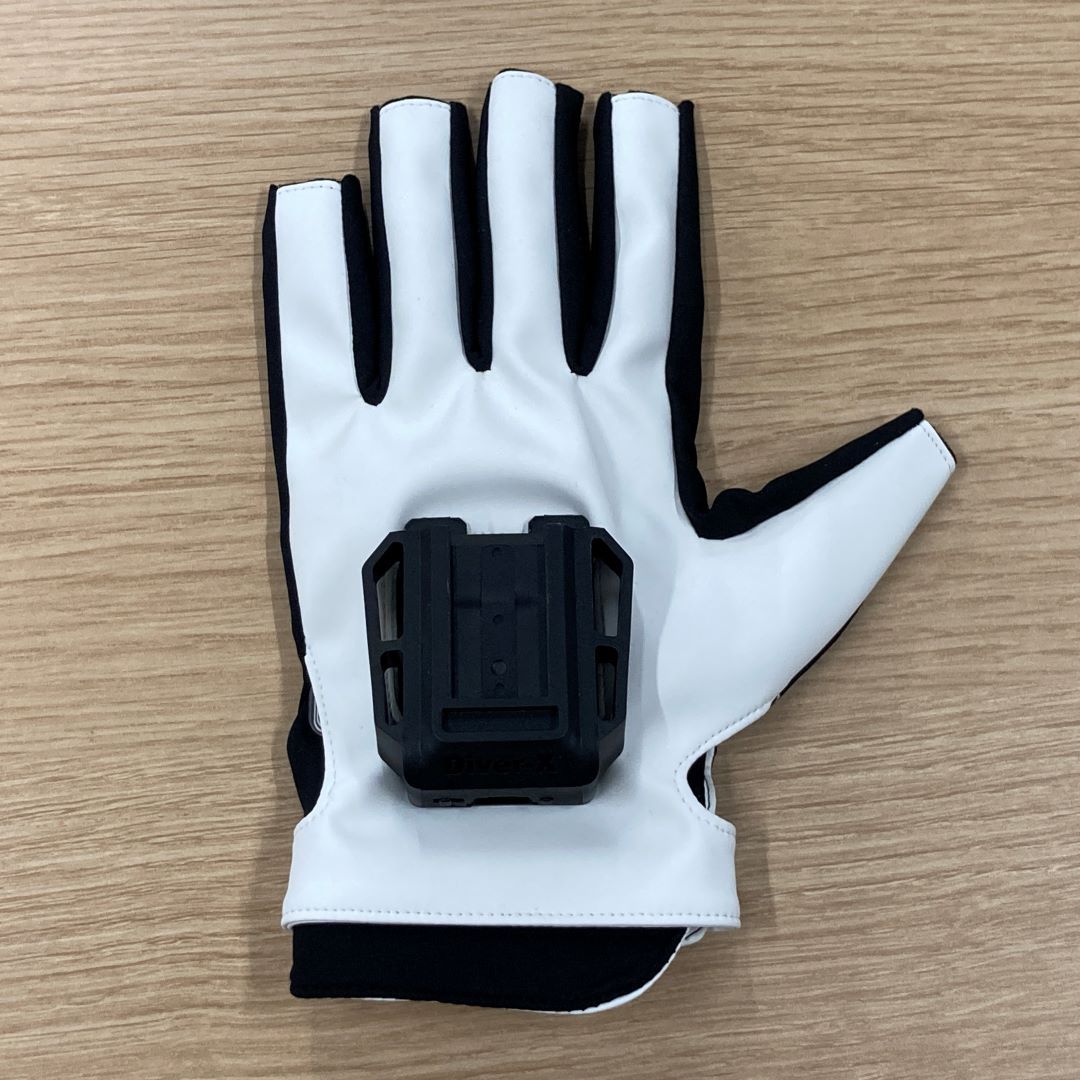 |  |  |  |
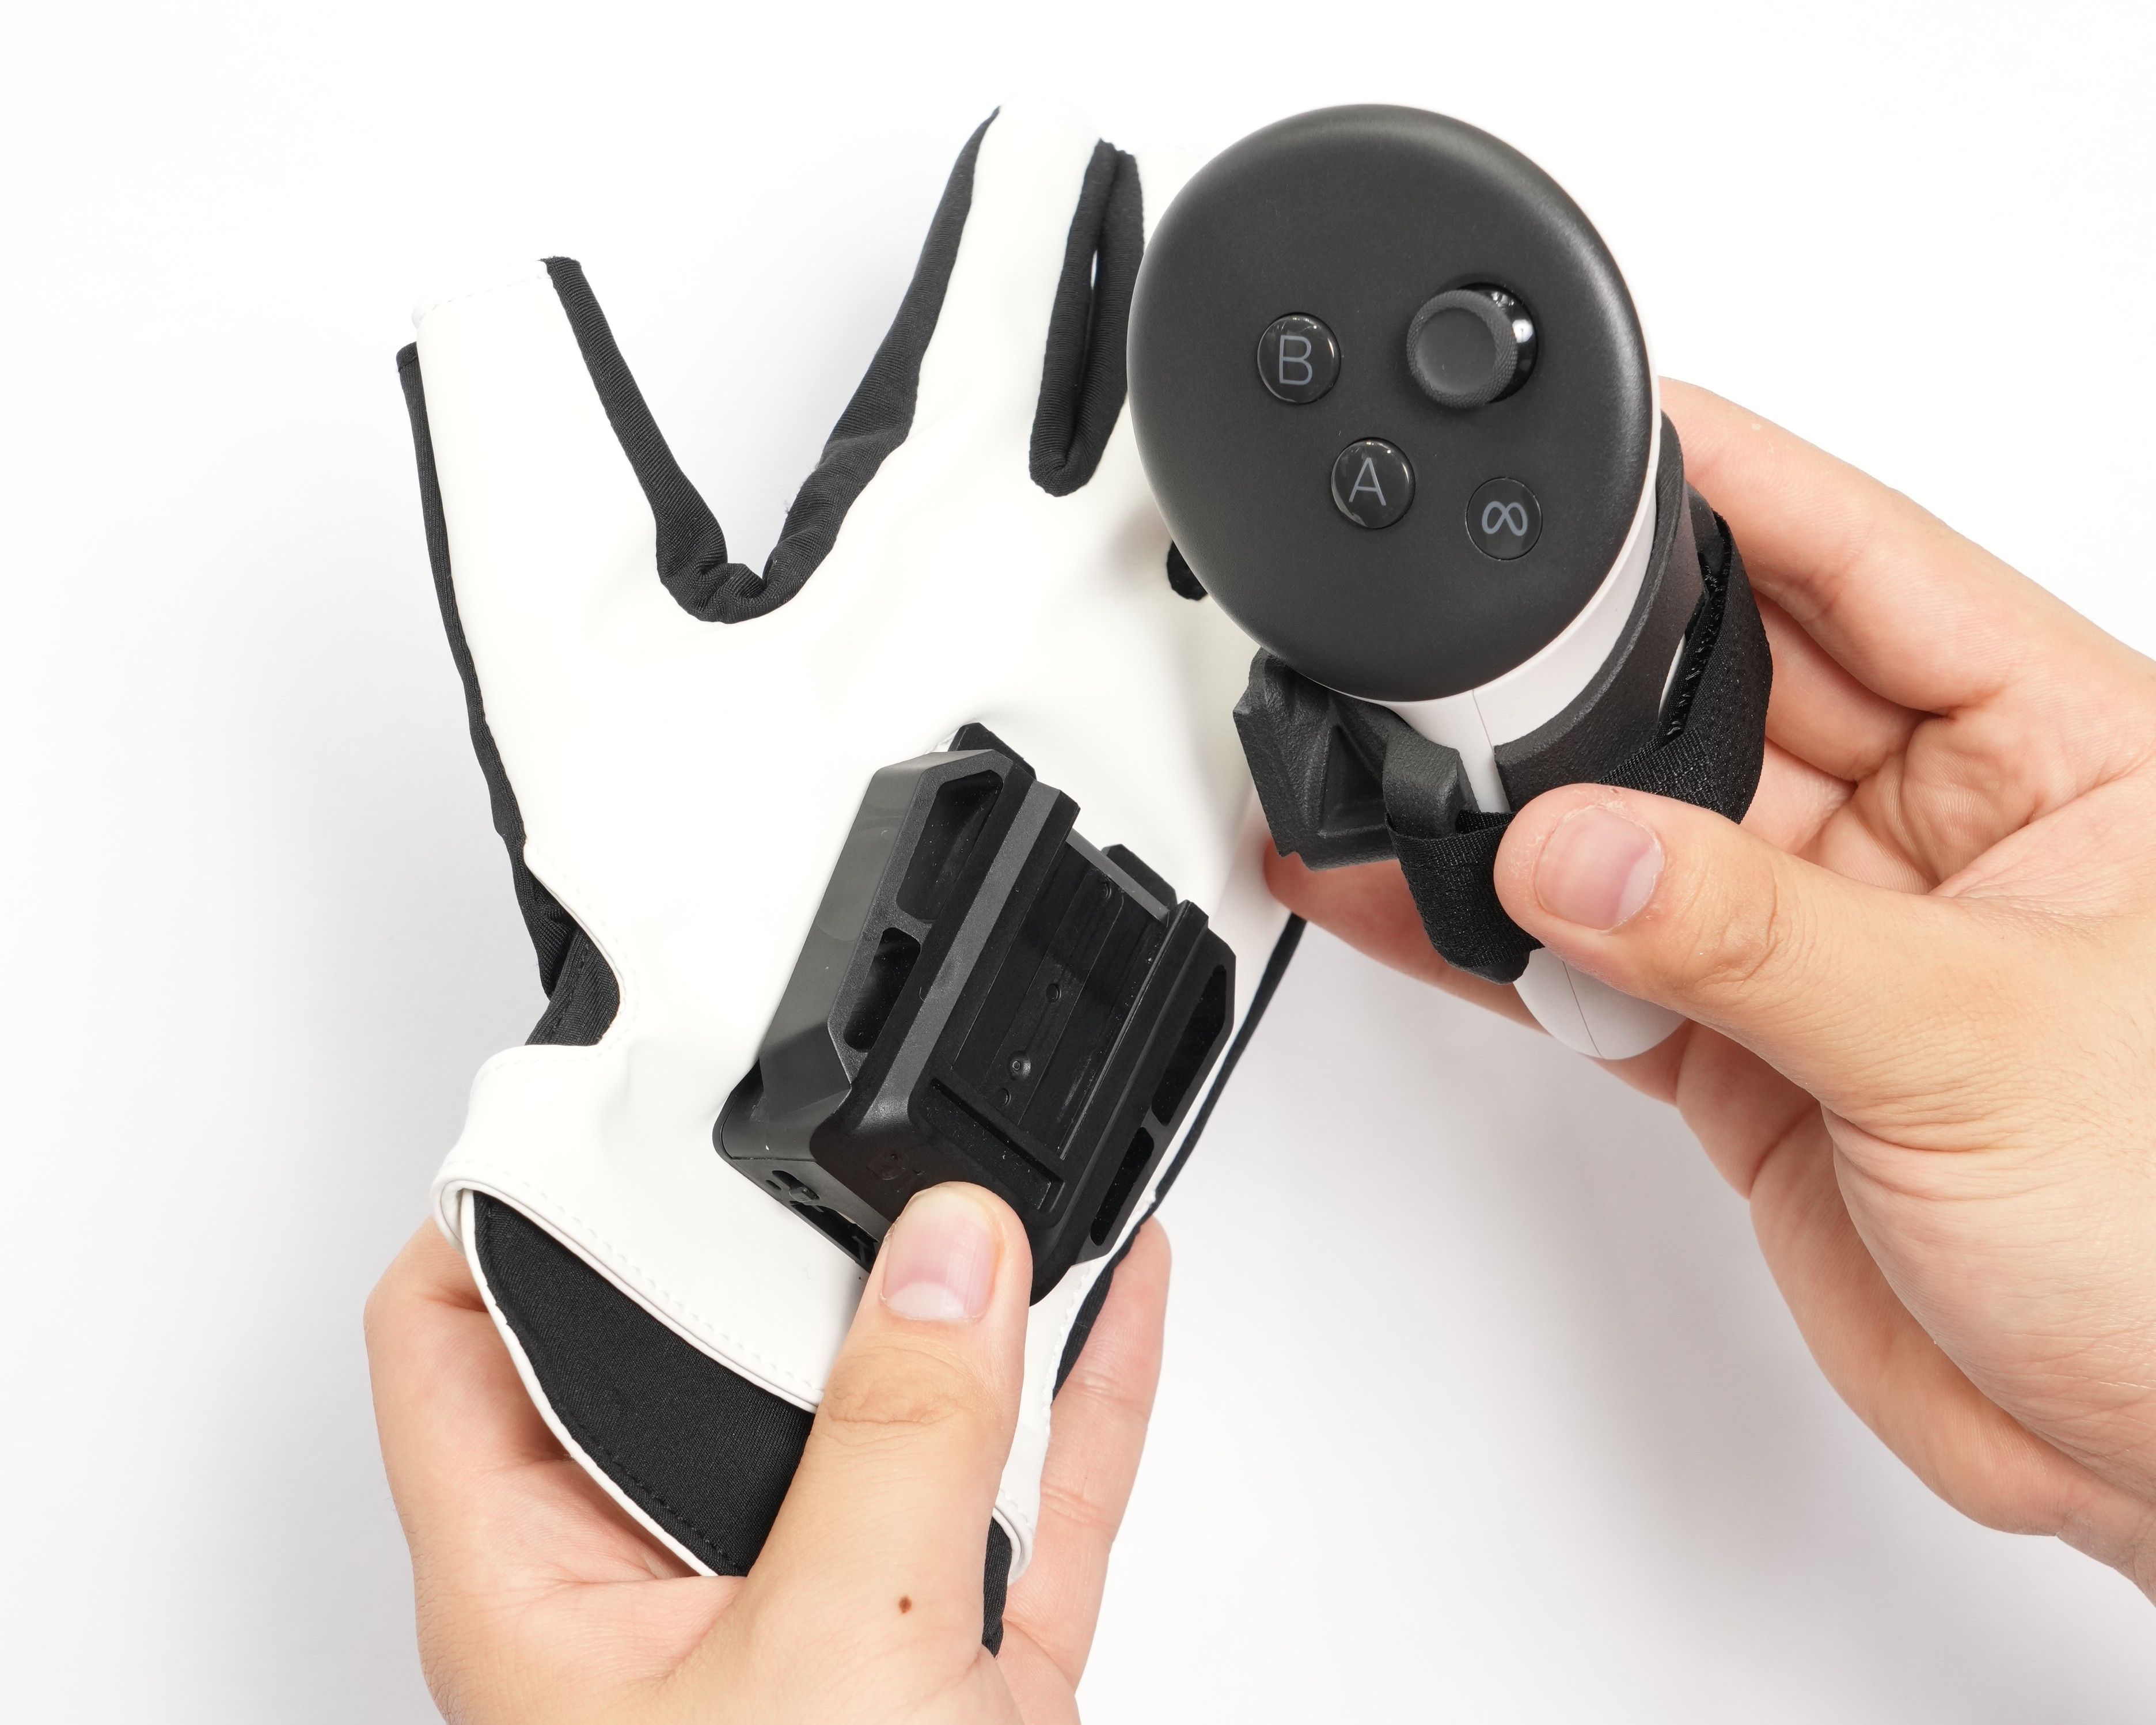
1-2 | For Quest Controllers
The Quest controller adapter has a fixed left/right orientation.
Make sure to attach the right controller to the right glove, and the left controller to the left glove.
2 | Slide the Tracker onto the ContactGlove2 Rail
Align the tracker with the rail and slide it in until it clicks, confirming the front/back orientation.
⚠️ When using the Quest controller mount, be sure not to mix up left and right.
3 | Attach the Front Cover or Magnetra2
| Attach the front cover | Attach Magnetra2 |
|---|---|
| Use the screws removed in Step 0 | Proceed to the next page (How to Attach Magnetra2) |