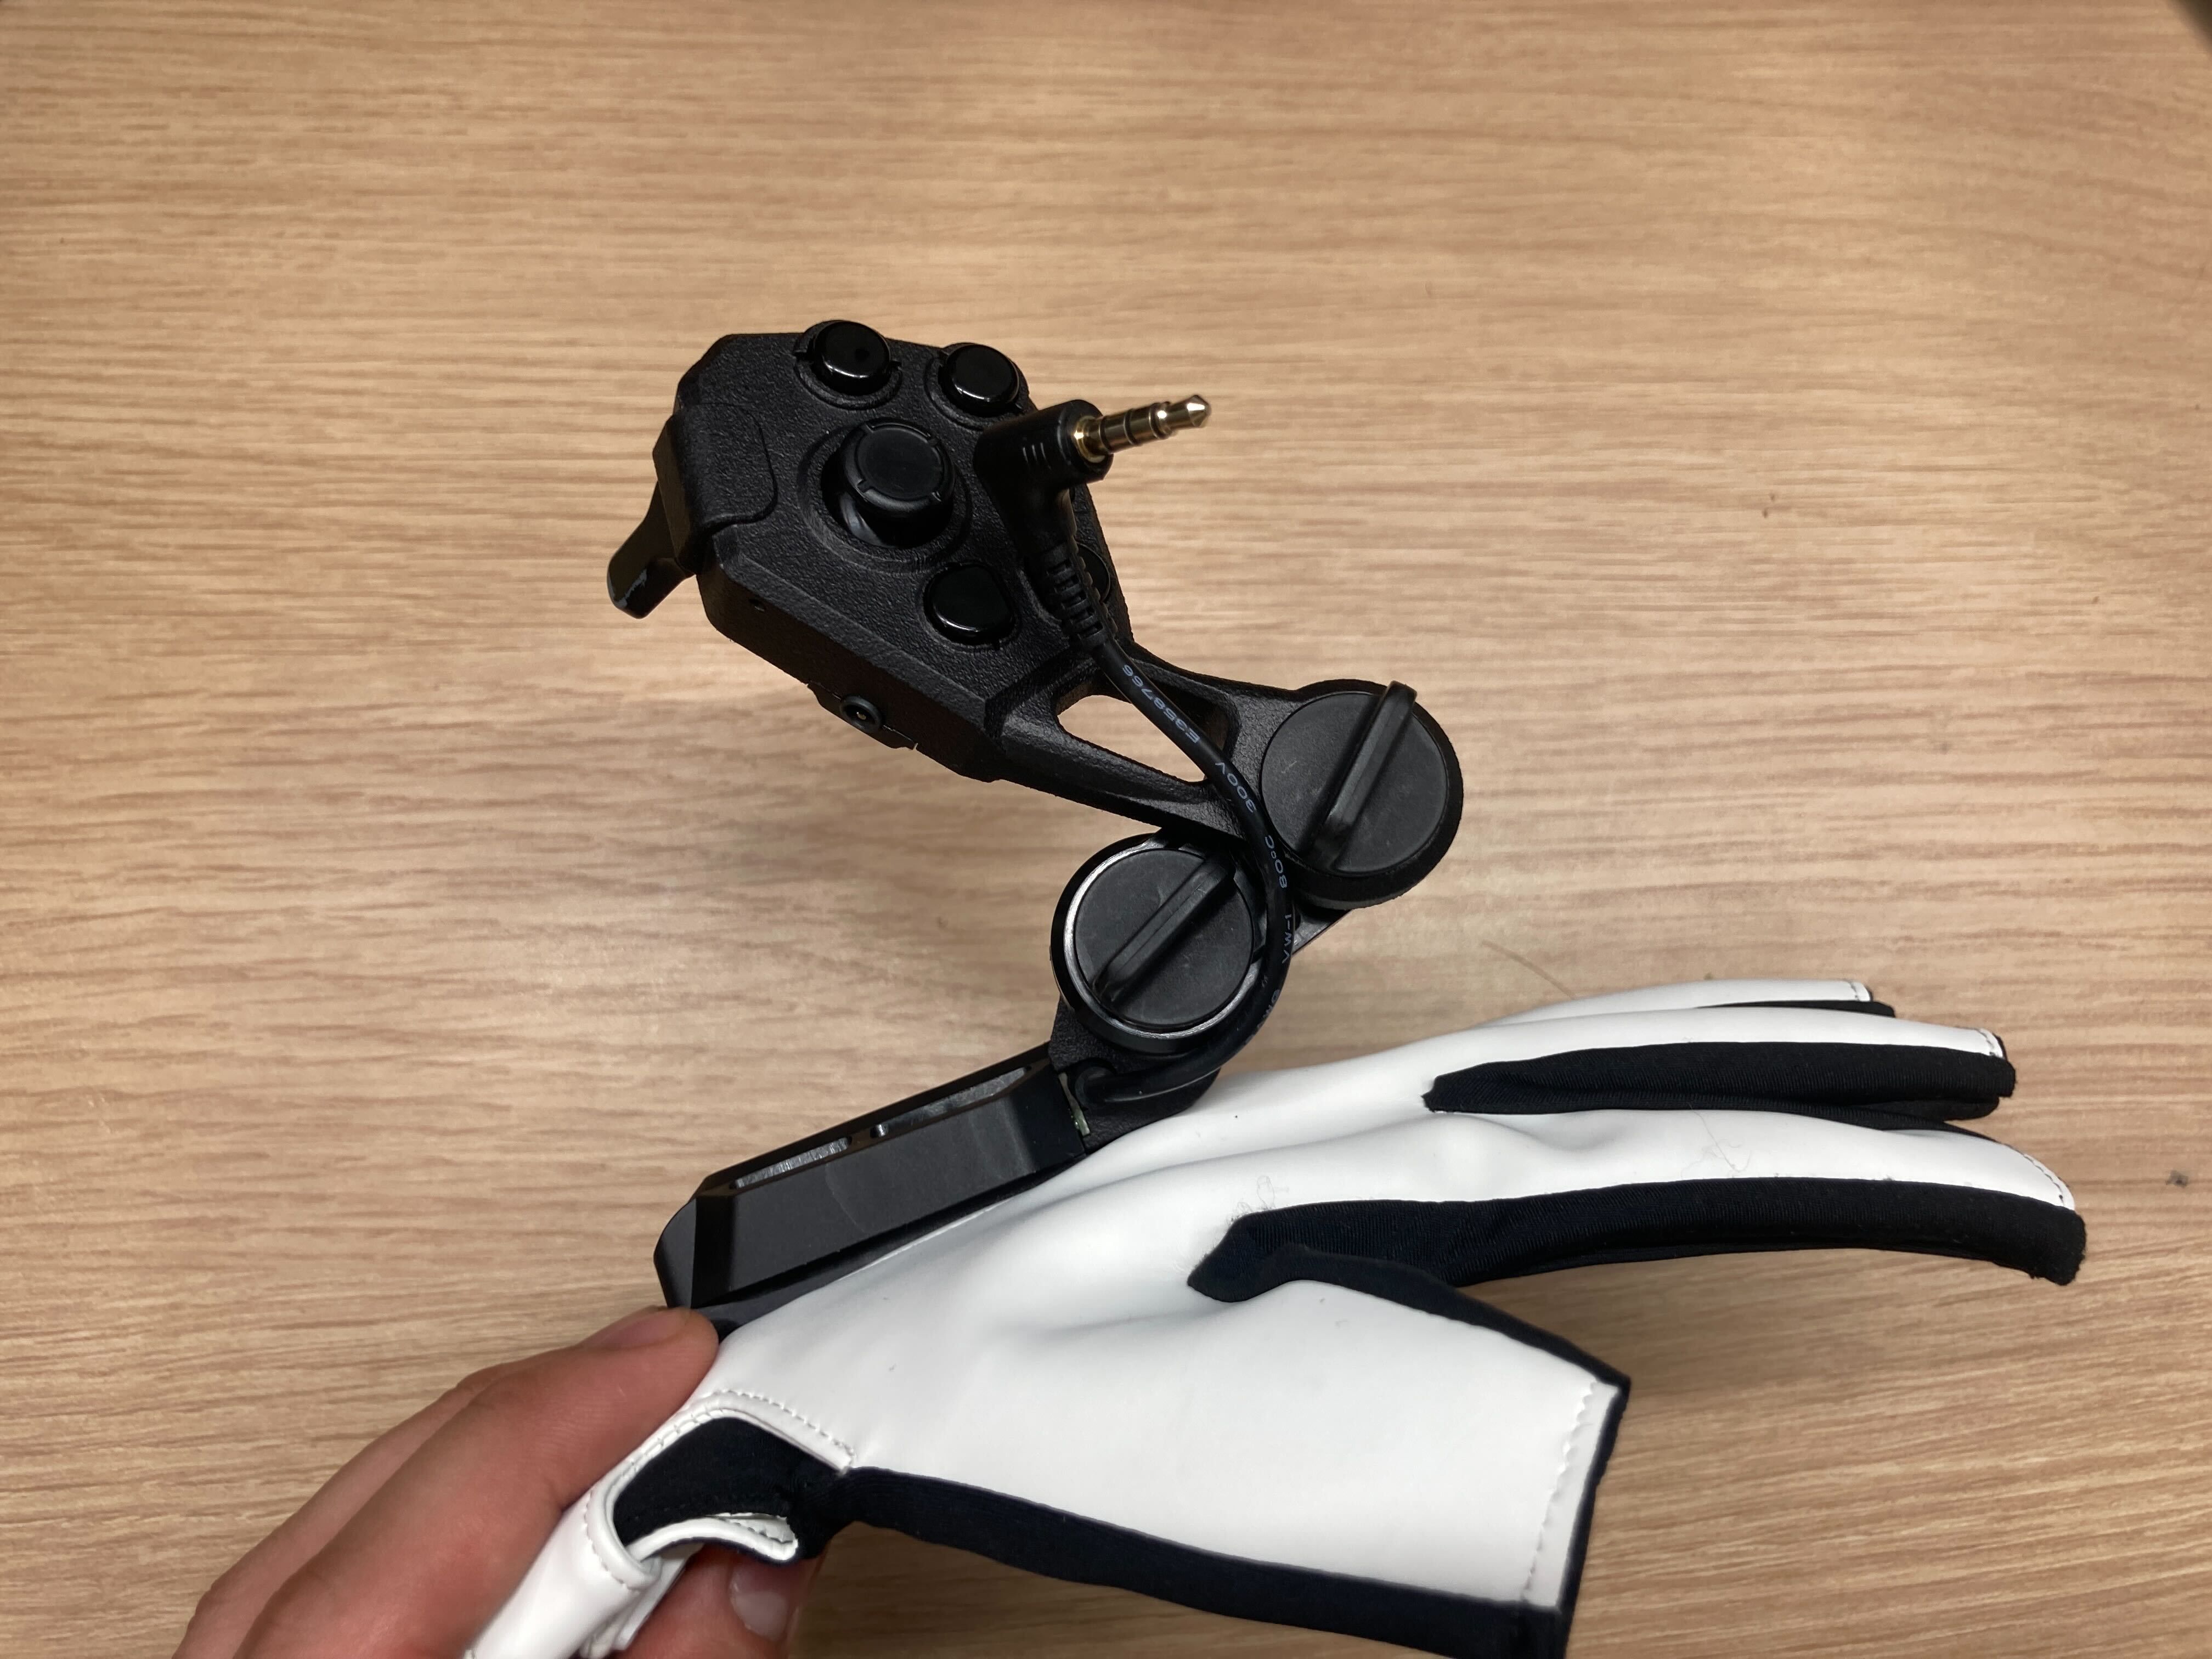
Installing Magnetra2
This is the explanation page for the ContactGlove2 accessory, Magnetra2.
Important Notice
Magnetra2 is not compatible with ContactGlove1.
Installation Instructions
0 | Attach the Tracker
Install the tracker onto ContactGlove2.
Before attaching Magnetra2, install the tracker onto the glove.
Attach the mounting adapter included with the glove to the tracker and slide it into the rail on the ContactGlove2 main unit.
- You cannot attach the tracker after installing Magnetra2.
1 | Check the Contents
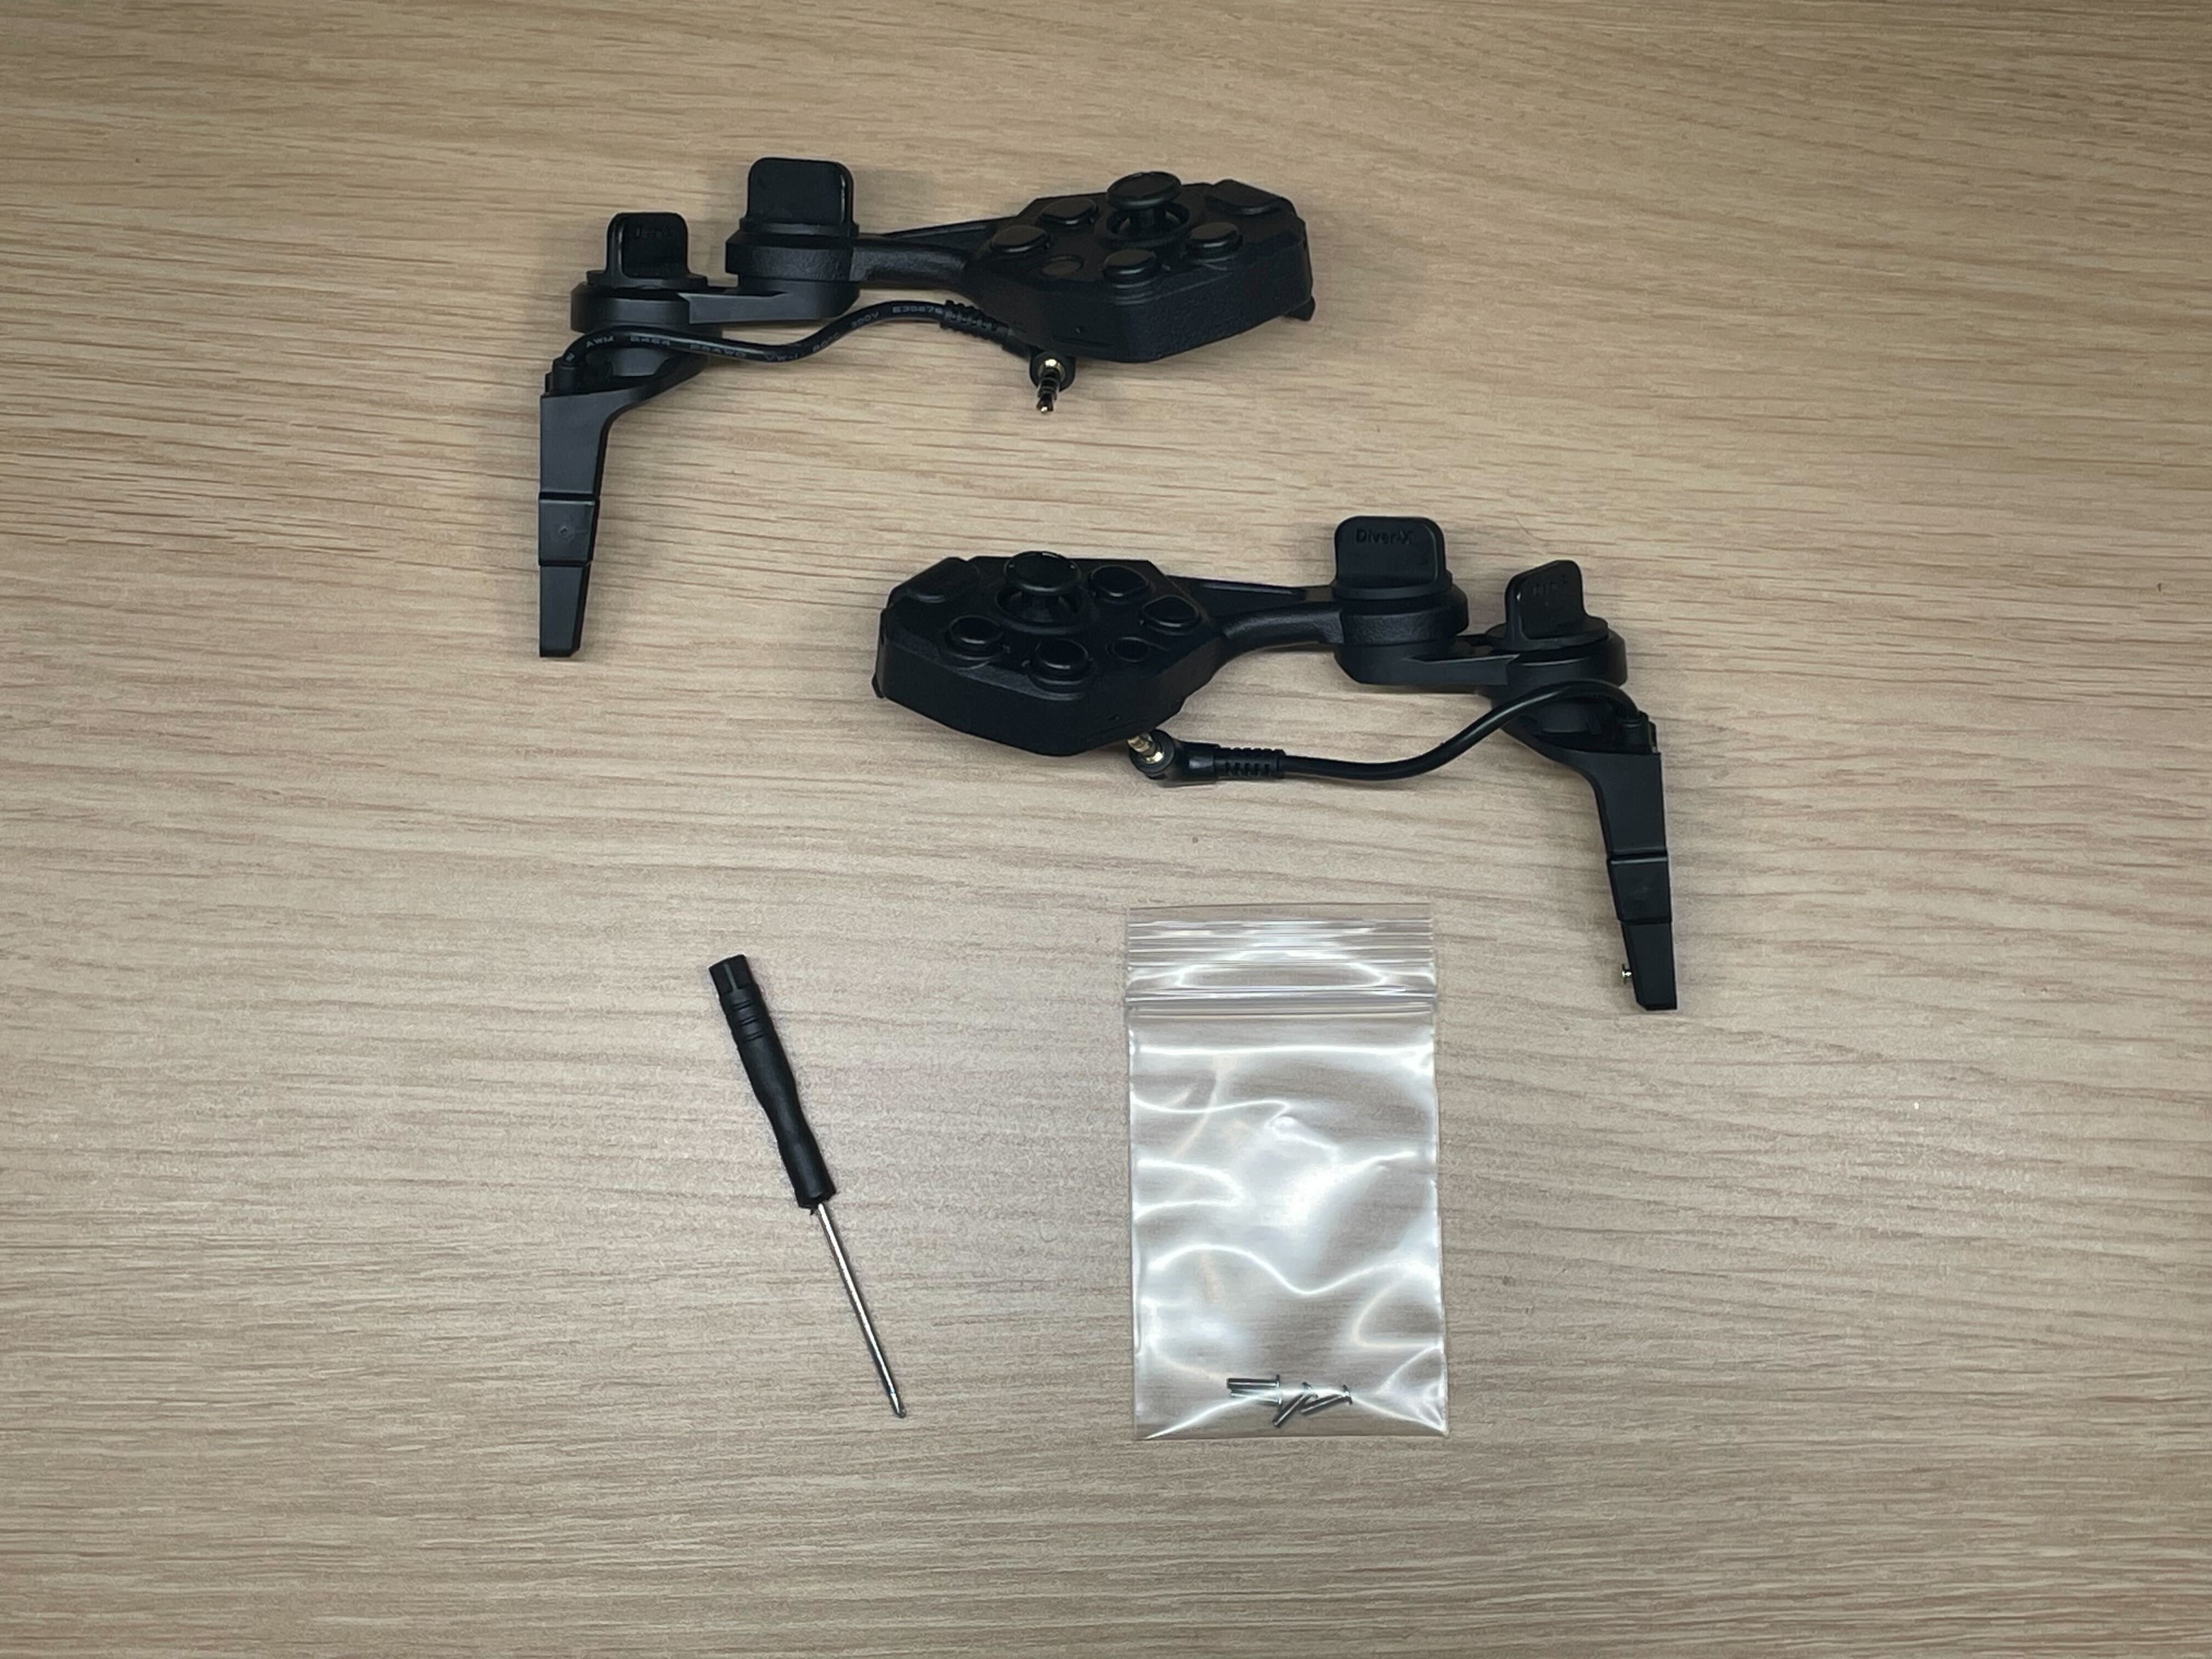
Remove the Magnetra2 unit from its box.
※ The installation screwdriver is included in the ContactGlove2 case.
2 | Press the Magnetra2 Connector Against the ContactGlove2 Connector
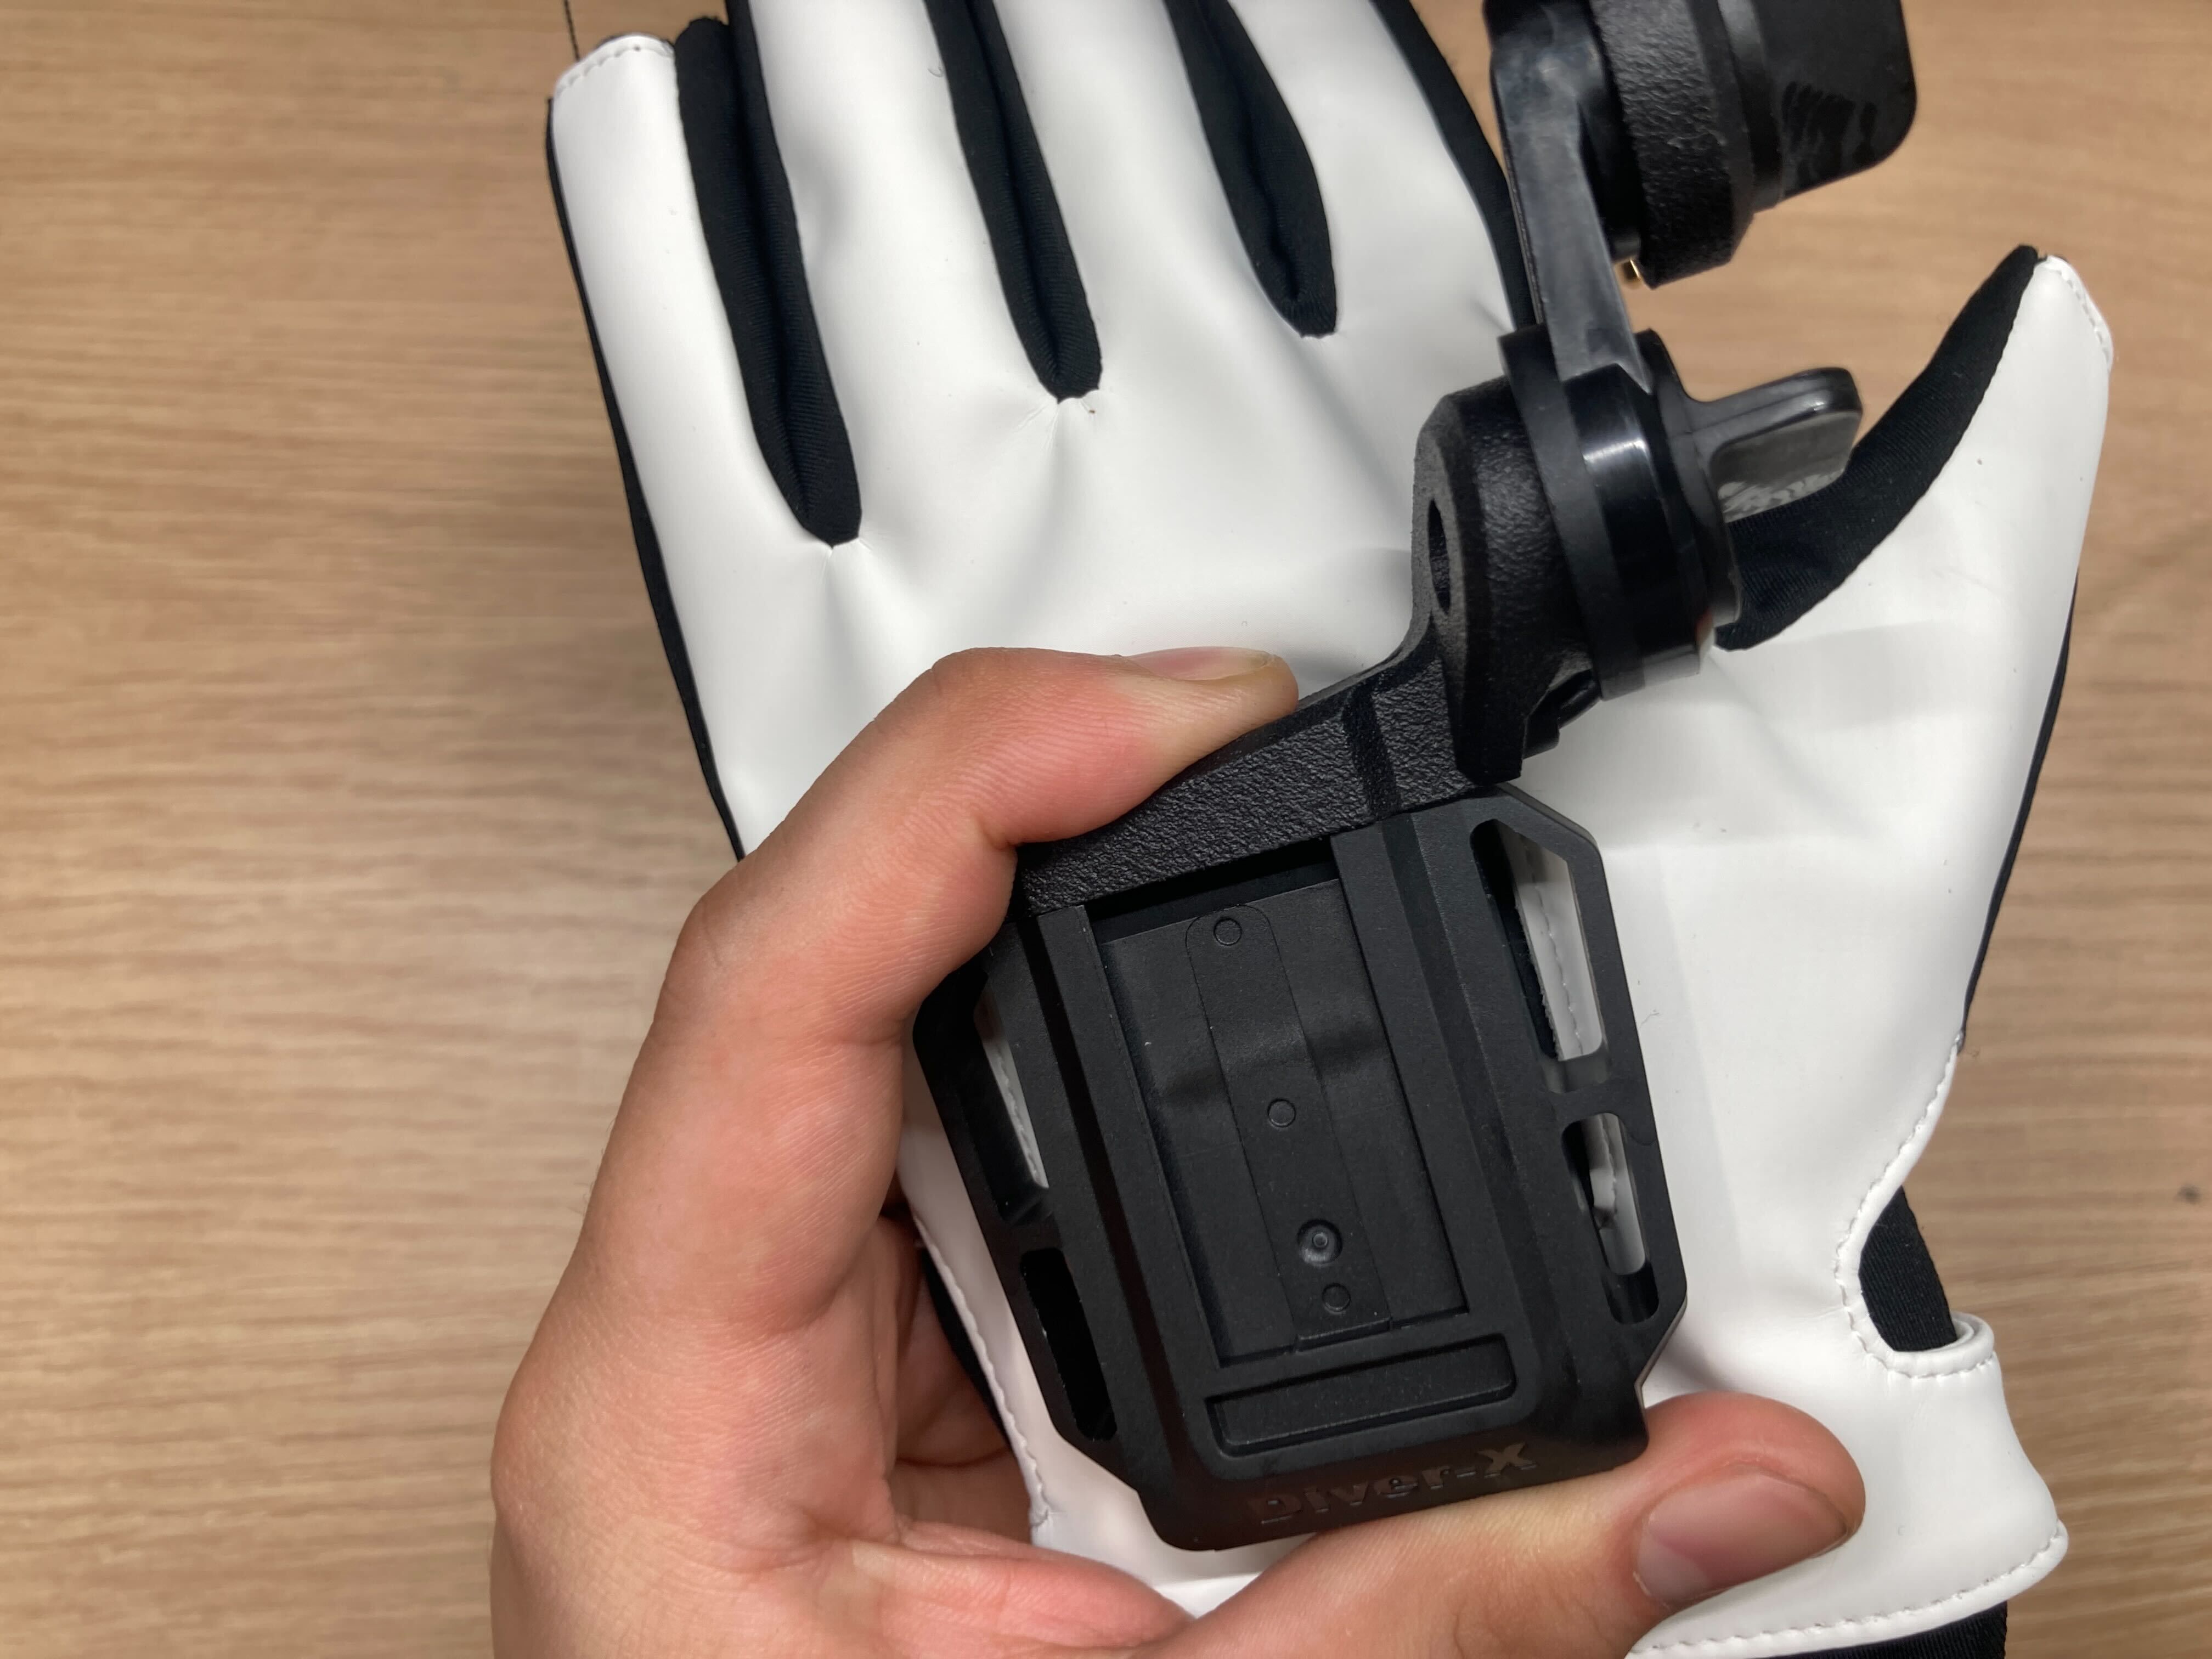
- Firmly press down so that the spring-loaded expansion connector on ContactGlove2 is fully compressed.
Caution
Ensure you do not attach the module on the wrong side.
3 | Secure Magnetra2 to ContactGlove2 Using the Included Screws
※The mounting screws are included inside the Magnetra2 box.
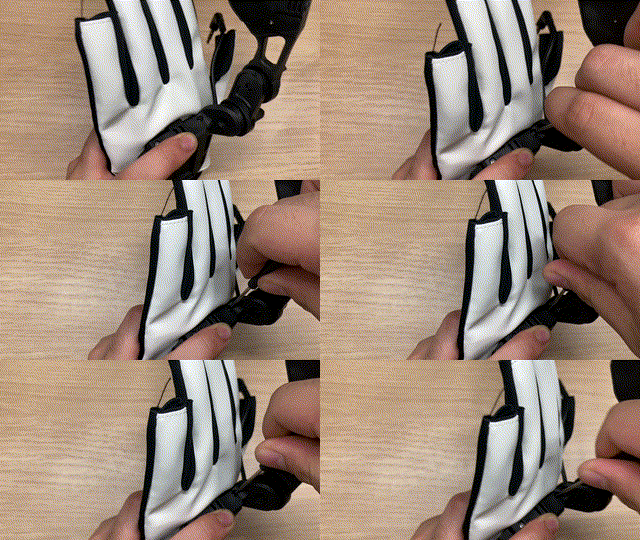
How to Tighten Screws
- After initially tightening the screws, tighten both screws alternately in small increments.
※ If you tighten only one side first, the other screw hole may become misaligned with the screw hole on CG2, making it difficult to secure.
If this happens, remove both screws and start over.
Important Notice
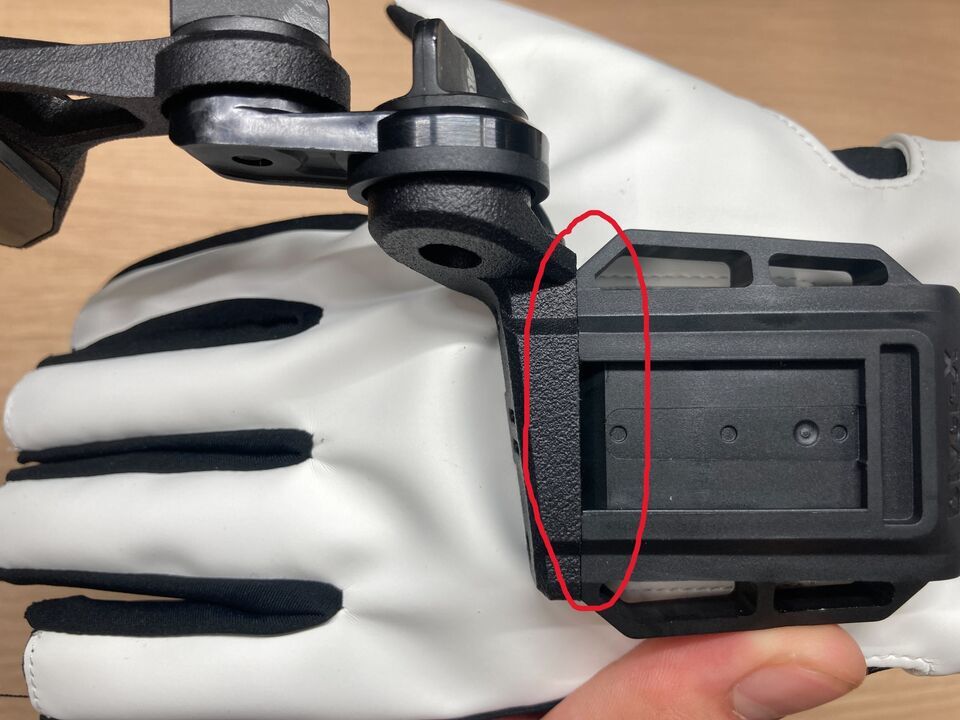
Ensure that there is no gap between Magnetra2 and ContactGlove2 when secured.
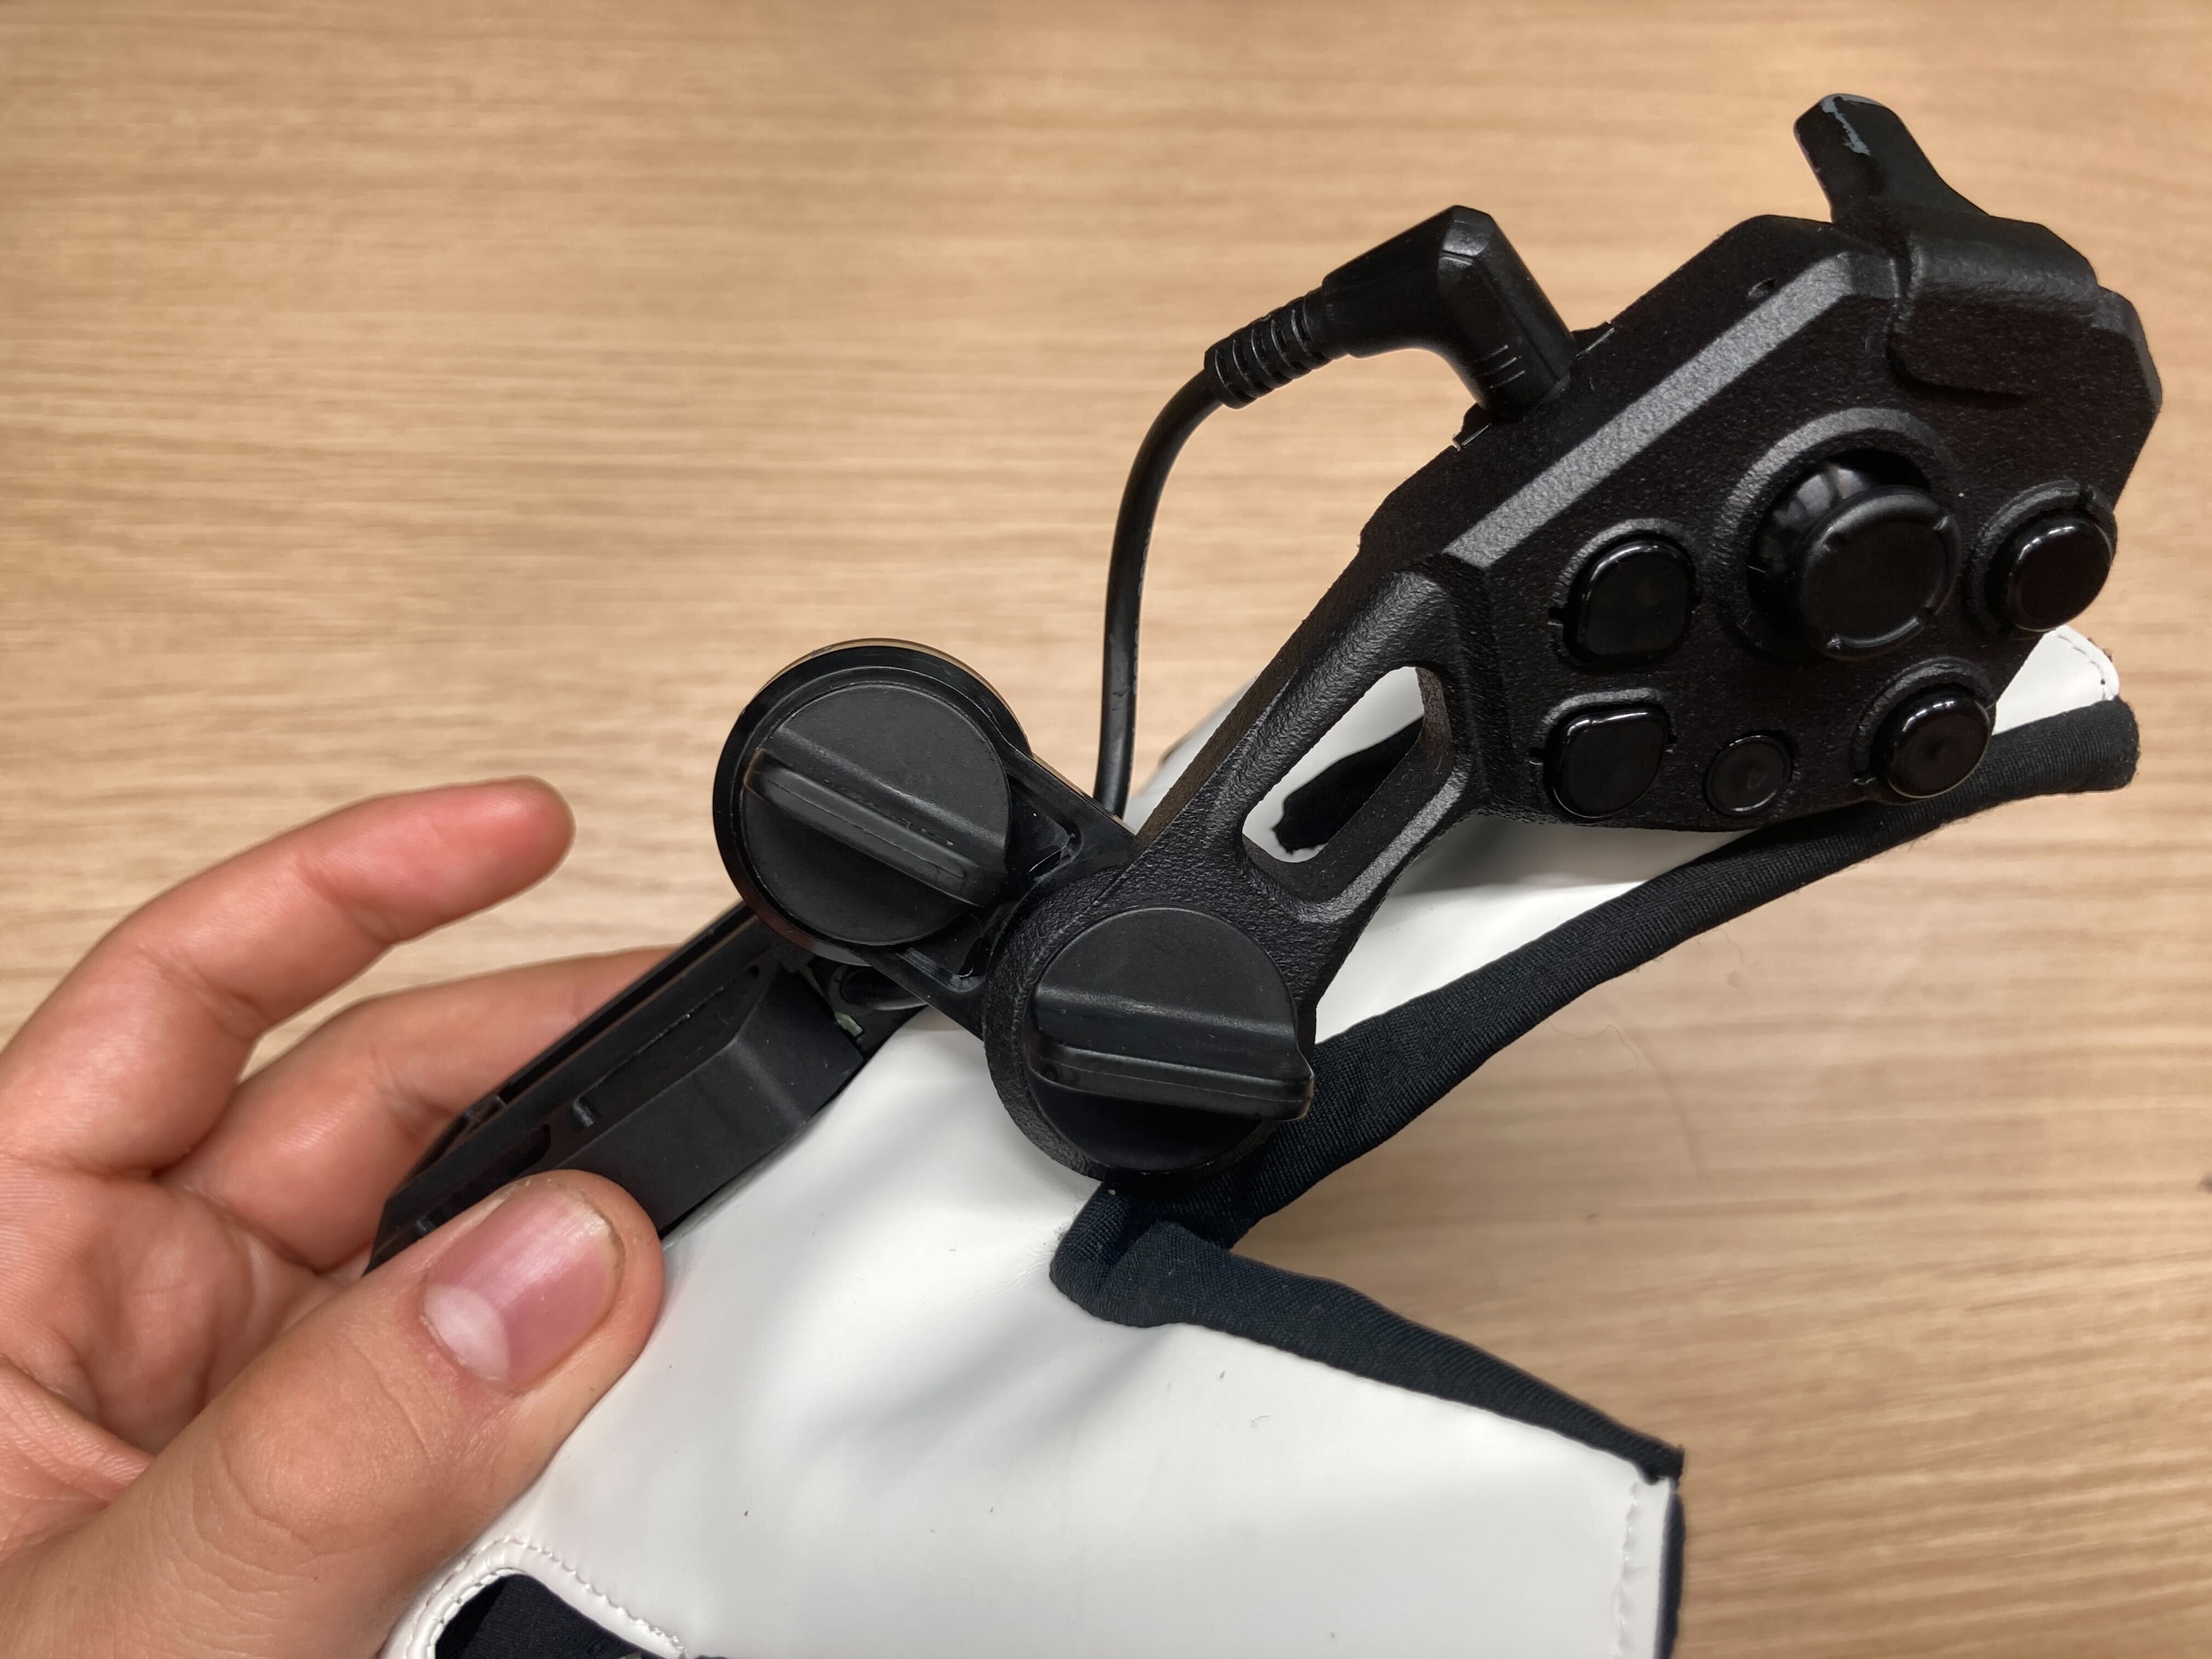
4 | Connect the Cable, Routing It Under the Hinge
Position Adjustment
| Basic Specifications
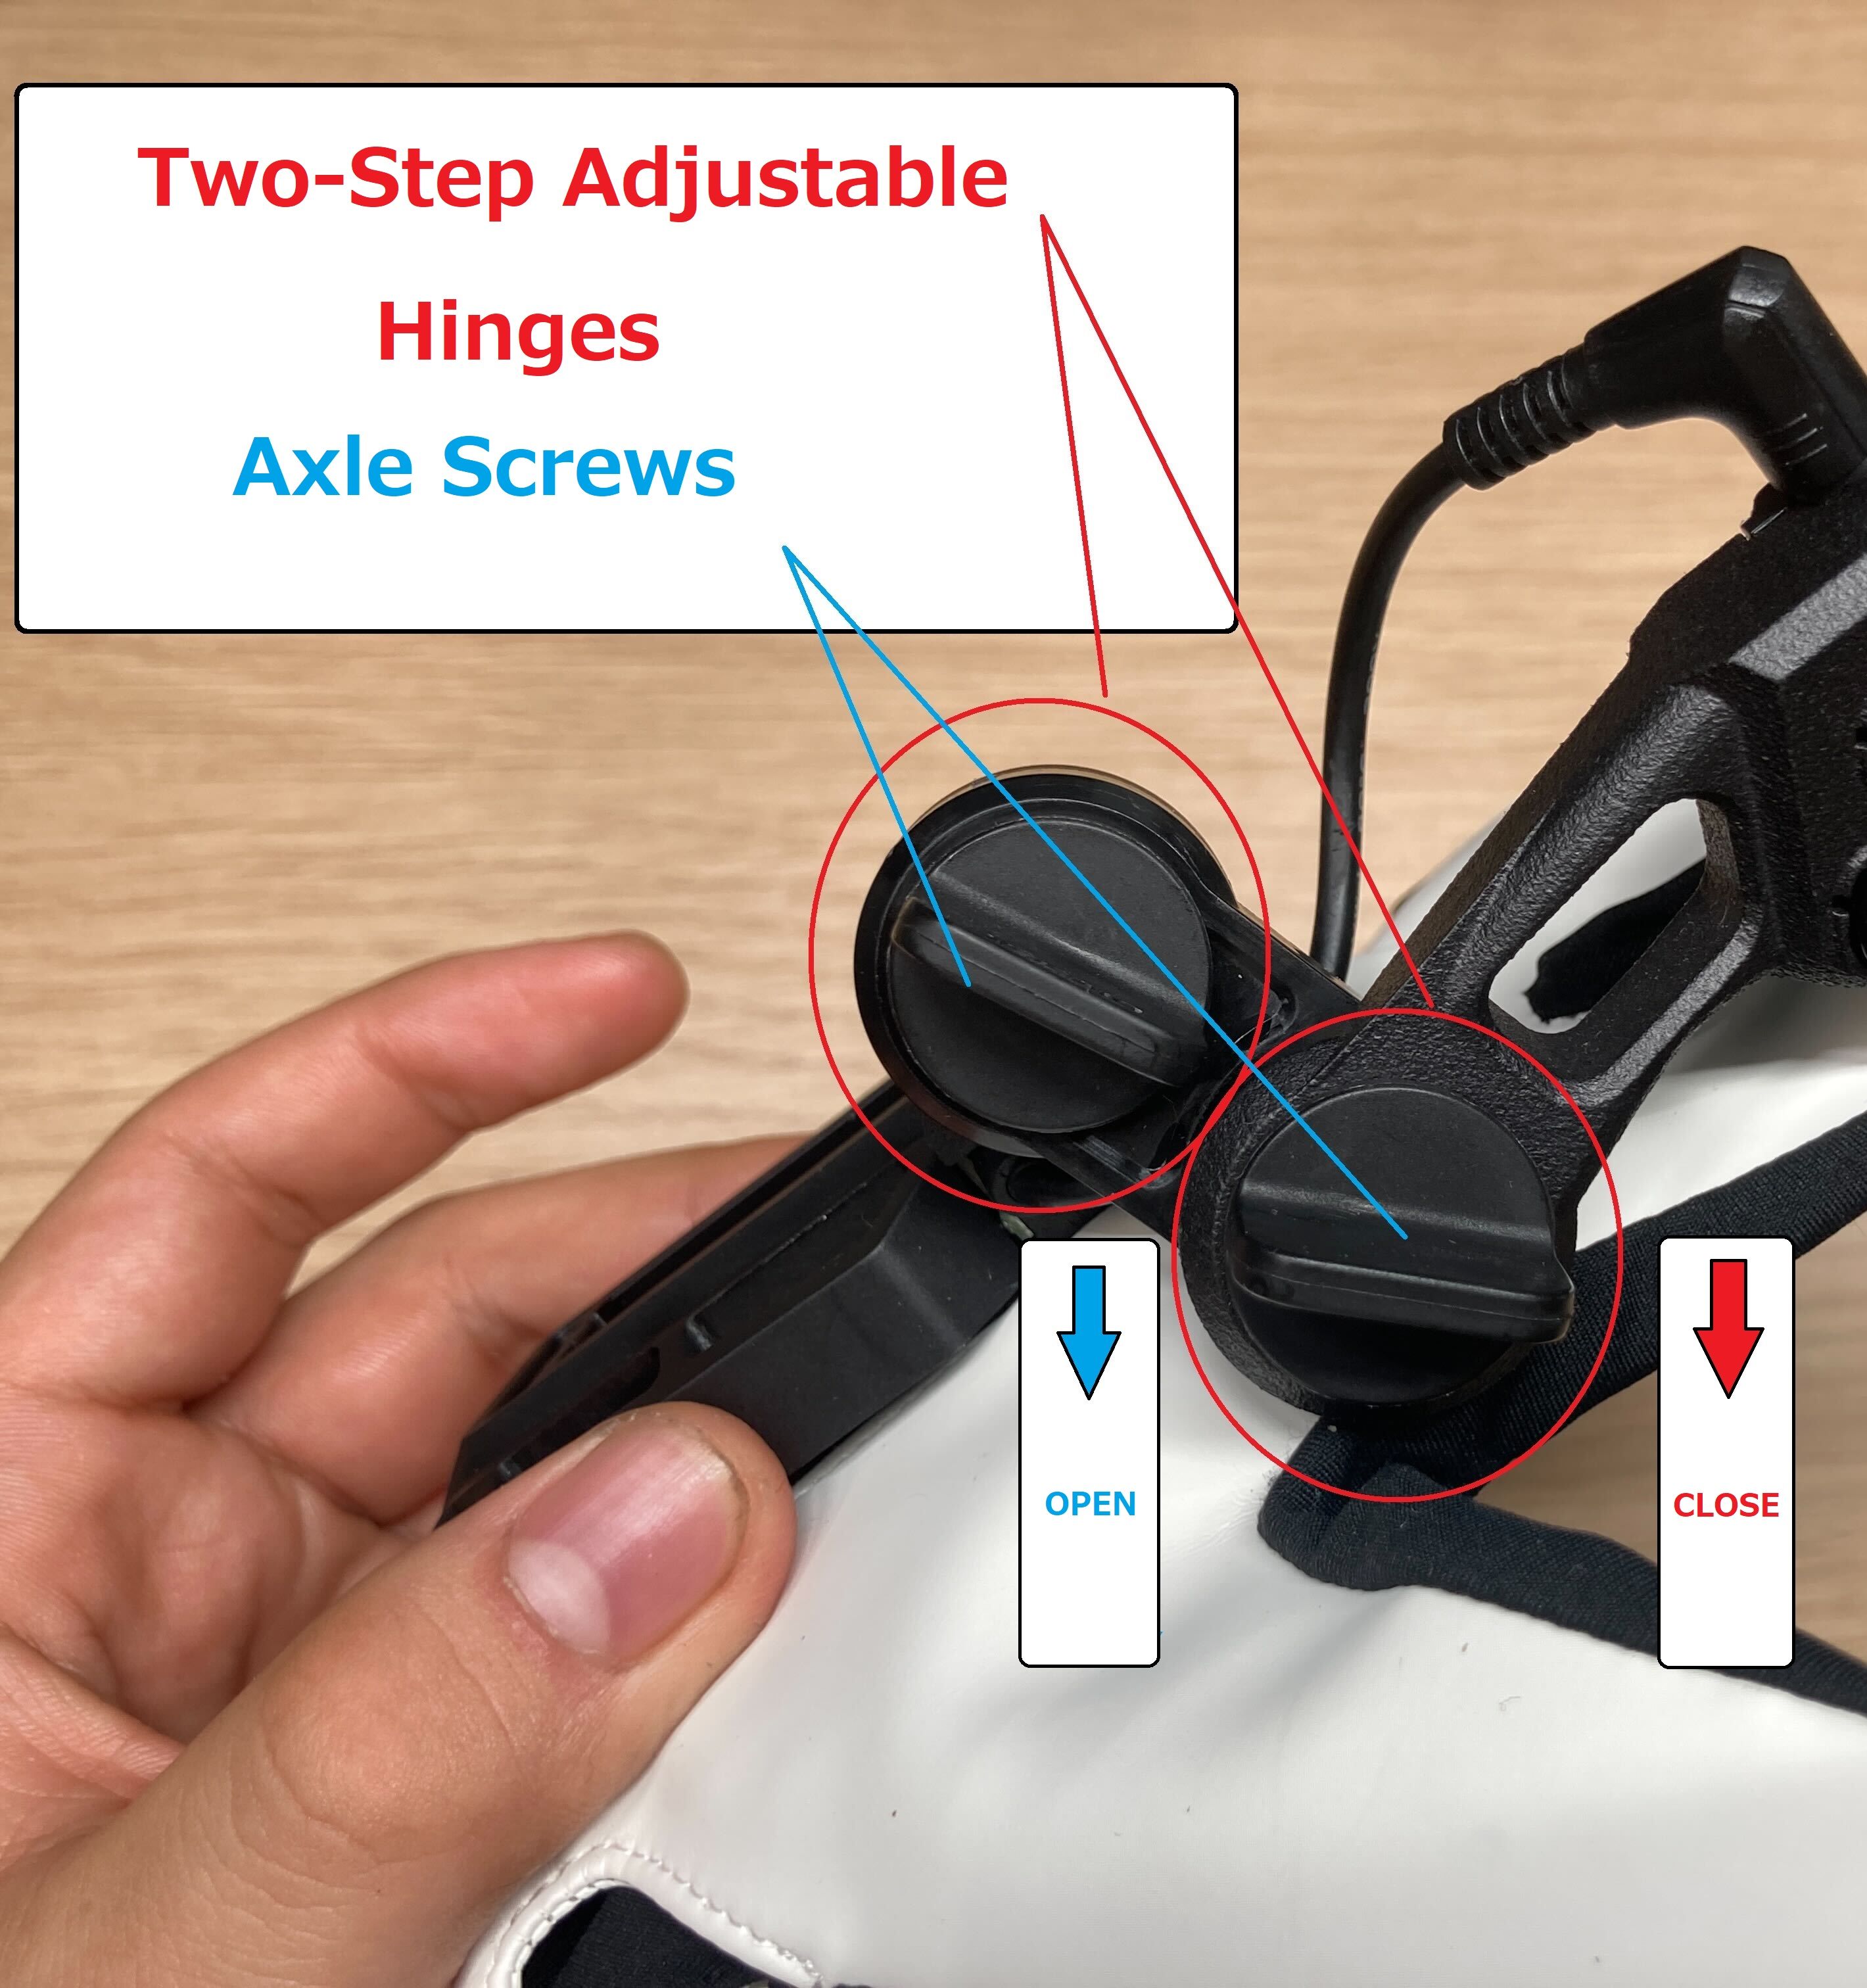
- Magnetra2 features two step-adjustable hinges secured by pivot screws.
- You can adjust the control surface position by rotating each hinge.
- The tightness of each hinge can be adjusted as follows:
- Tighten the pivot screw by turning it clockwise.
- Loosen the pivot screw by turning it counterclockwise.
- The hinge rotation is secured by four ball springs pressed by the pivot screw.
- Removing the pivot screw completely allows you to detach Magnetra2.
- Fully tightening the pivot screw locks the control surface in place.
| Adjusting Click Resistance
You can adjust the click resistance of hinge rotation by tightening/loosening the pivot screw.
About Pivot Screw Adjustment
- Loosening: Enables latching movement (step-by-step adjustment with clicking sounds).
- Moderate Tightening: Adjusts the resistance of the latch rotation.
- Tightening: Allows semi-fixed or fully fixed positioning of the control surface.
Optimal Hinge Tightening
- The hinge should not rotate when lightly shaking your hand.
- The hinge should produce a clicking sound and latch movement when manually adjusted.
※ Over-tightening the pivot screw may cause damage or make it impossible to remove.
For long-term storage, it is recommended to loosen the screws.
| Cable
Magnetra2 operates by connecting to the CG2 main unit via a cable.
※ As shown in Step 4, ensure the cable is routed under the hinge.
Cable Management
The Magnetra2 cable is designed to cover the normal range of use.
If you need to make large position adjustments or store the device, always disconnect the cable.