SteamVR setup
Introduction
ContactGlove1 is intended for use with LightHouse compatible trackers. We are using the Tundra tracker here, but you can also use the Vive tracker in the same way.
Tracker allocation
If you see the Diver-X logo like the image below when you start SteamVR, ContactGloveDriver is already installed.
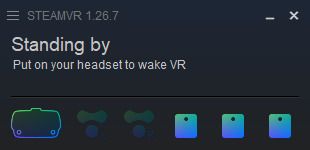
If the logo is not displayed
Press the three-line button in the SteamVR status window, open the SteamVR settings window from Settings > Startup/Shutdown > Manage Add-Ons.
If diver-x is off here, turn it on.
The image below shows an older version. The current add-on is named diver-x.
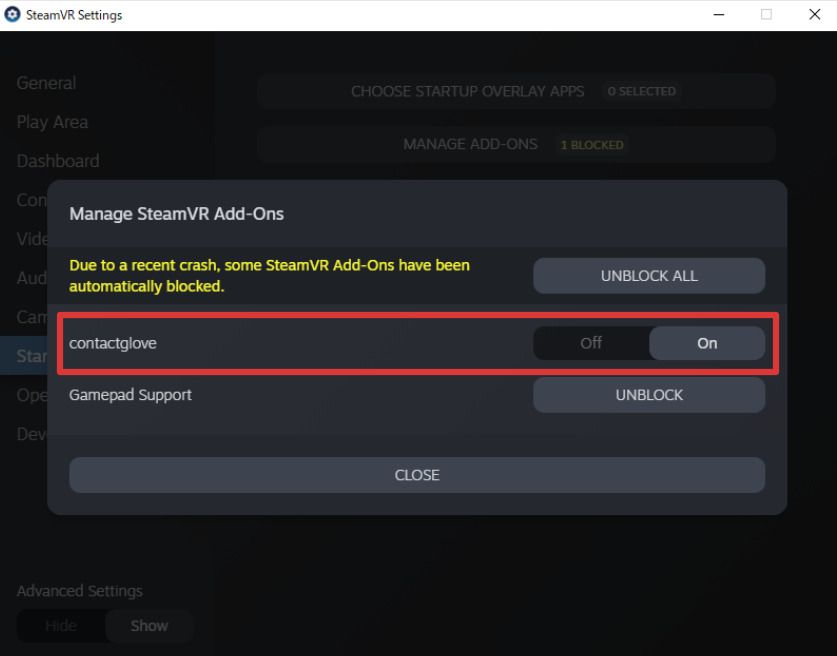
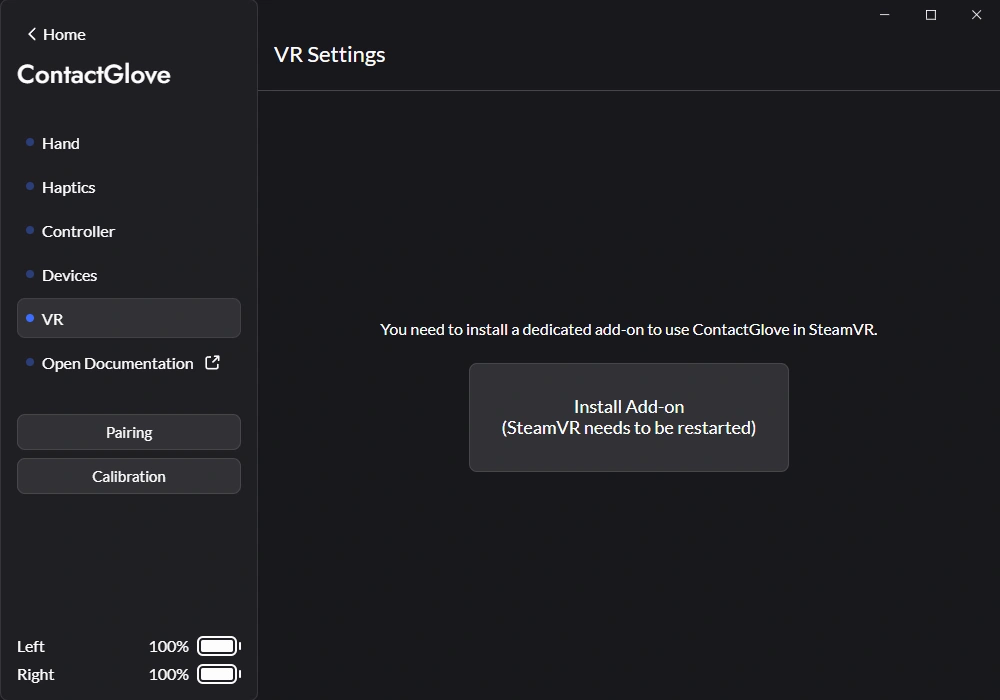
If the diver-x entry is missing, open ContactGlove1 in DivingStation and select Install Add-on in the VR tab. Restart SteamVR after installation.
If only the border of the logo is displayed
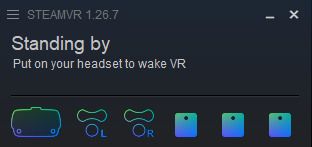 If you see something like the image above, it could be because 1. ContactGlove1 is not powered on or 2. ContactGlove1 is not paired. Check if it is paired and if it is powered on.
The following content is for DivingStation v1.5.8 and earlier. If you are using v1.6.0 or later, please refer to Tracker Assignment.
Start two trackers. (It is assumed that pairing has been completed, but if the tracker has not been paired, please do so as well.)
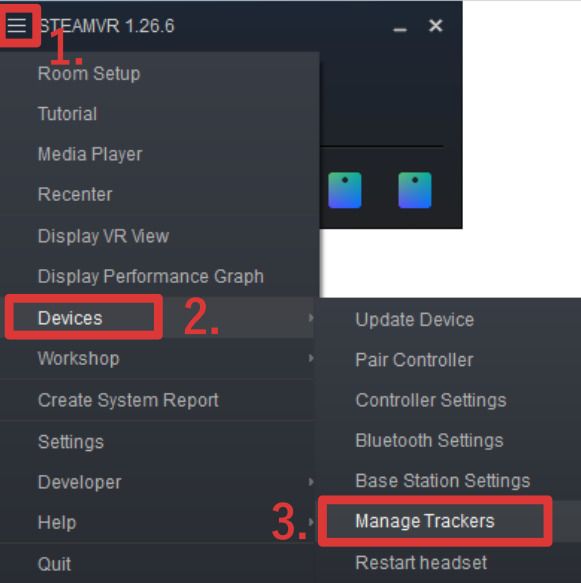
Then press the three-line button in the status window and select Devices > Manage Trackers.
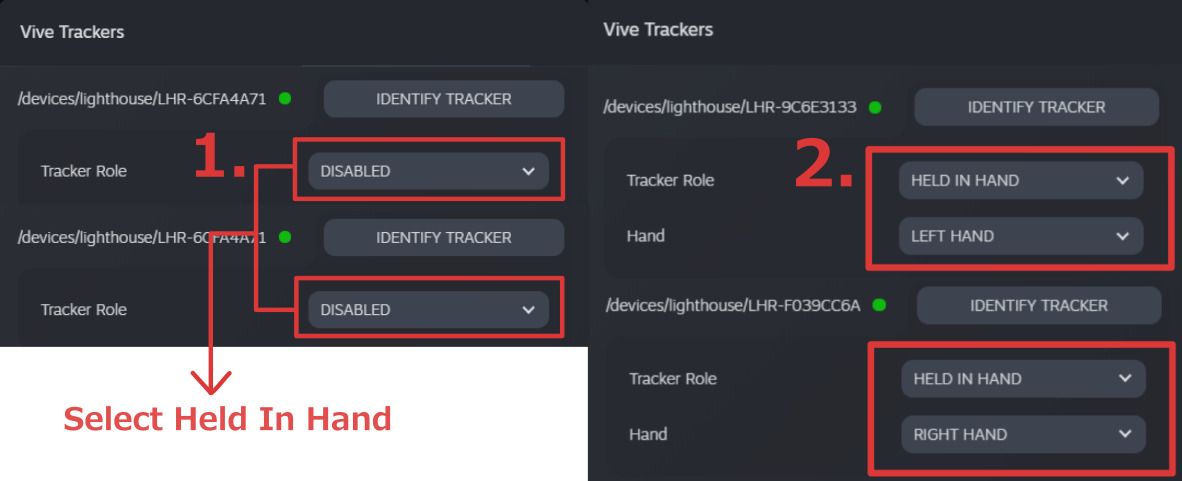
From the list of trackers, find the trackers that attach to the left and right hand controllers.
 Japanese
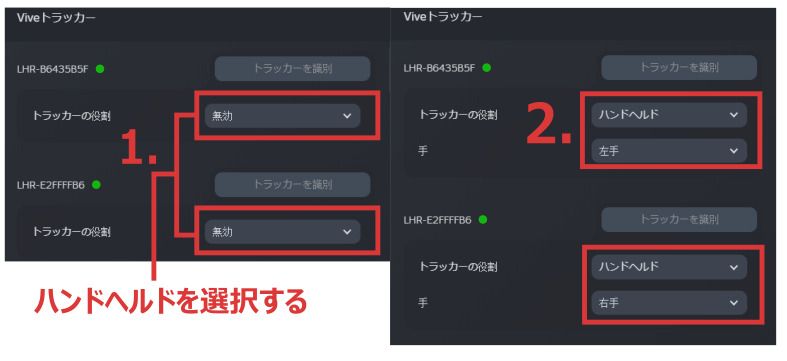 Left hand tracker is Held In Hand > Left Hand
Right hand tracker is Held In Hand > Right Hand
After assigning, restart SteamVR.
If you wear a head-mounted display and your right and left hands follow the tracker, you're good to go 🎉
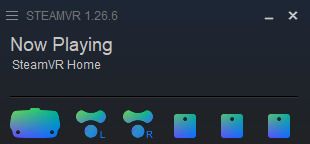 ContactGlove1 tracked and powered on
Always turn on the ContactGlove1 before turning on the tracker. If the tracker is powered on first, the tracker will be recognized as a controller and cannot be operated.
If you accidentally turn on your tracker first, turn off your tracker and then turn on your ContactGlove1.
Congratulations! SteamVR setup is now complete 🎉
Next, we will move on to the basic operation of ContactGlove1.