Setup
Mount mocopi sensors and configure the integration.
1 | Attaching mocopi to the Glove
The images show ContactGlove2 as an example.
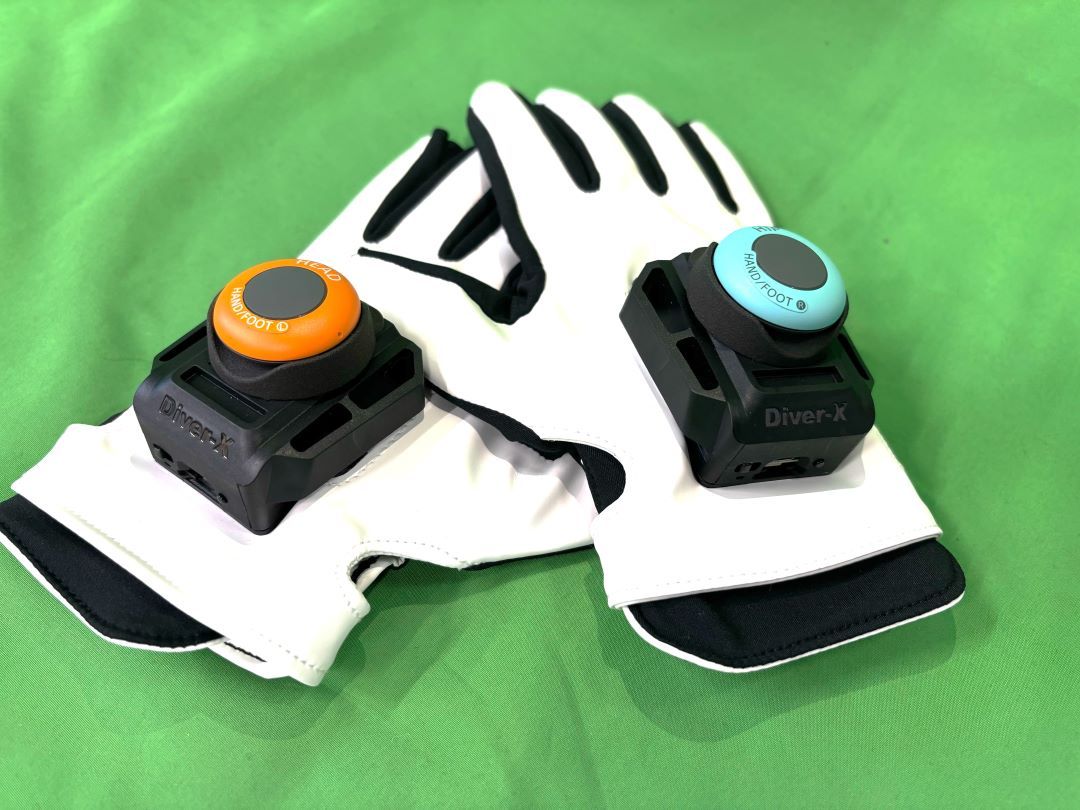
| Step | Notes | Image |
|---|---|---|
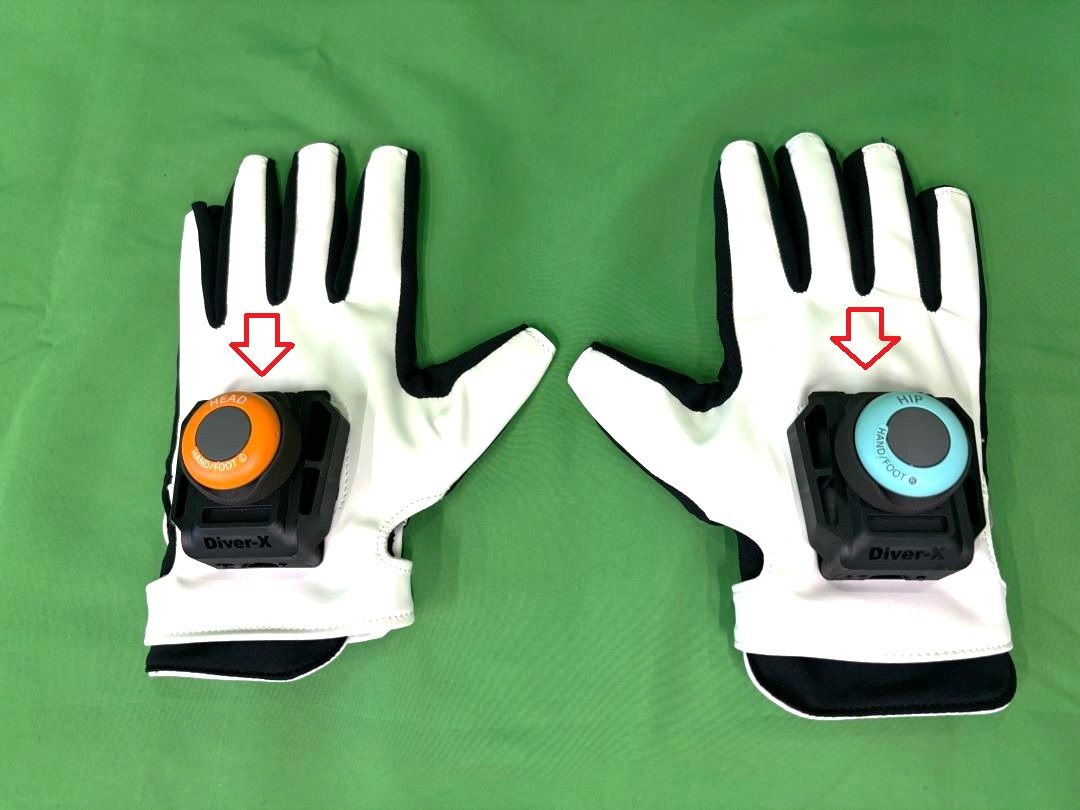
| ① Prepare the mount and mocopi | Right Hand: Blue HIP sensor (HAND/FOOT sensor) Left Hand: Orange HEAD sensor (HAND/FOOT sensor) | 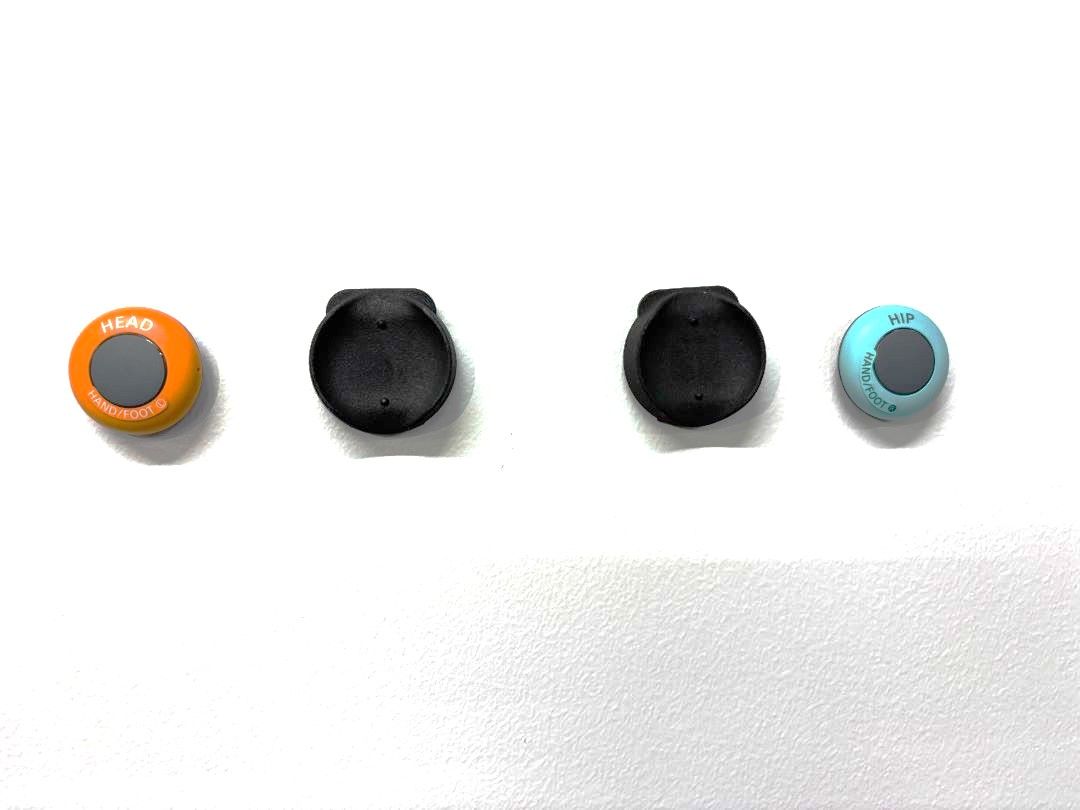 |
| ② Attach mocopi to the mount | The sensor attaches to the mount magnetically. | 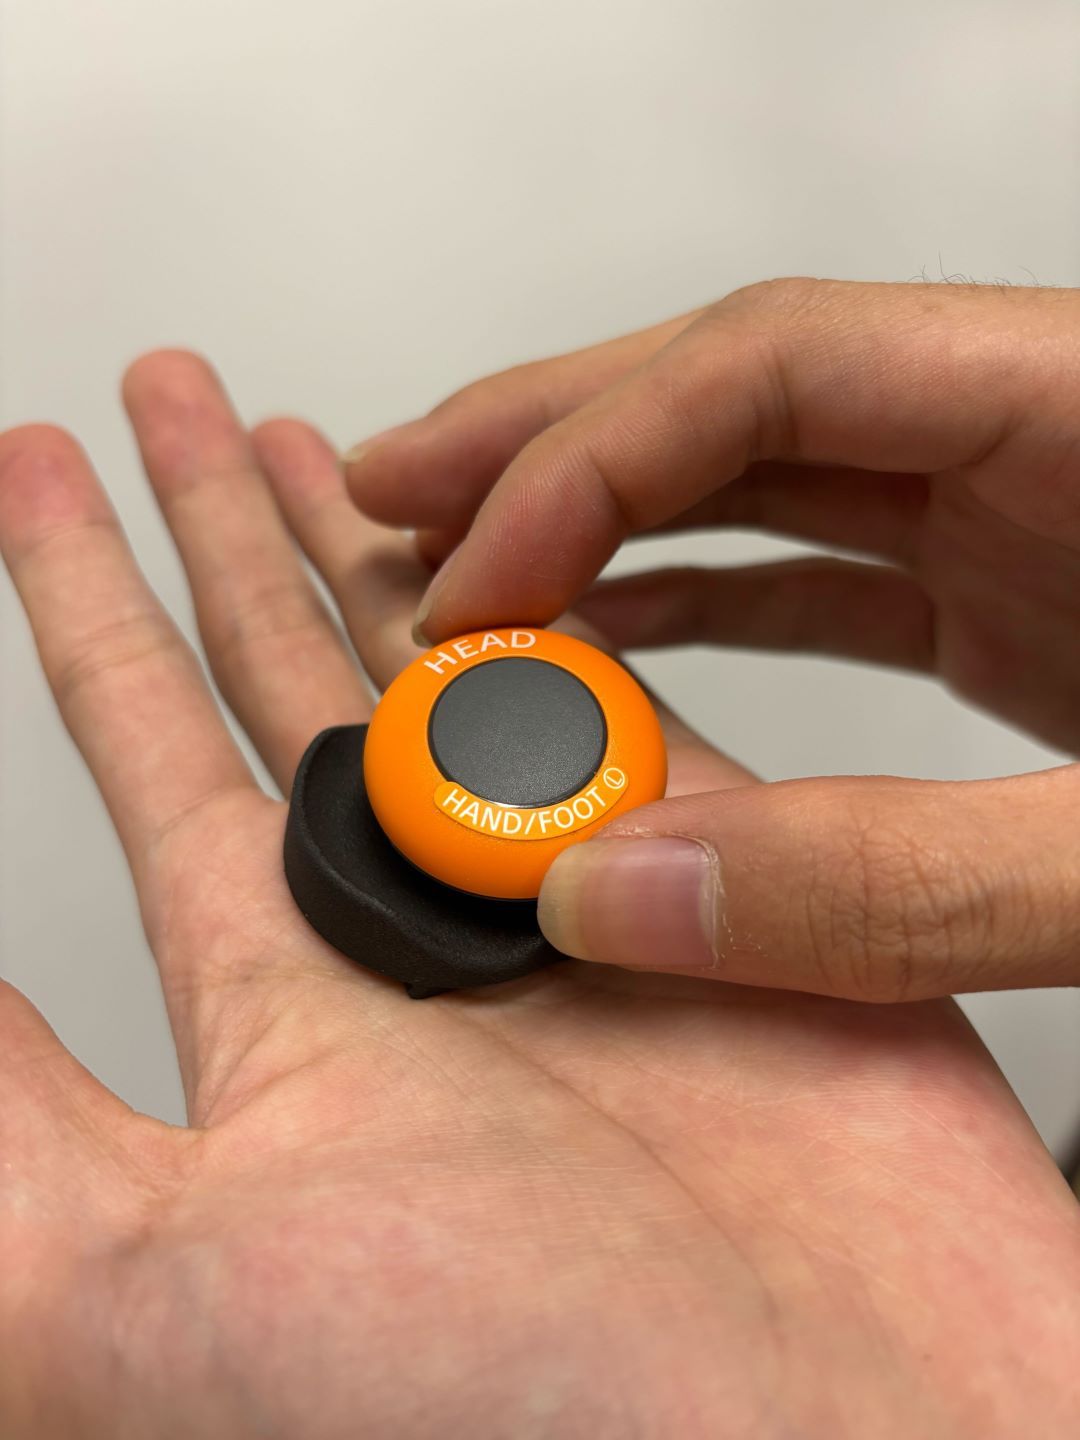 |
| ③ Attach the mount to the Glove | Push the slider in until you hear a click. | 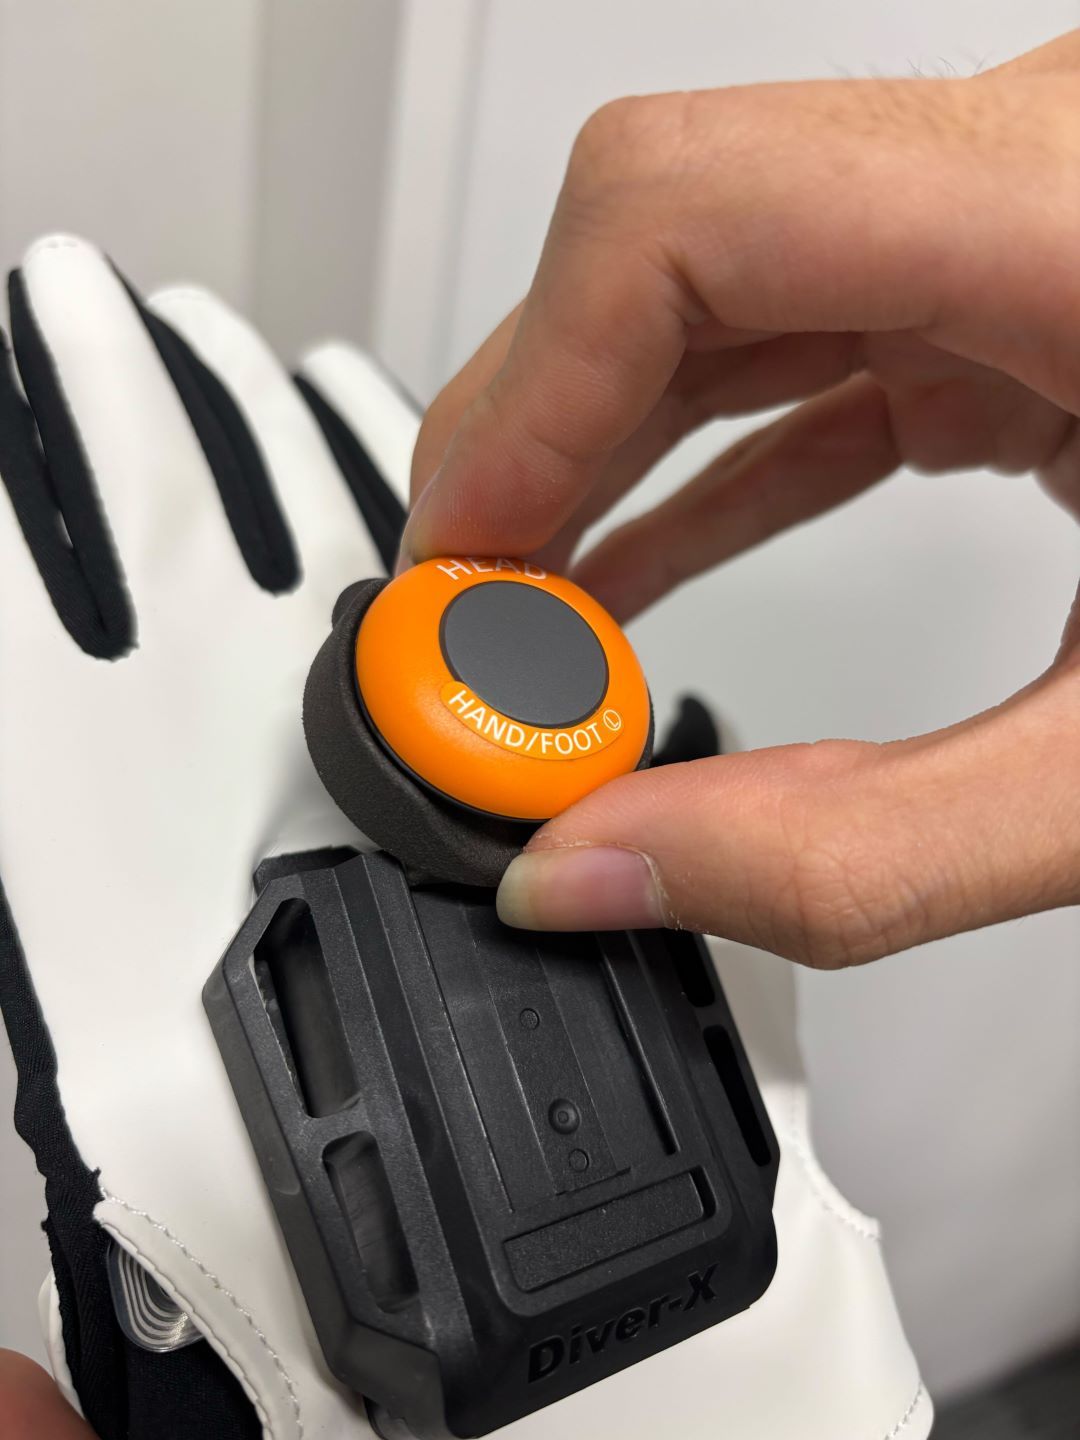 |
| ④ Attach the expansion terminal cover | The fixing screws and cover are included in the ContactGlove set. | 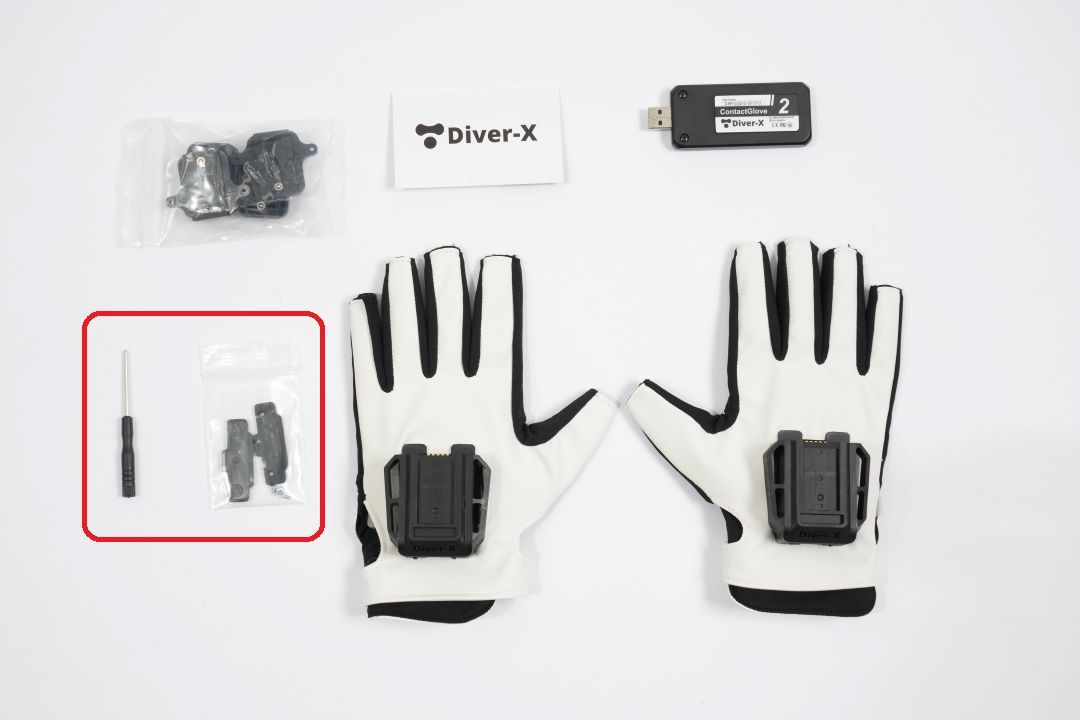 |
 |
2 | Setting Up DivingStation
Since ContactGlove data is sent to VMC via DivingStation, you must first complete the DivingStation setup.
Please refer to the ContactGlove1 setup or ContactGlove2 setup to complete the setup.
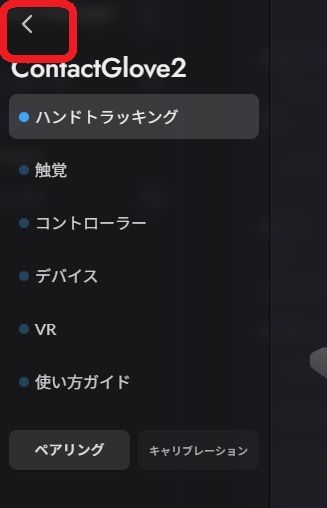
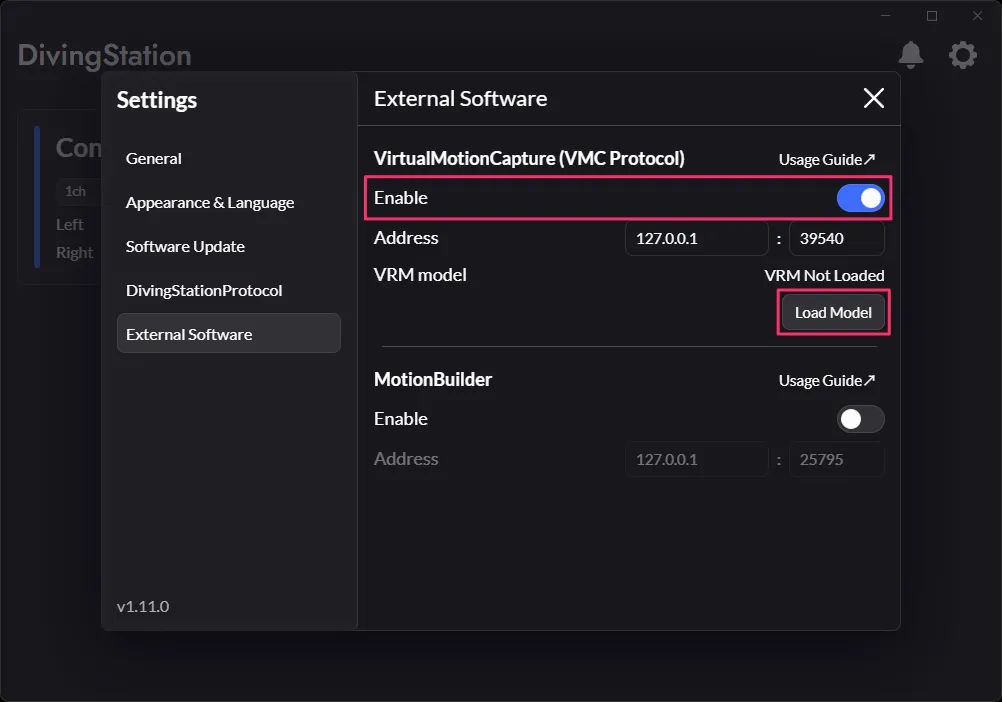
If you are on the glove screen, select Home. Open the DivingStation settings (gear icon), then enable VirtualMotionCapture (VMC Protocol) under External Software.
| ① Return to Home | ② Enable VirtualMotionCapture (VMC Protocol) |
|---|---|
 |  |
3 | [For ContactGlove2 Users]
Proceed to 4 | Download Virtual Motion Capture.
3 | [For ContactGlove1 Users] ContactGlove1 Firmware Update
To use this feature, firmware version 1.3 or later must be installed.
Open ContactGlove1 in DivingStation and check Version for each device in the Devices tab.
Firmware can be reinstalled under Advanced Settings in the same tab.
For detailed instructions, see Firmware Update.
4 | Download Virtual Motion Capture
Download Virtual Motion Capture from the official website and run the EXE file.
For instructions on how to use VMC, please refer to this guide.
5 | Setting Up mocopi
Refer to the official VMC setup guide instructions and configure the mocopi app so that the VMC running on your PC can receive mocopi data.
6 | Setting Up Capture in VMC
The setup is not yet complete. Please proceed to the next page | How to Capture.