ContactSheet Installation Instructions
Notice
ContactSheet is designed to be compatible with Quest 2, Quest 3, and Quest Pro controllers, which have different shapes.
As a result, the degree of adhesion between ContactSheet and the controller may vary.
Even if the unit is slightly lifted from the controller, it will not affect functionality, so please rest assured.
Meta Quest 2 Touch Controller / Meta Quest Touch Plus Controller
Notice
These instructions are for use with Quest 2/3. The procedure differs for Quest Pro.
- Attach the included third-party strap. (Refer to the instruction manual included with the strap for installation details.)
Notice
If you do not use the included strap with Quest 2/3, be sure to attach the original strap before using ContactSheet.
| [ Quest 2 with Strap ] | [ Quest 3 with Strap ] |
|---|---|
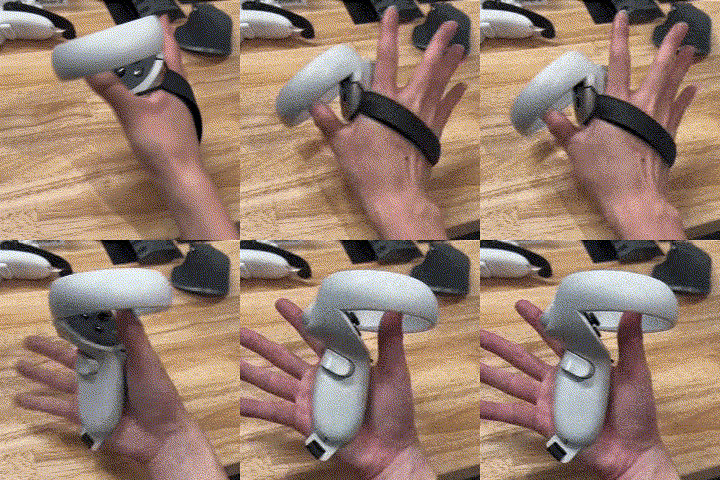 | 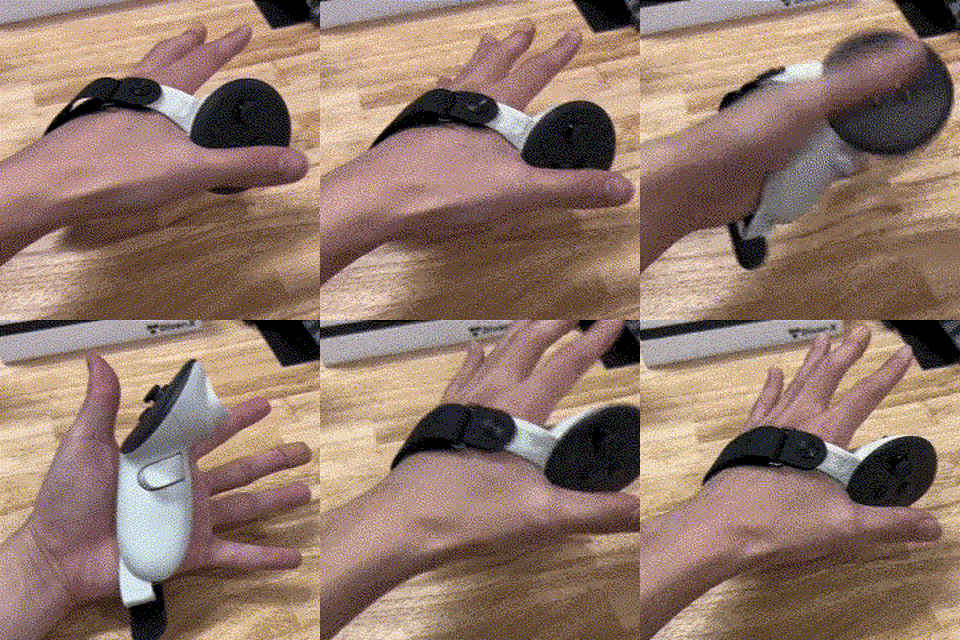 |
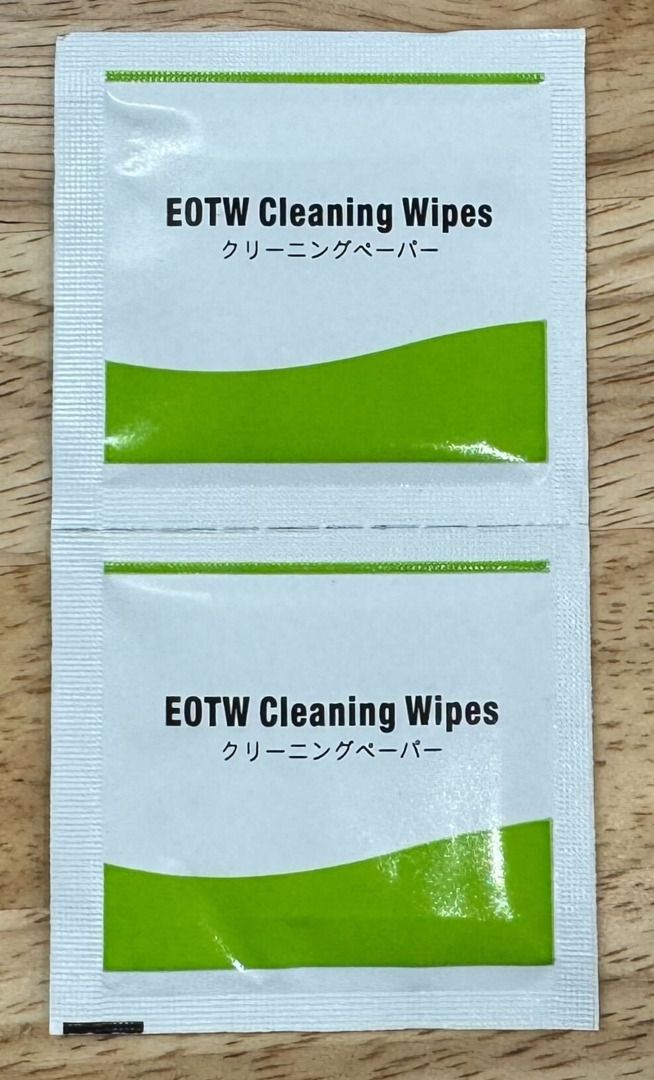
- Clean the controller surface using the included cleaner.
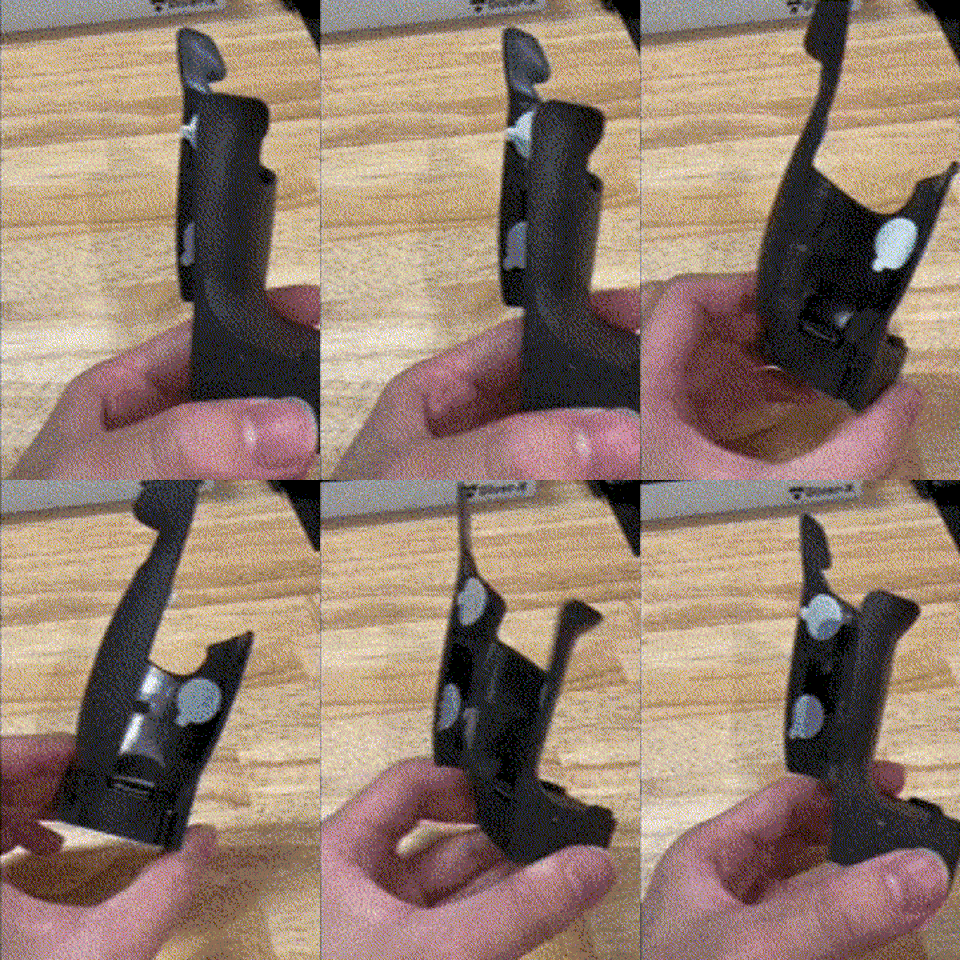
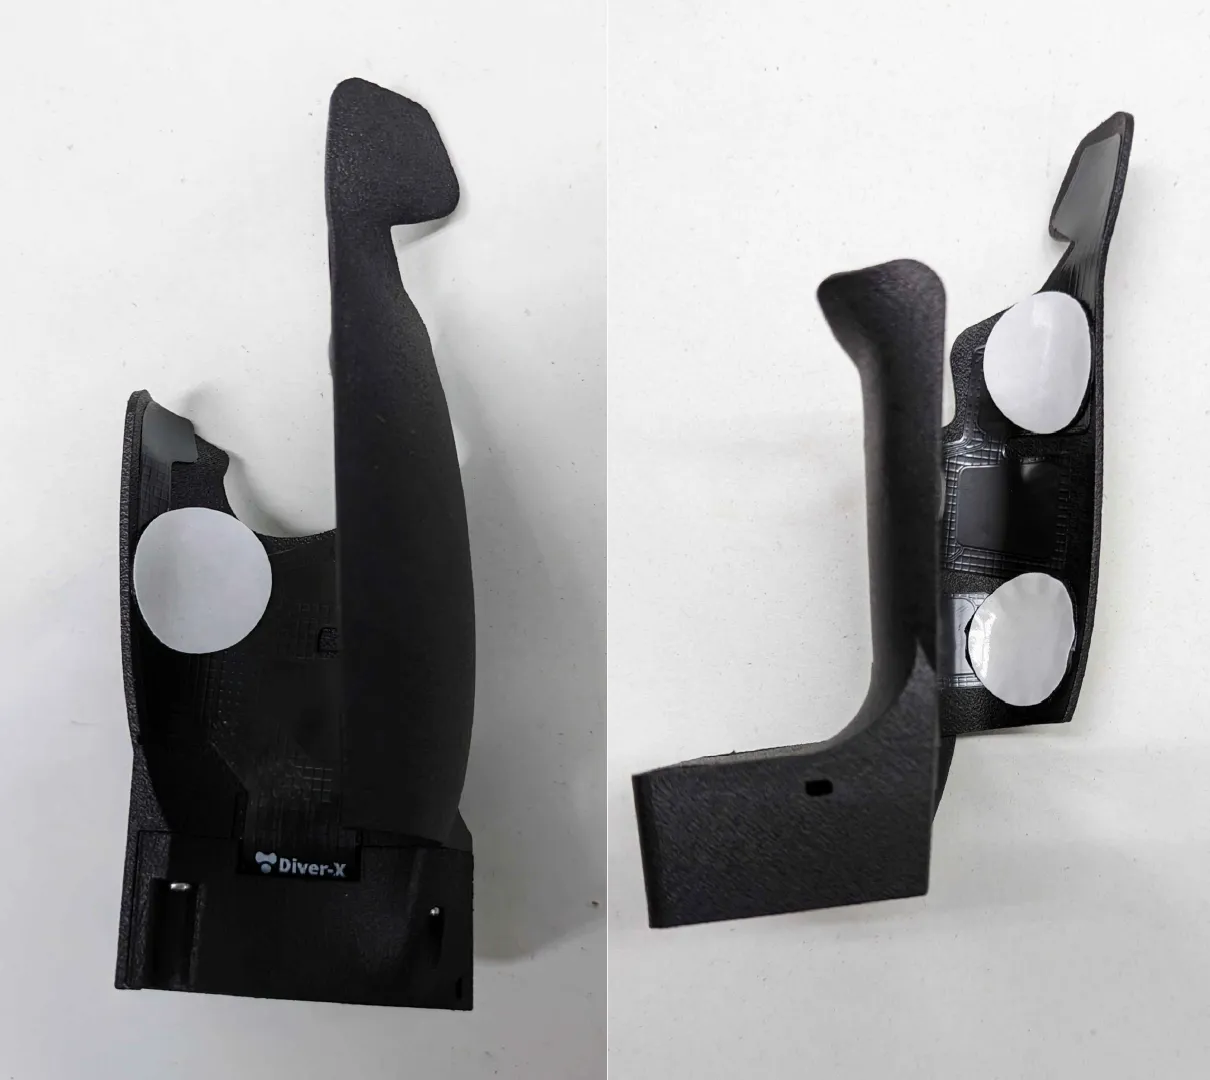
- Attach three of the included stickers to the inside of ContactSheet as shown in the images.
For removal instructions, click here.
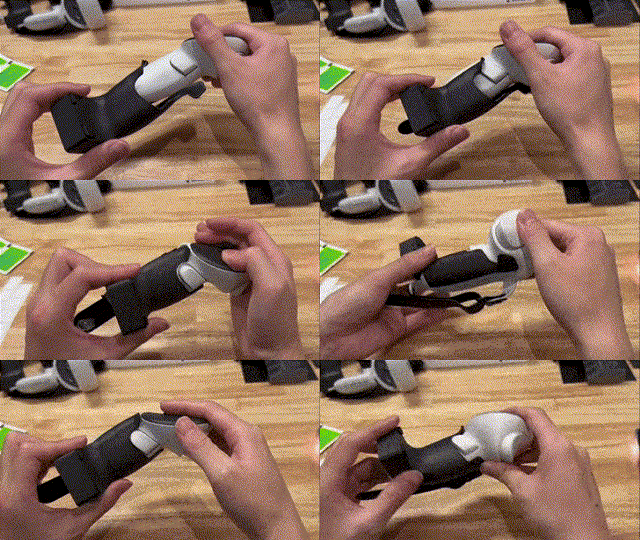
- Attach the ContactSheet unit to the controller.
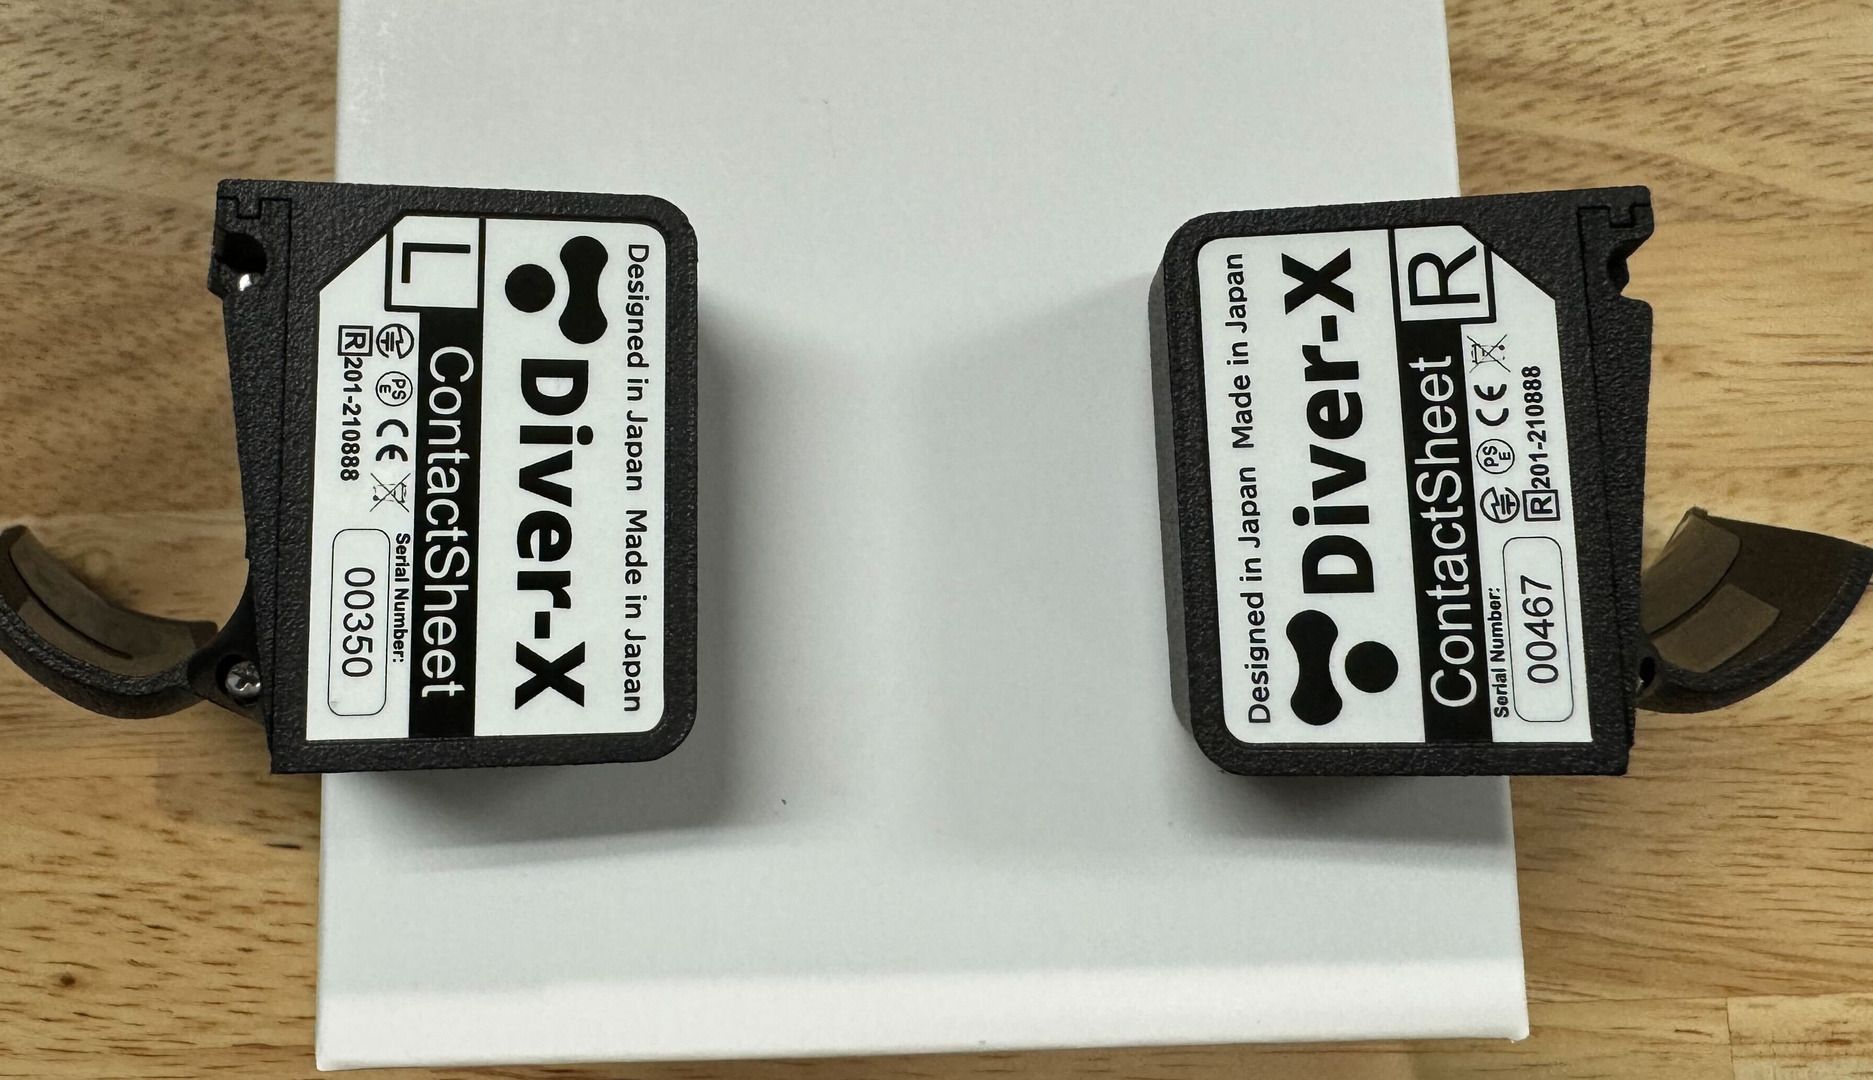
Check the markings on the bottom of the ContactSheet unit to ensure correct left/right placement.
Quest Touch Pro Controller
Notice
Be sure to attach the included strap before using ContactSheet.
- Attach the included DESTEK HAND GRIP PROTECTOR COVER (third-party) to the controller. (Refer to the instruction manual included with the strap for installation details.)
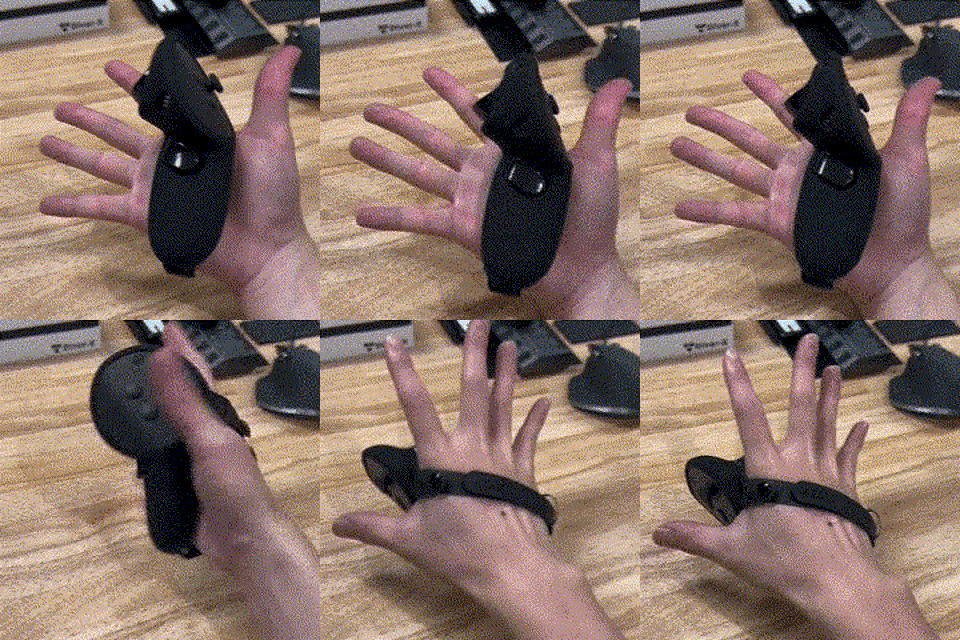
- Secure ContactSheet to the controller over the PROTECTOR COVER using the included silicone band.
When attaching the silicone band, you need to remove the strap belt from the cover.
Notice
Do not attach double-sided tape to the ContactSheet unit when using it with Quest Pro controllers.
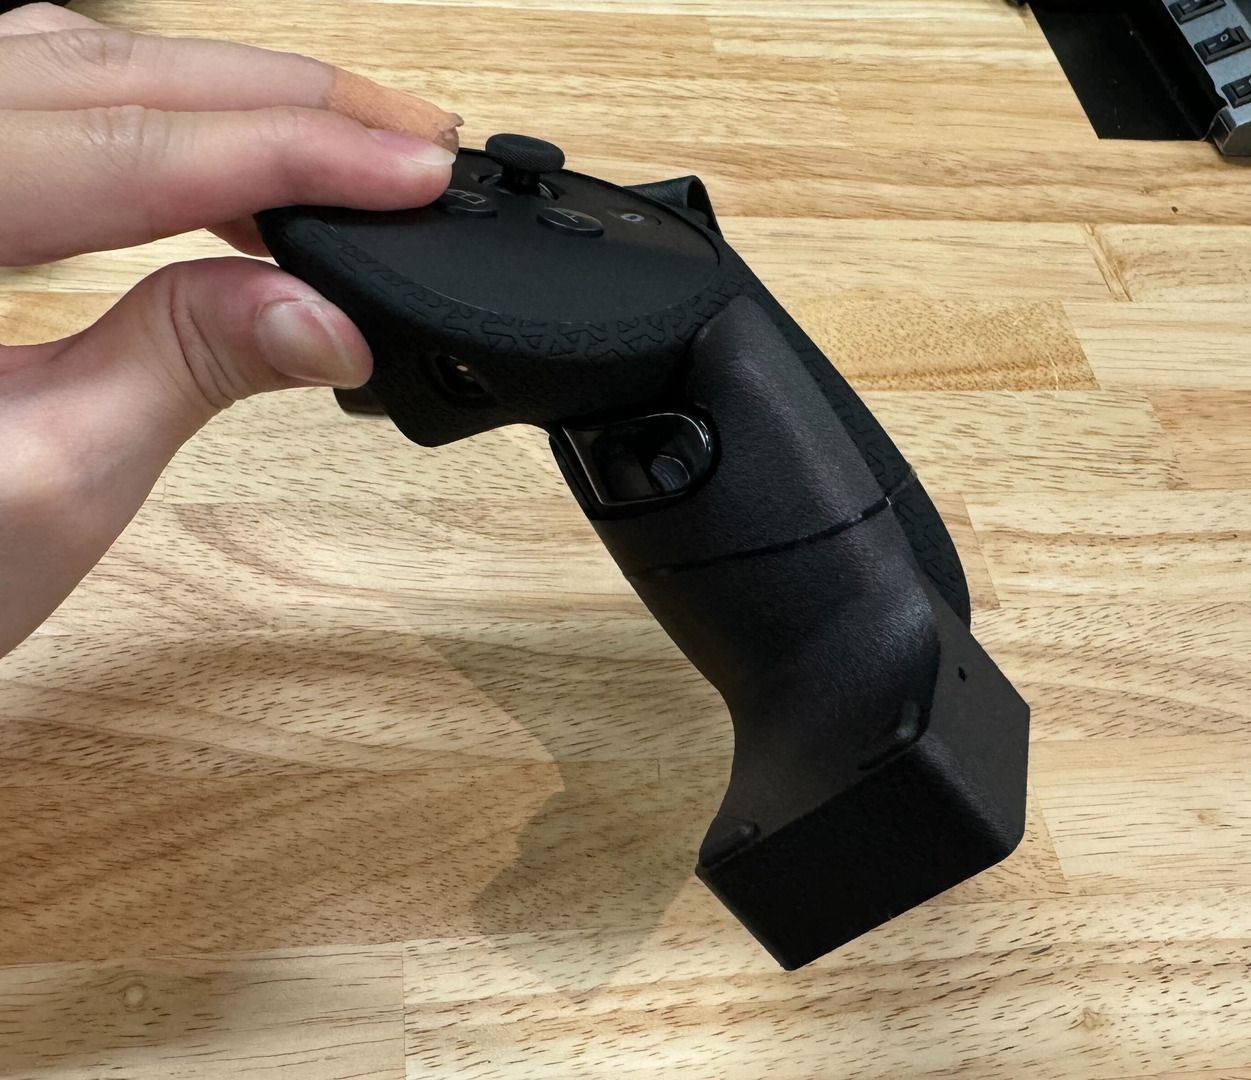
Check the markings on the bottom of the ContactSheet unit to ensure correct left/right placement.
Troubleshooting
The index finger sensor section of the unit is lifted from the controller surface
Due to the design accommodating different controller shapes, this section may be slightly lifted, typically within a range of 2-5mm.
- If it is lifted by more than 1 cm:
- First, try adjusting the position of the unit to see if the lifting improves.
- If the issue persists, we recommend attaching additional double-sided tape to secure the lifted section.