Device Setup Instructions
Initial Setup
Note
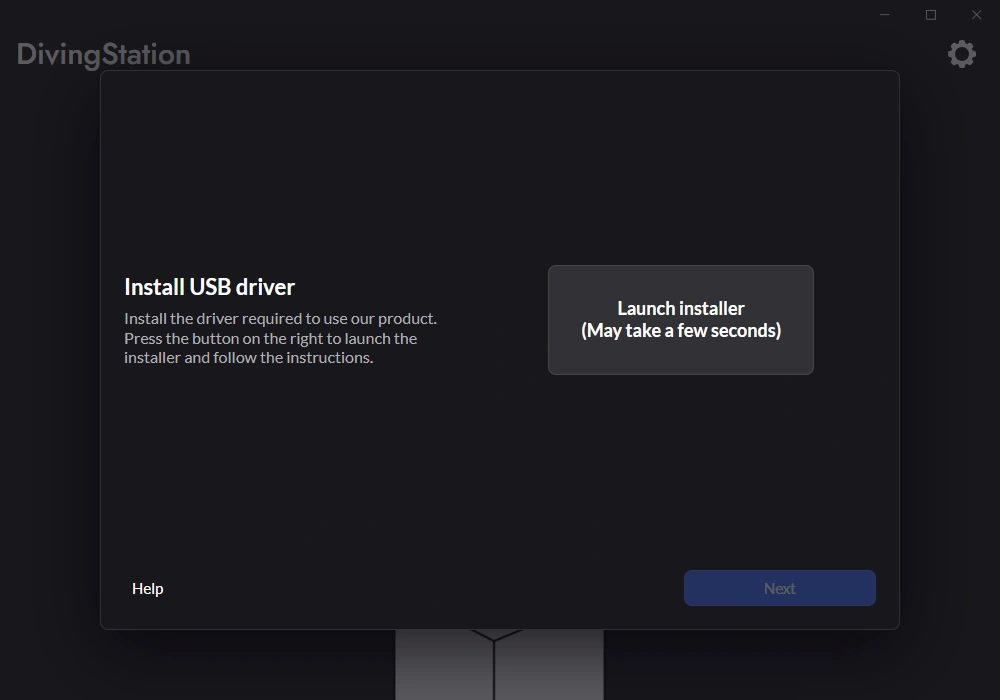
When using for the first time, you may be prompted to install drivers and update the firmware for the dongle and main unit when starting DivingStation. Please follow the on-screen instructions to install and update.
The procedure is as follows.
- Start DivingStation and follow the on-screen instructions to install the device drivers.
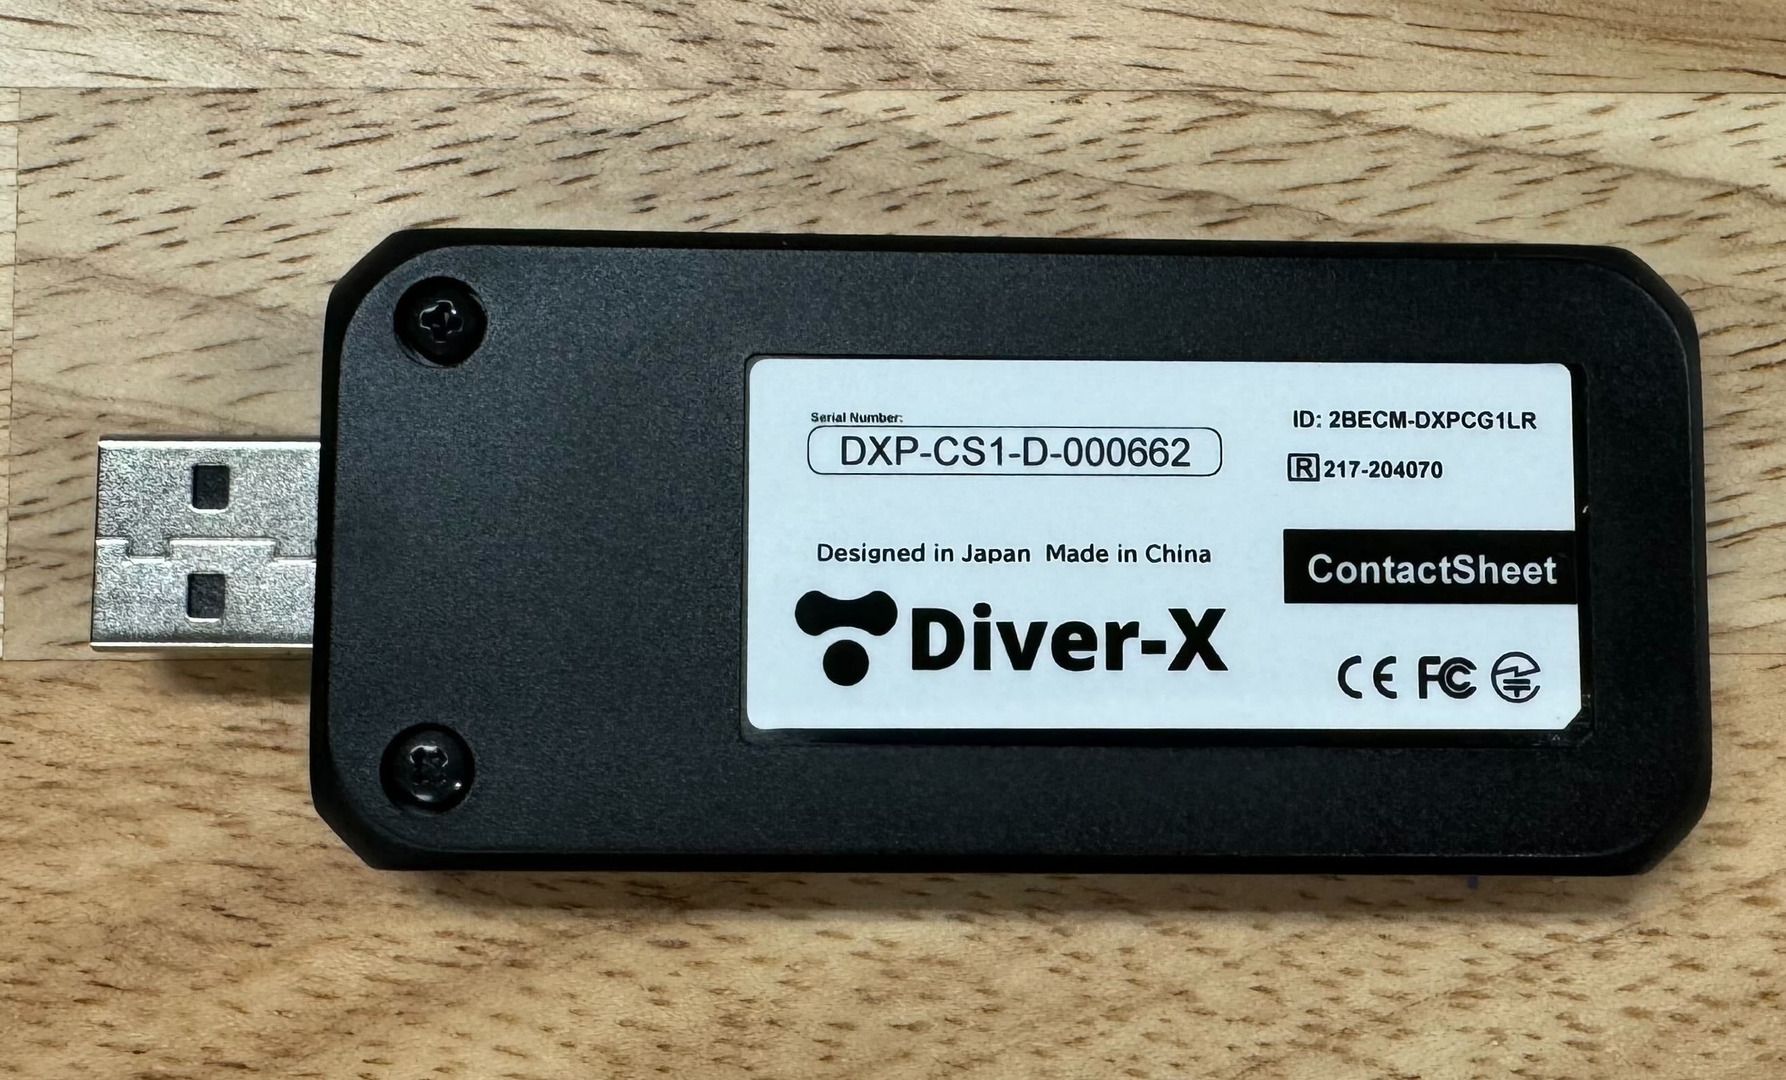
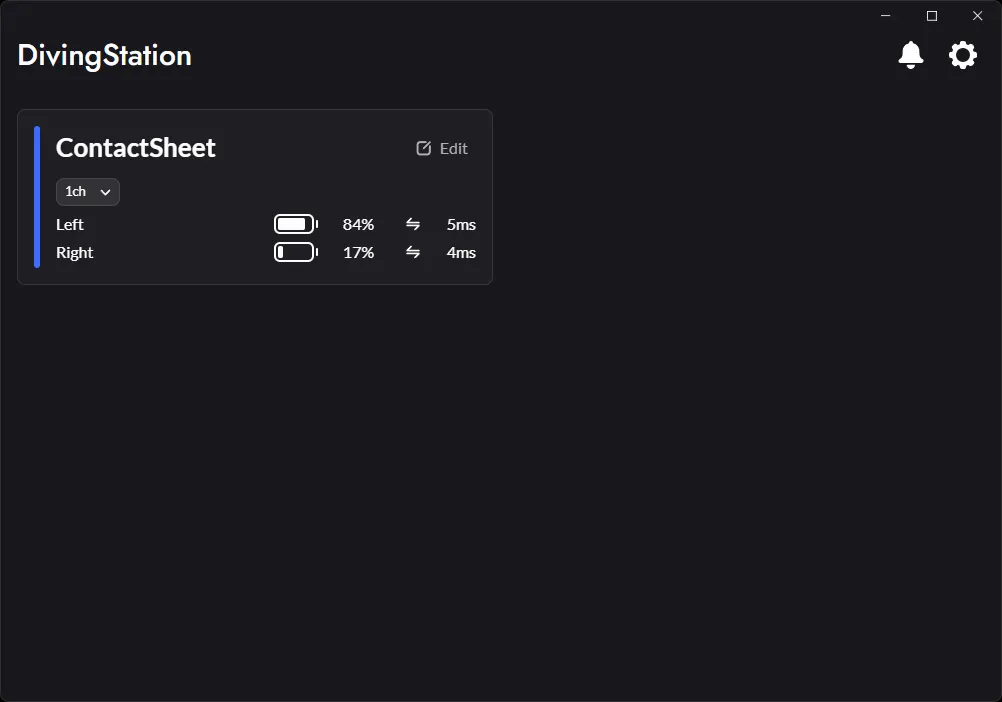
- Insert the ContactSheet dongle into your PC and select the "ContactSheet" panel that appears.
- Press and hold the power button on the ContactSheet main unit to turn on both the left and right sides.
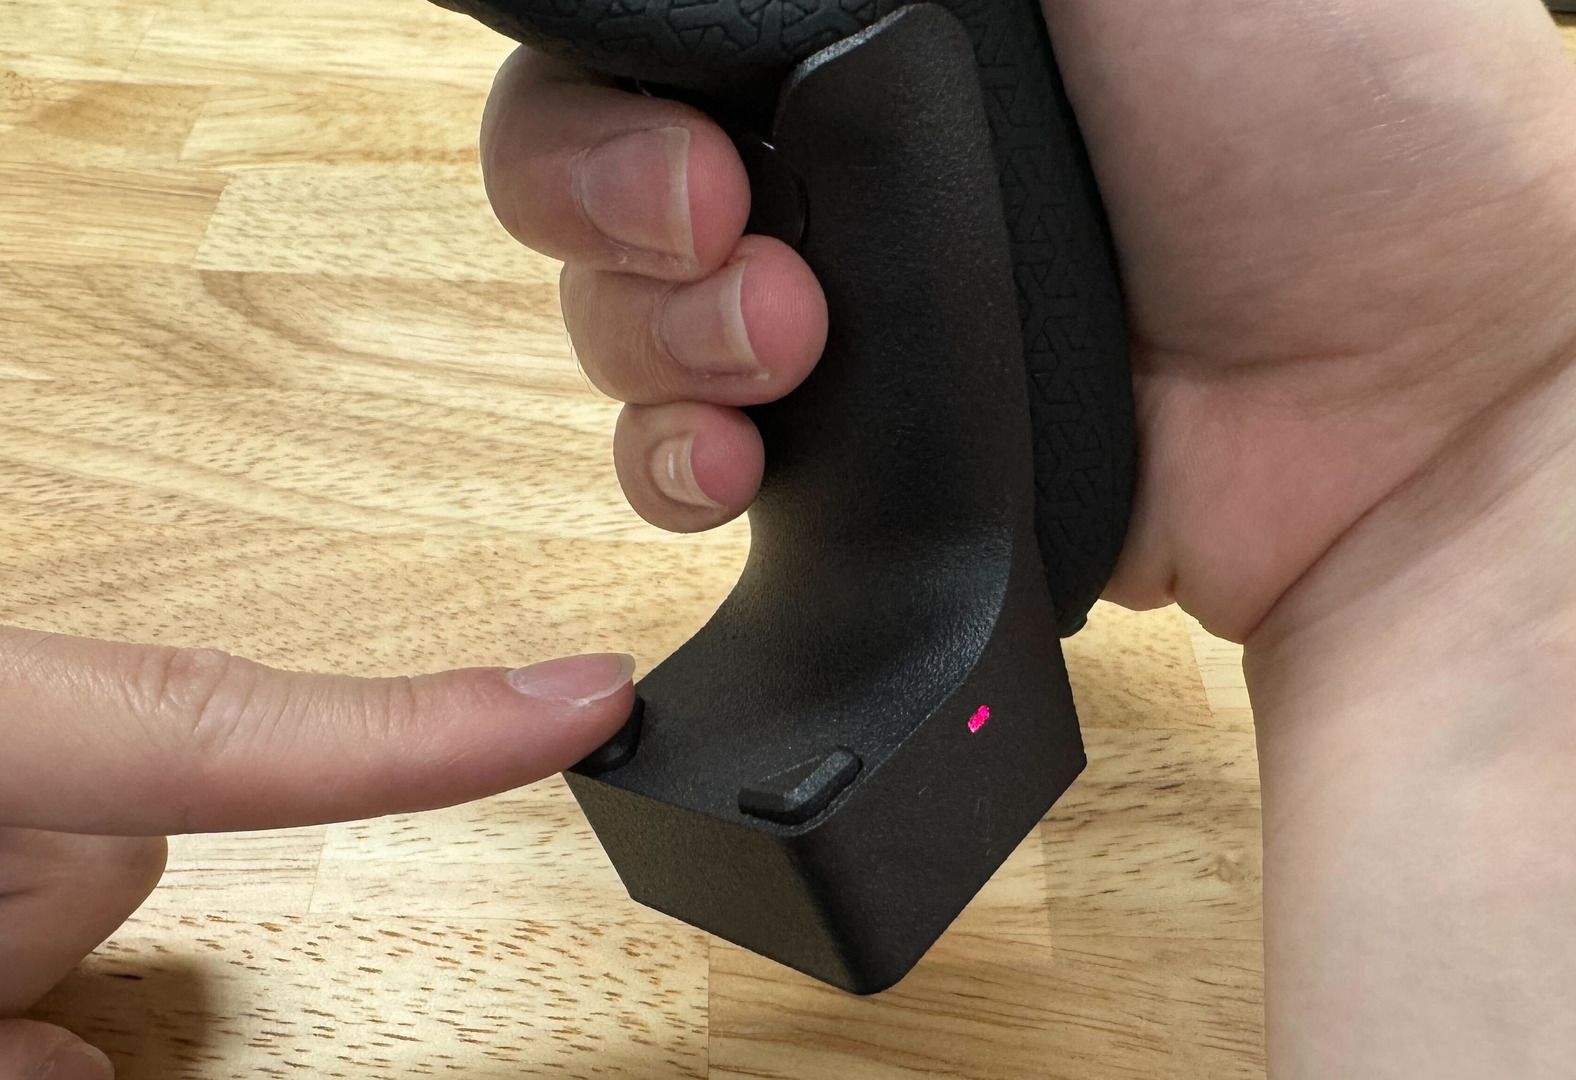
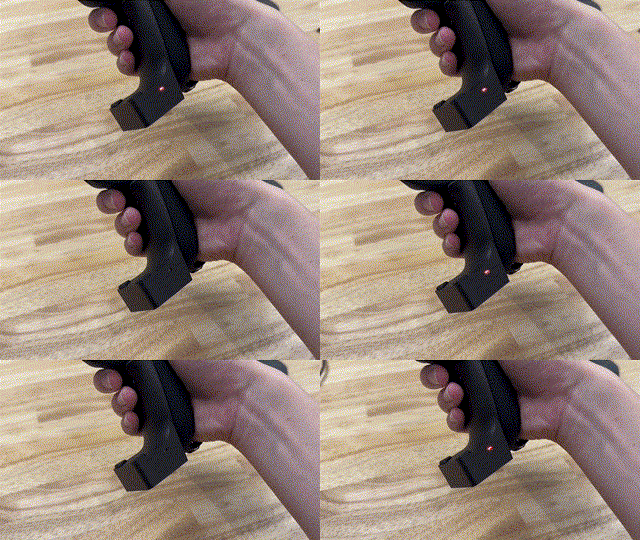
- When the ContactSheet main unit flashes red and turns on, connect each to the PC with the included USB cables.
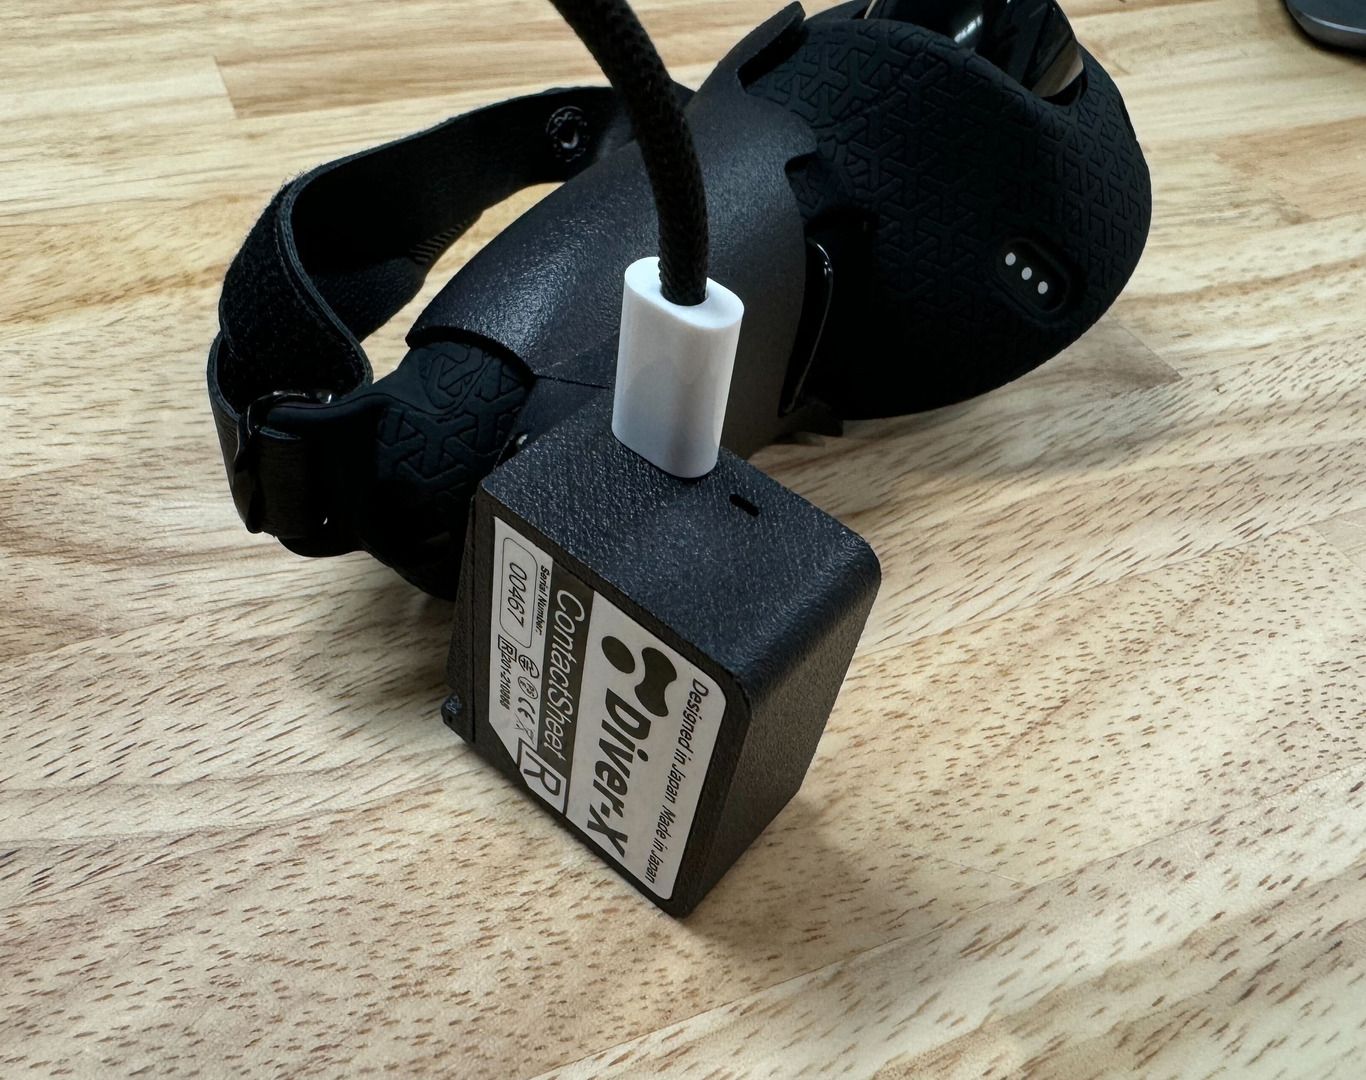
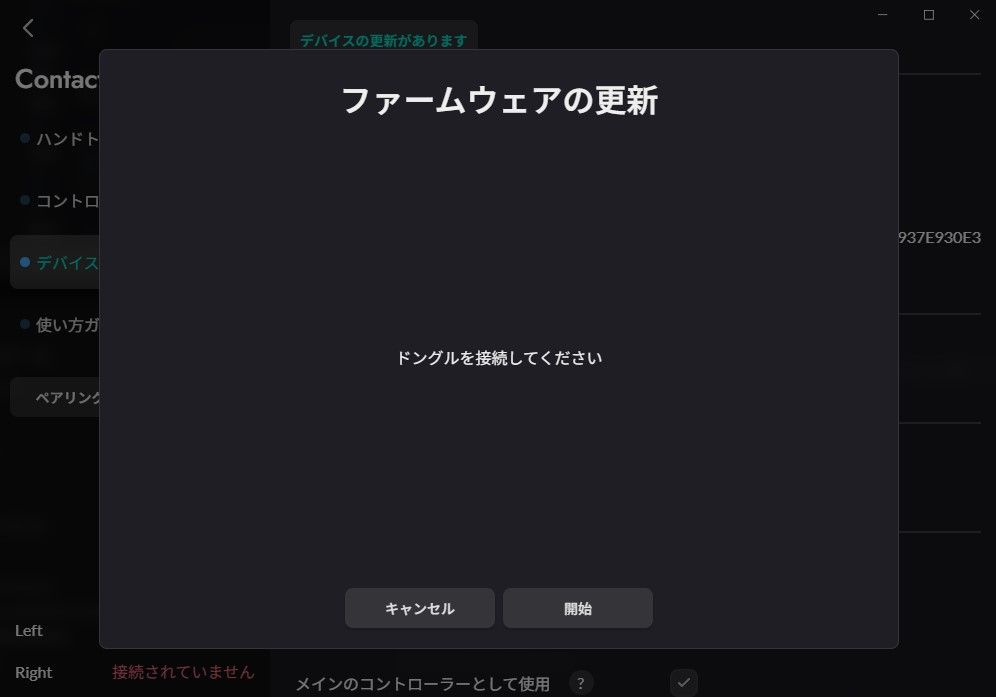
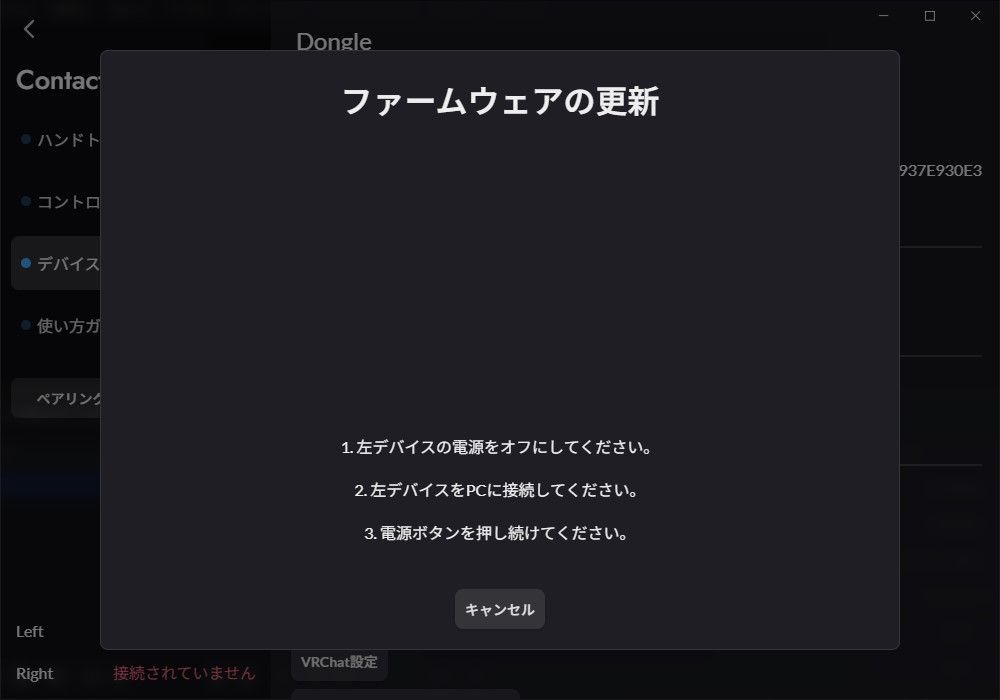
- Follow the on-screen instructions in DivingStation to update the firmware for the ContactSheet dongle and the left/right ContactSheet units, in order.
- Plug in the device and follow the on-screen instructions to press and hold the power button to start the firmware update.
- After the firmware update, the ContactSheet main unit will automatically turn OFF.
Initial FW Update Screen-flow (Firmware update will start as soon as the device is plugged in)
-
[ Dongle ]
-
[ ContactSheet Left ]
-
[ ContactSheet Right ]
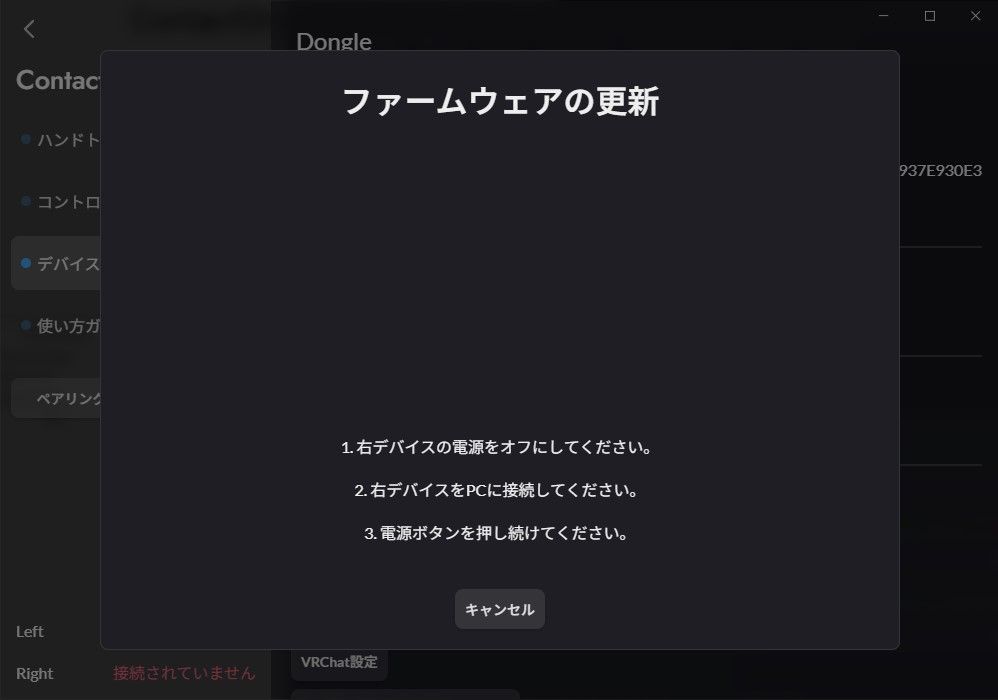
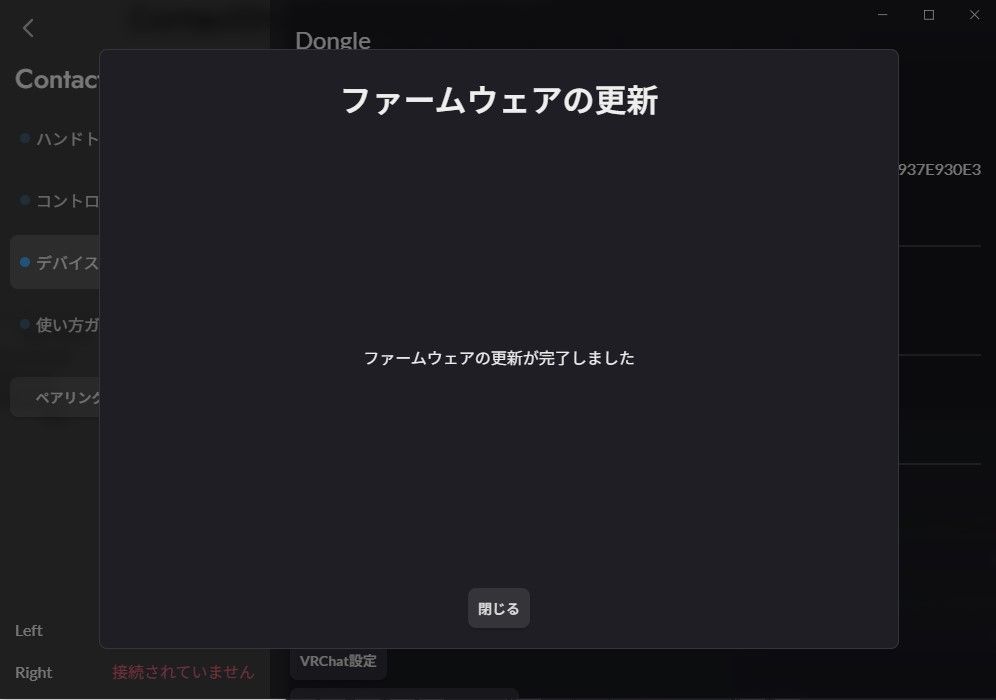
FW update completed!
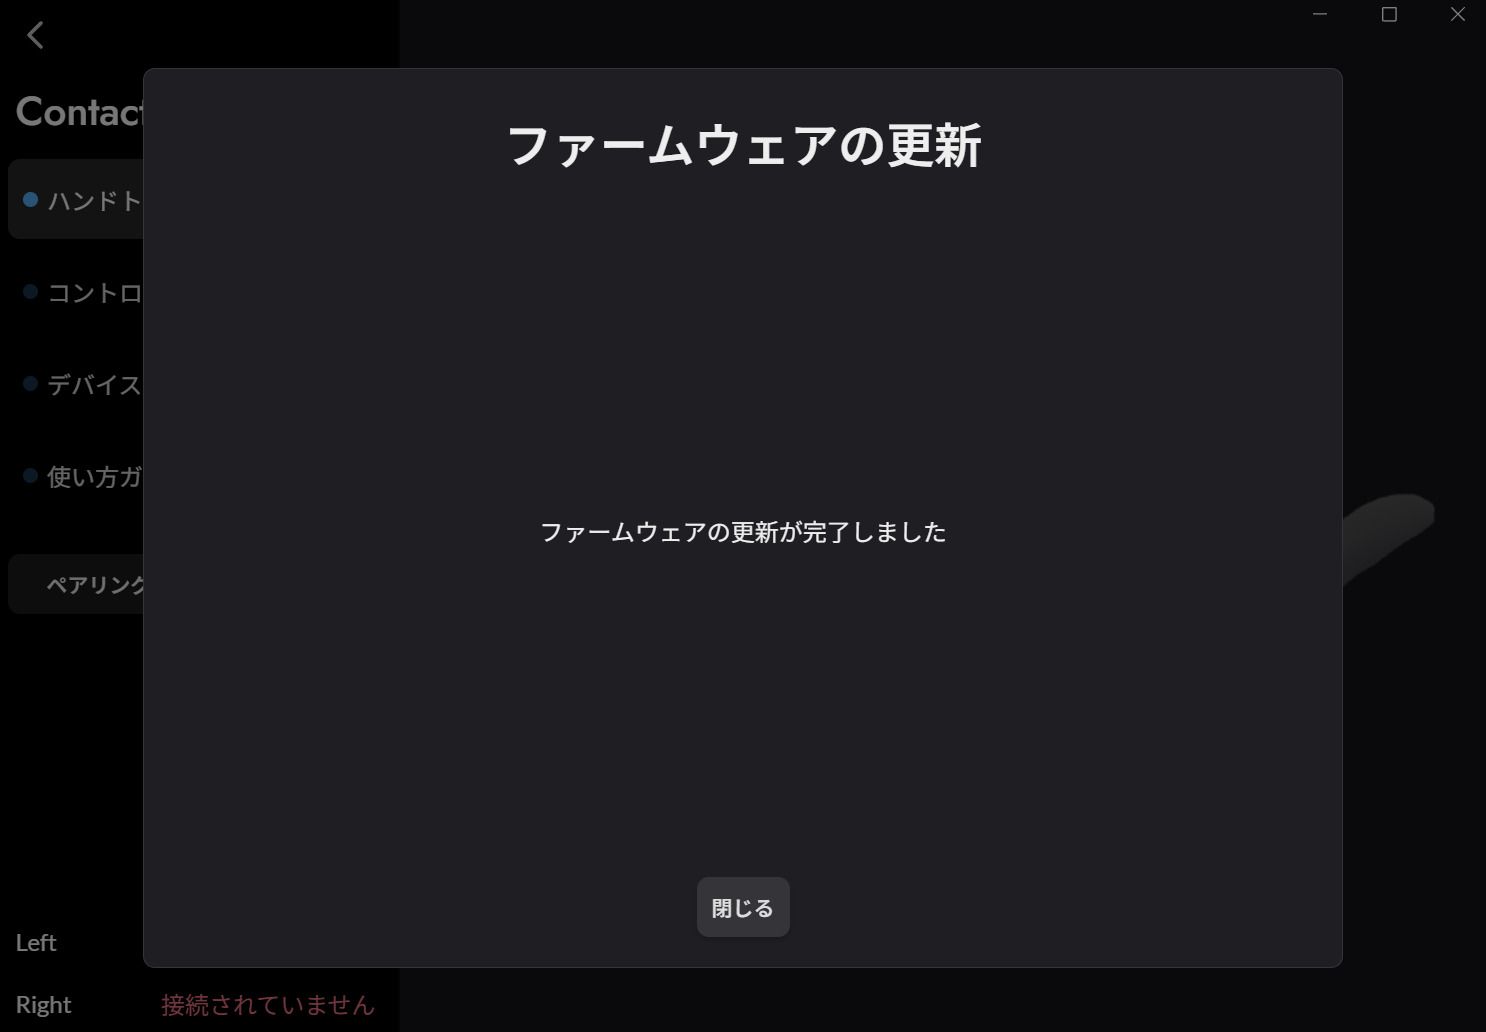
Do not turn off the ContactSheet main unit or unplug the dongle during the firmware update.
If the initial FW update fails
If this screen appears, please manually update (update/reinstall firmware) the device.
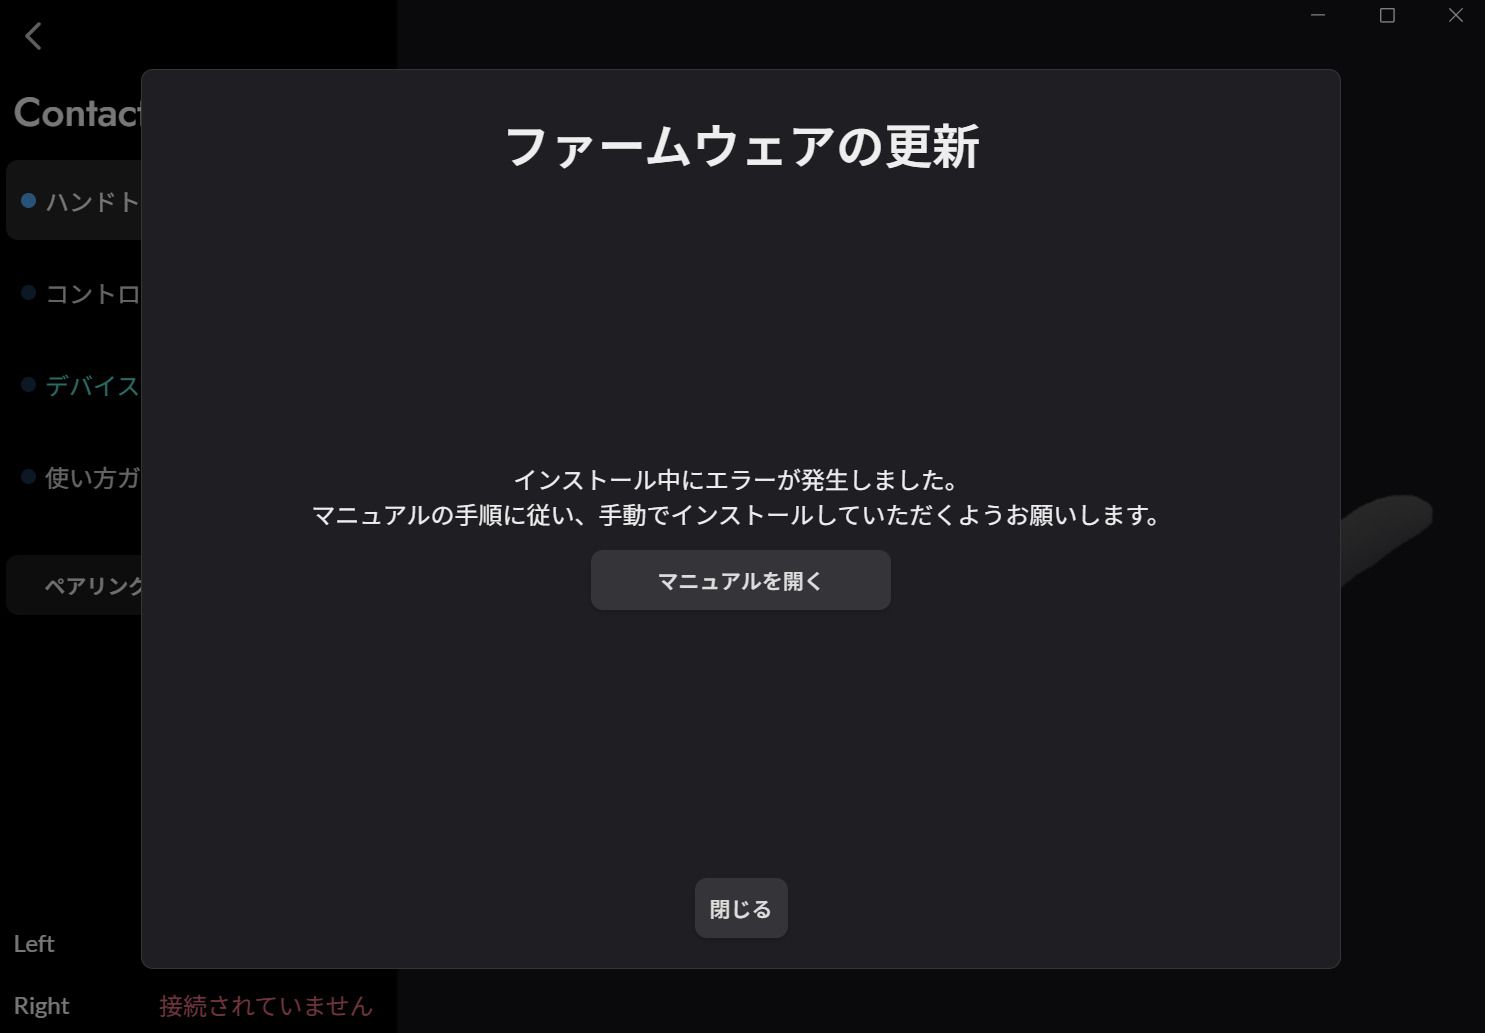
-> Go to manual firmware reinstallation procedure
Manual Firmware Reinstallation Procedure
- Start DivingStation and insert the ContactSheet dongle into your PC.
- Press and hold the power button on the ContactSheet main unit to turn on both the left and right sides.
- Once the main units are on, connect each to the PC with the included USB cables.
- In DivingStation, open the Devices tab, scroll to Advanced Settings, and select Reinstall Firmware (or Update or Reinstall Firmware when an update is available).
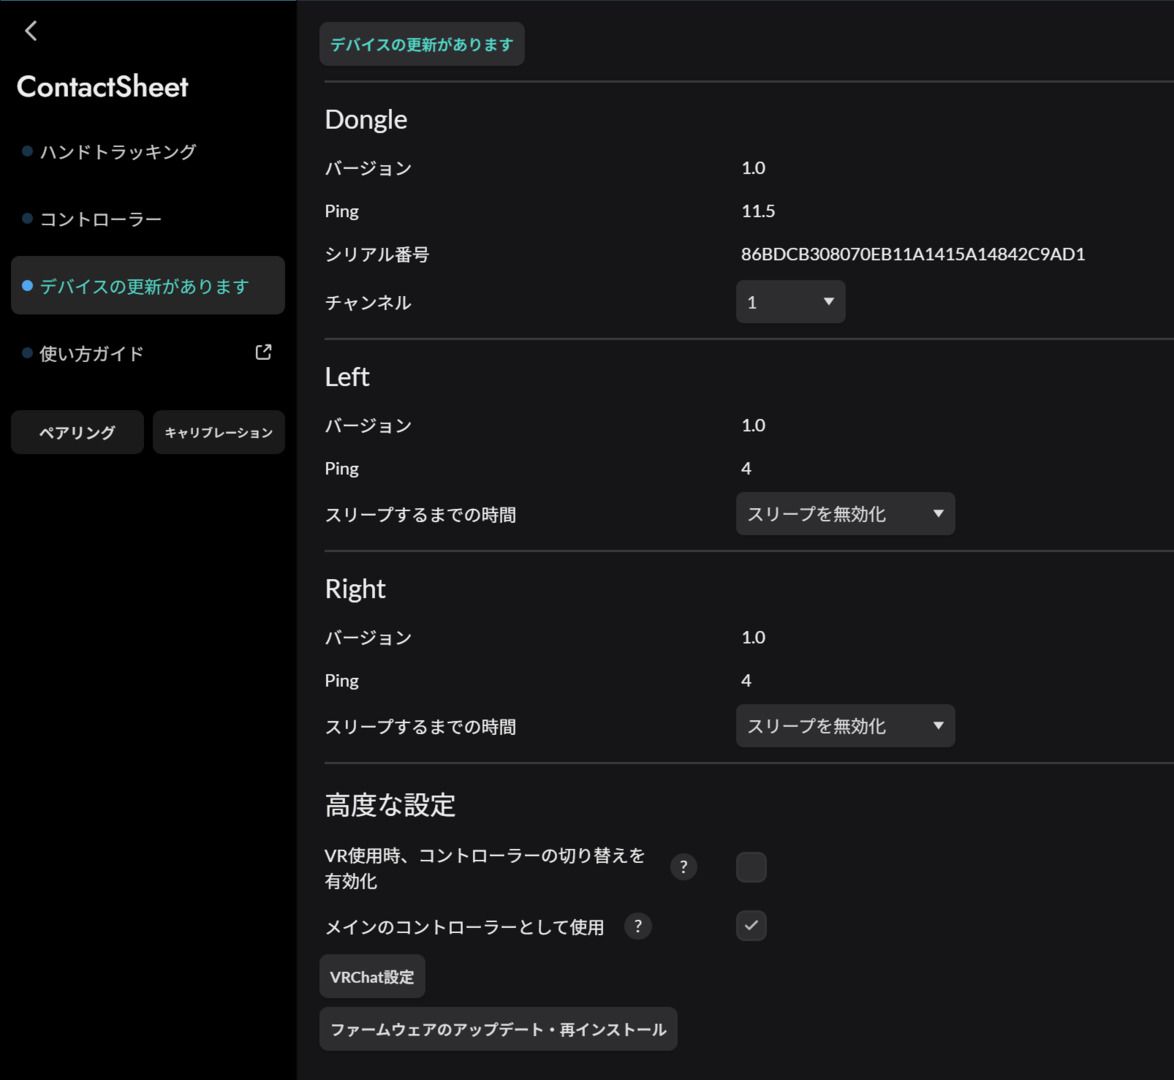
- From the bottom of the Firmware Reinstallation screen, click Dongle to update the FW.
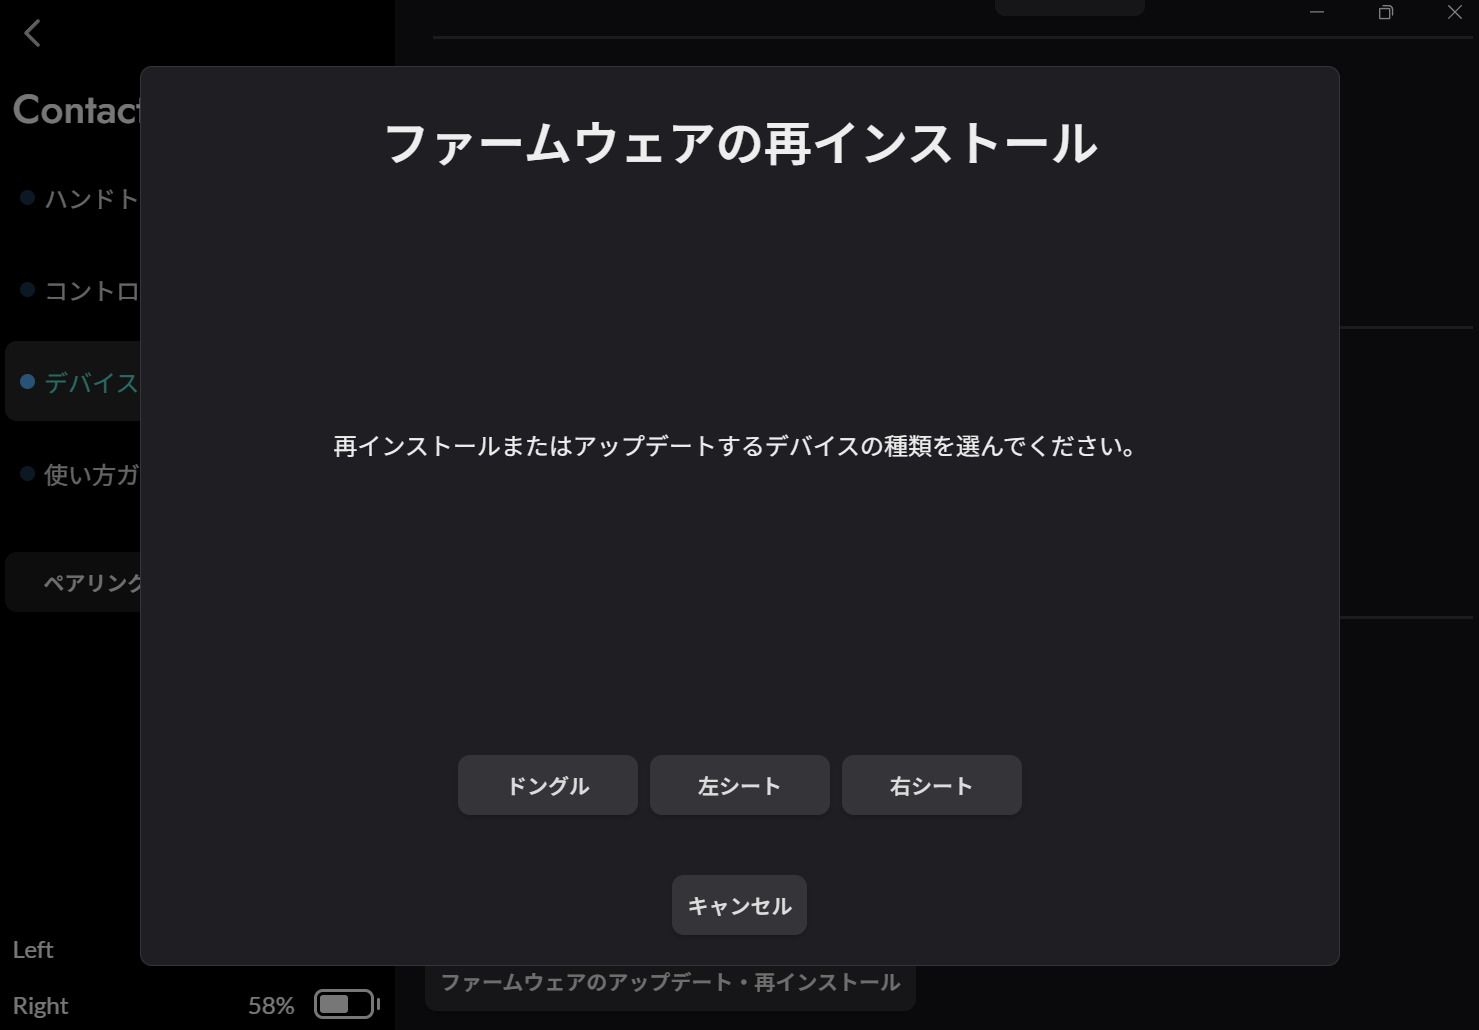
- From the Firmware Reinstallation screen, do the same for the left and right units.
Initial setup is complete!
Dongle Connection
- Start DivingStation and insert the ContactSheet dongle into your PC.
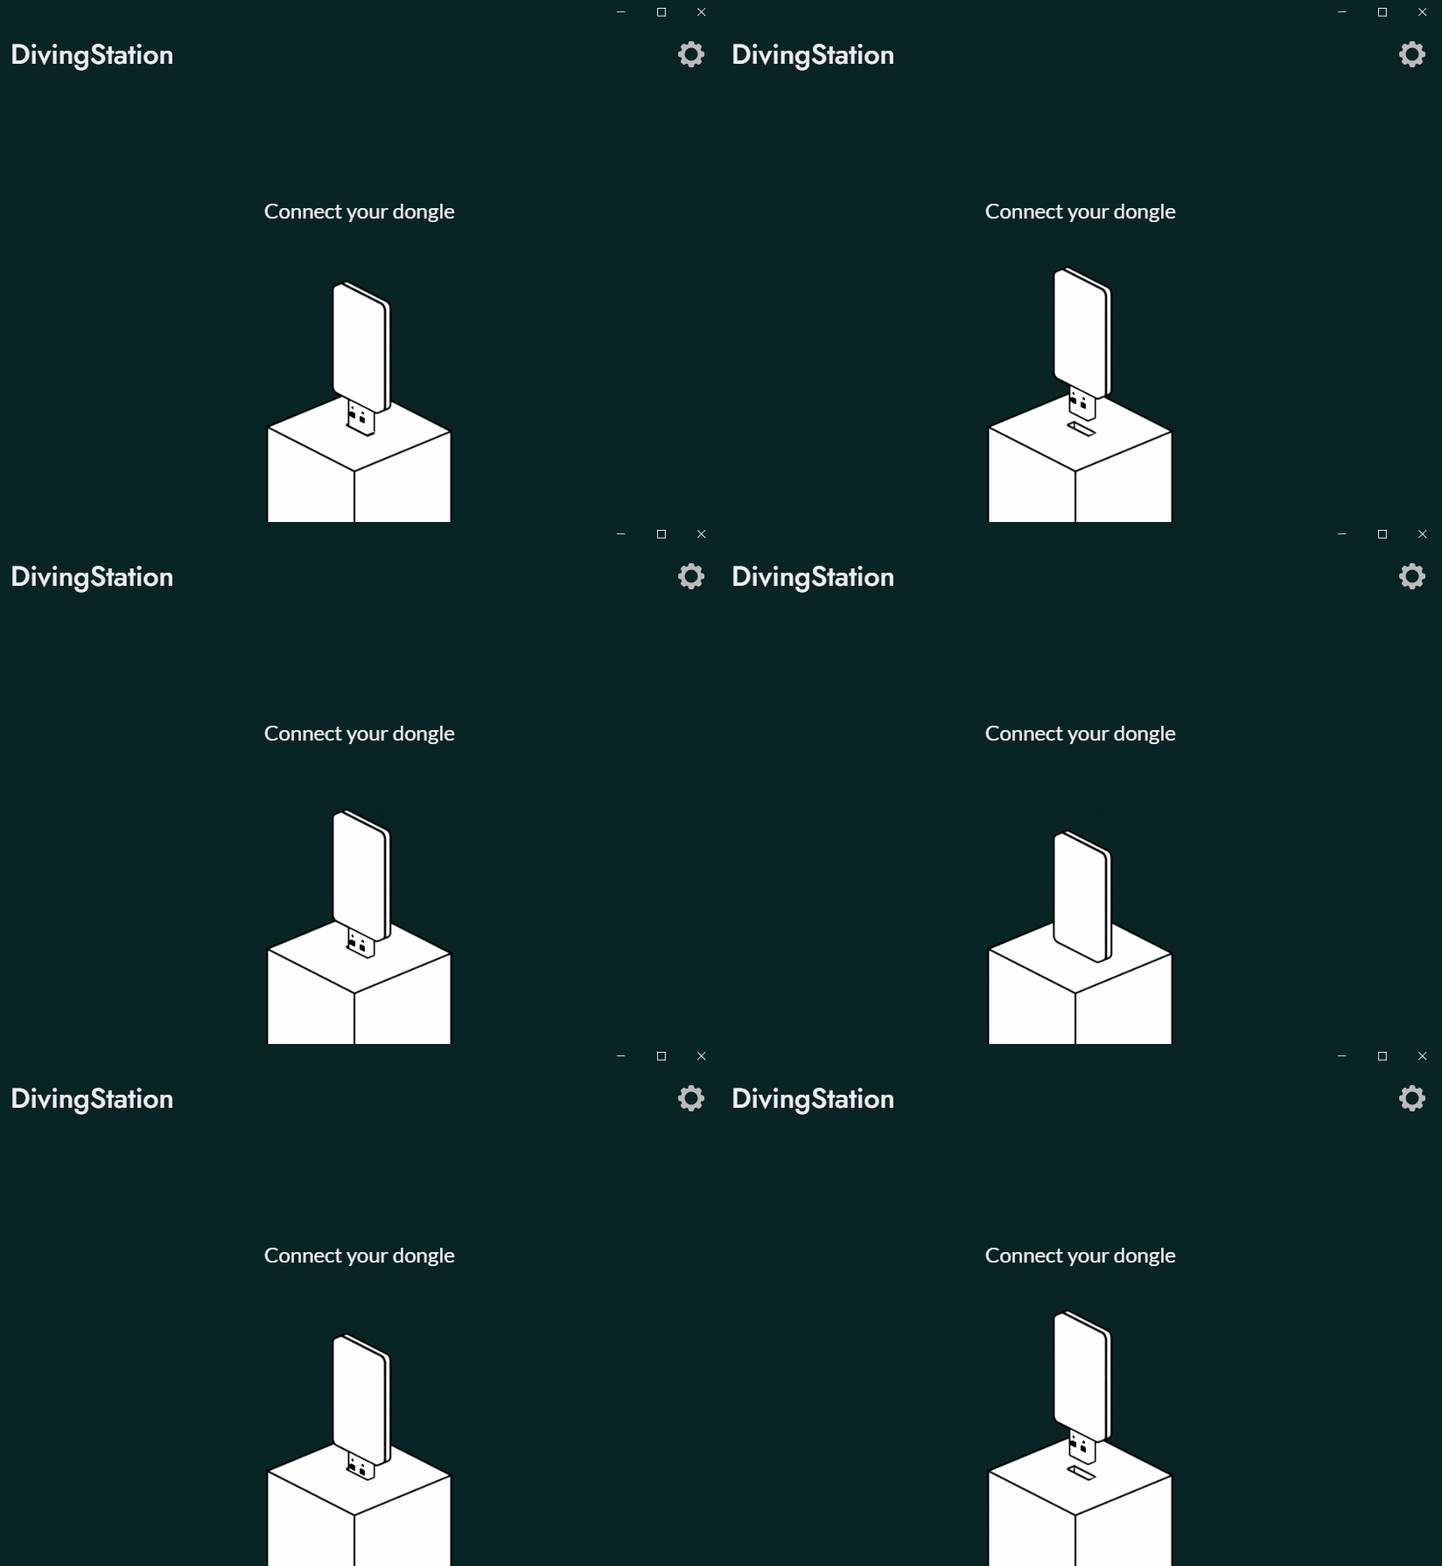
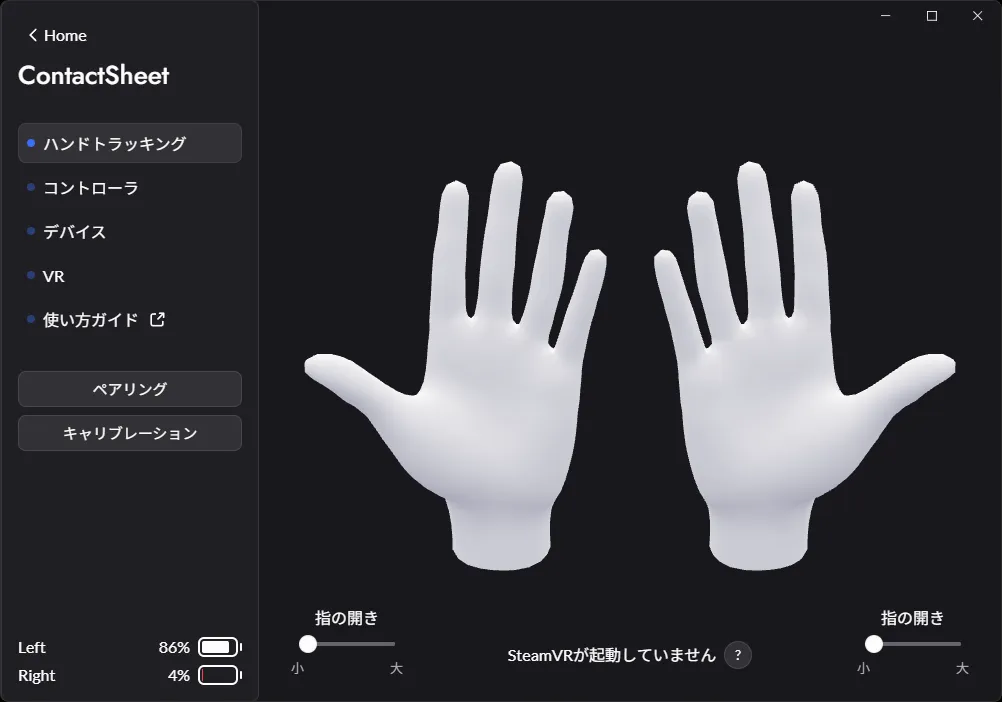
- After the dongle is recognized, select the connected device to display the ContactSheet device main screen.
Pairing
- Press and hold the power button on the ContactSheet main unit to turn on both the left and right sides.
- When the main units flash red and turn on, click "Pairing" from the bottom of the tab menu.
- Follow the on-screen instructions and press and hold the pairing button on the ContactSheet main unit.
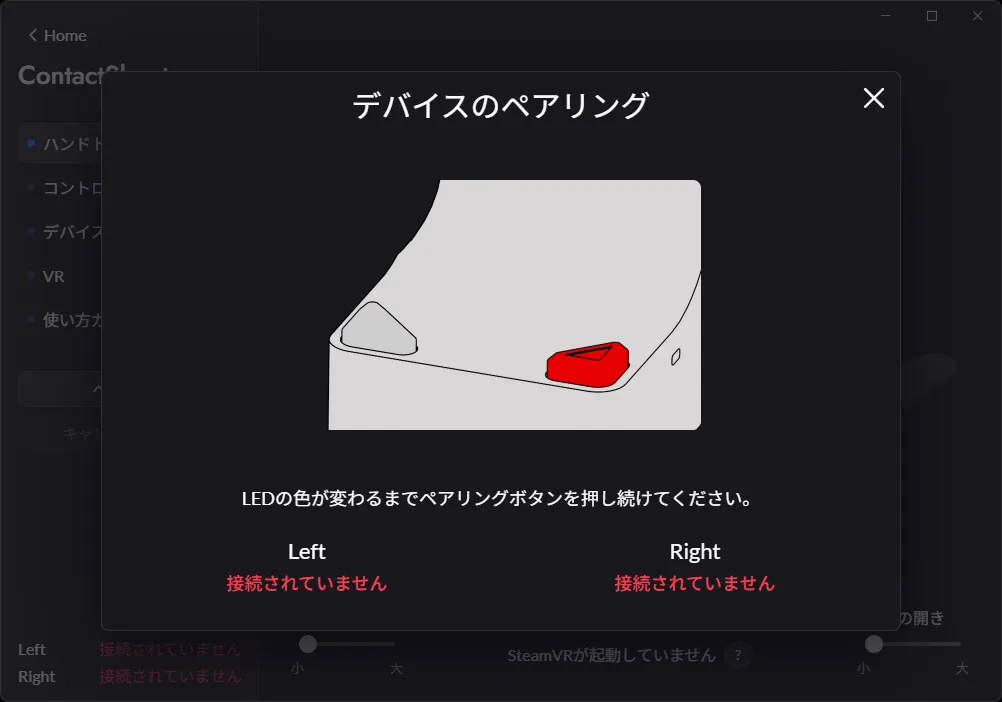
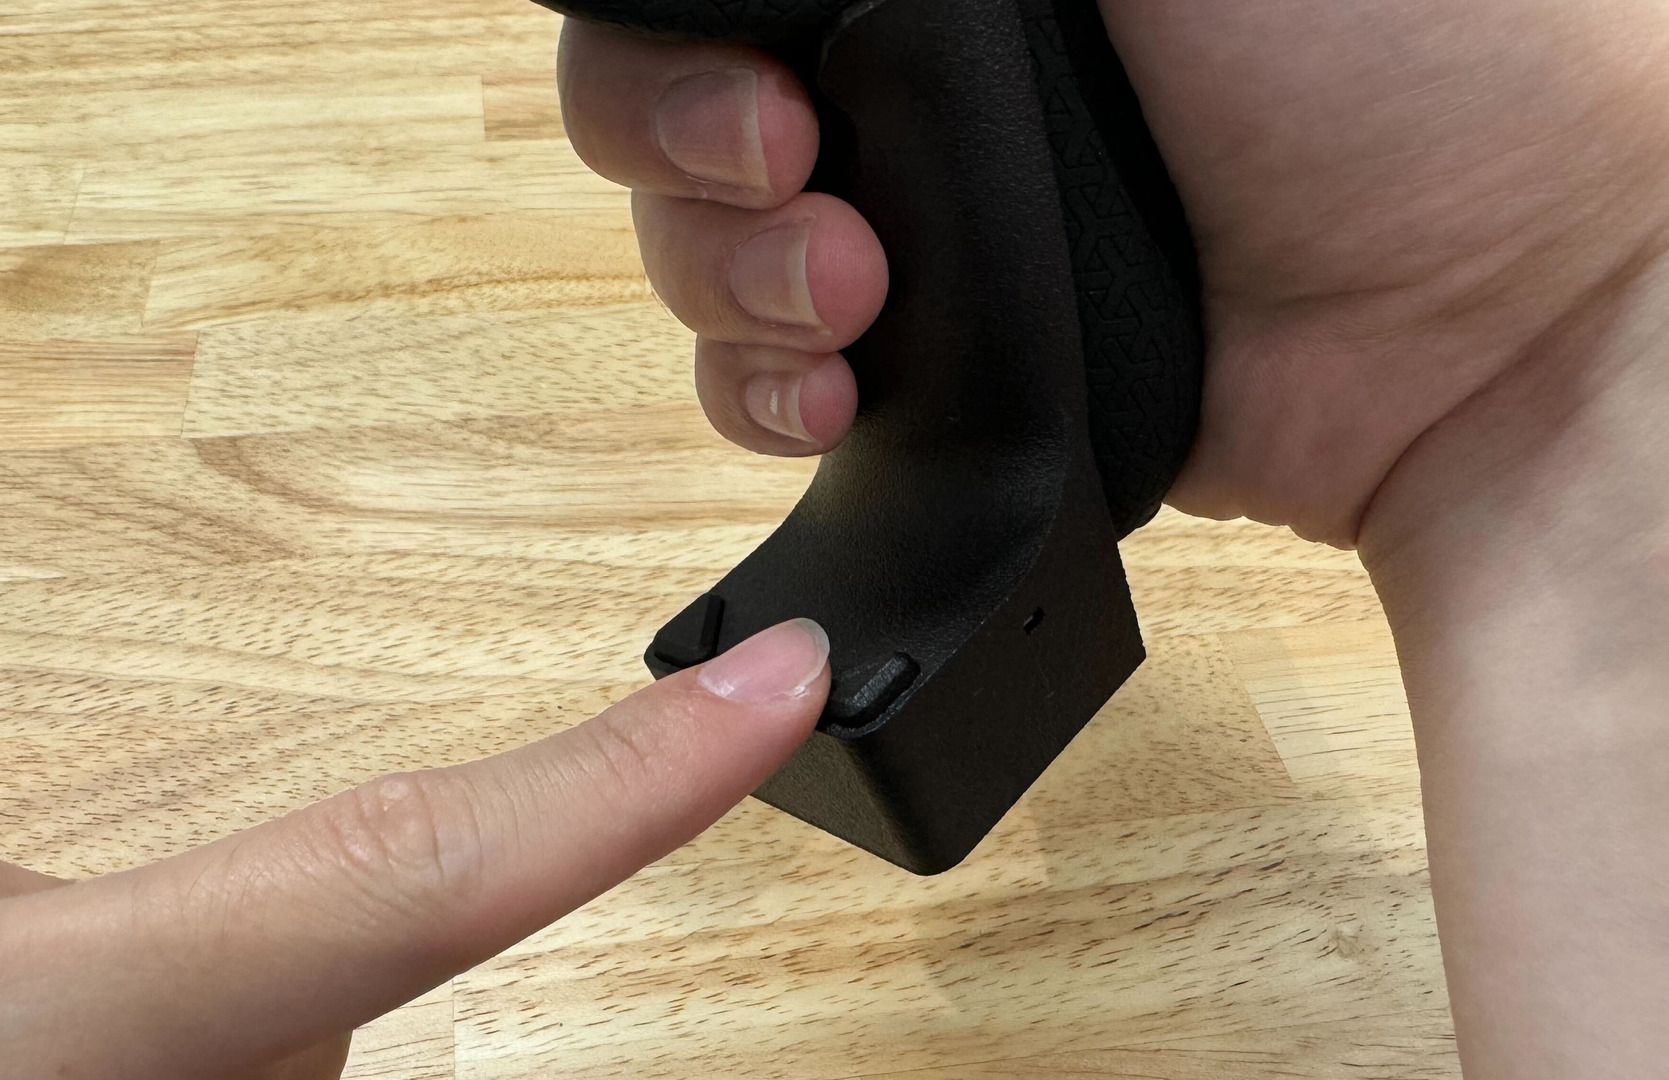
- The light on the ContactSheet main unit will flash yellow, and when pairing is complete, the light will turn solid green, and the connection status on the screen will show as Connected.
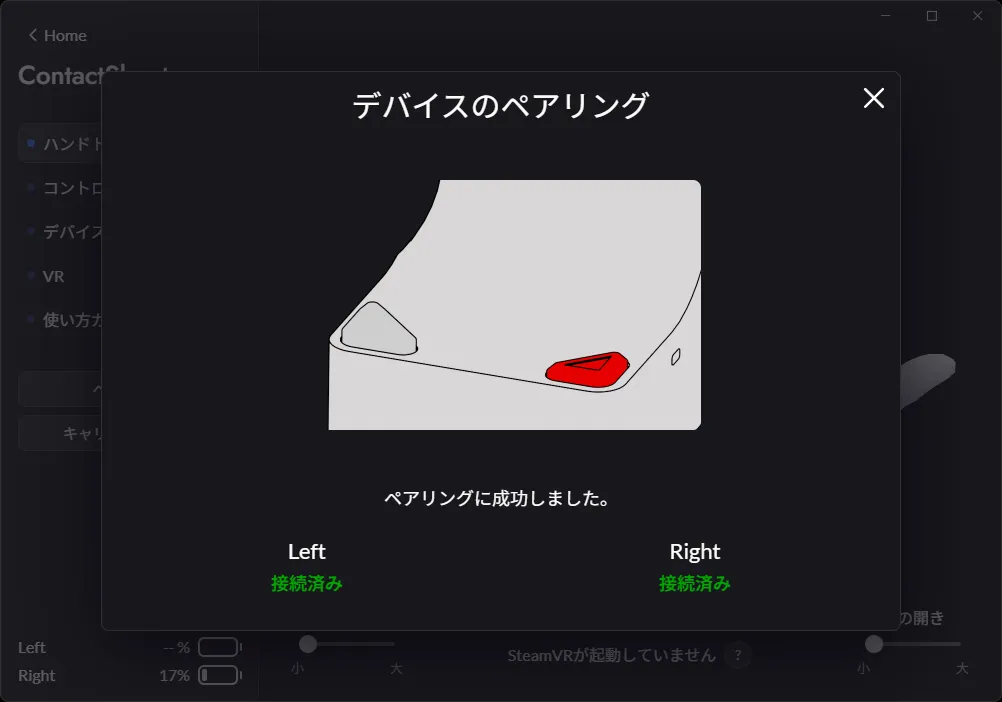
- If the light on the unit turns solid green but the screen does not change
- Close the Device Pairing screen and wait a moment for the connection status to be reflected.
Calibration
- Click "Calibration" from the bottom of the tab menu.
The calibration screen can also be opened by pressing the Space key.
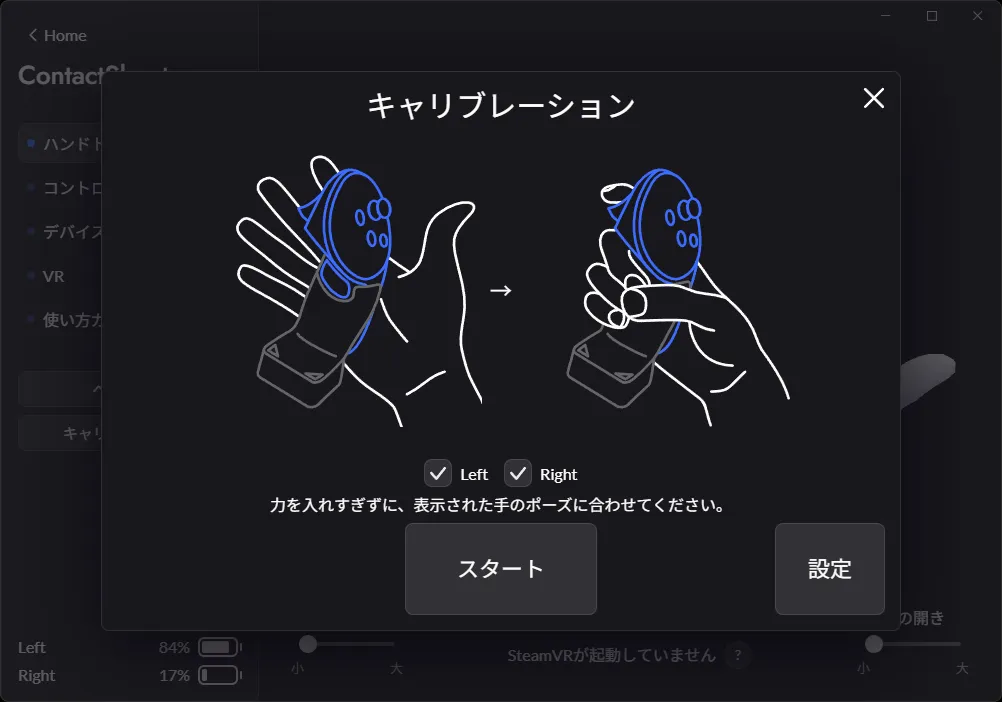
- Select the hand to calibrate and press Start.
- Follow the on-screen instructions to grip the controller with the ContactSheet attached, then press the Start button to calibrate.
Calibration can also be started by pressing the Enter key.
Always attach the controller's included strap and wear it during calibration.
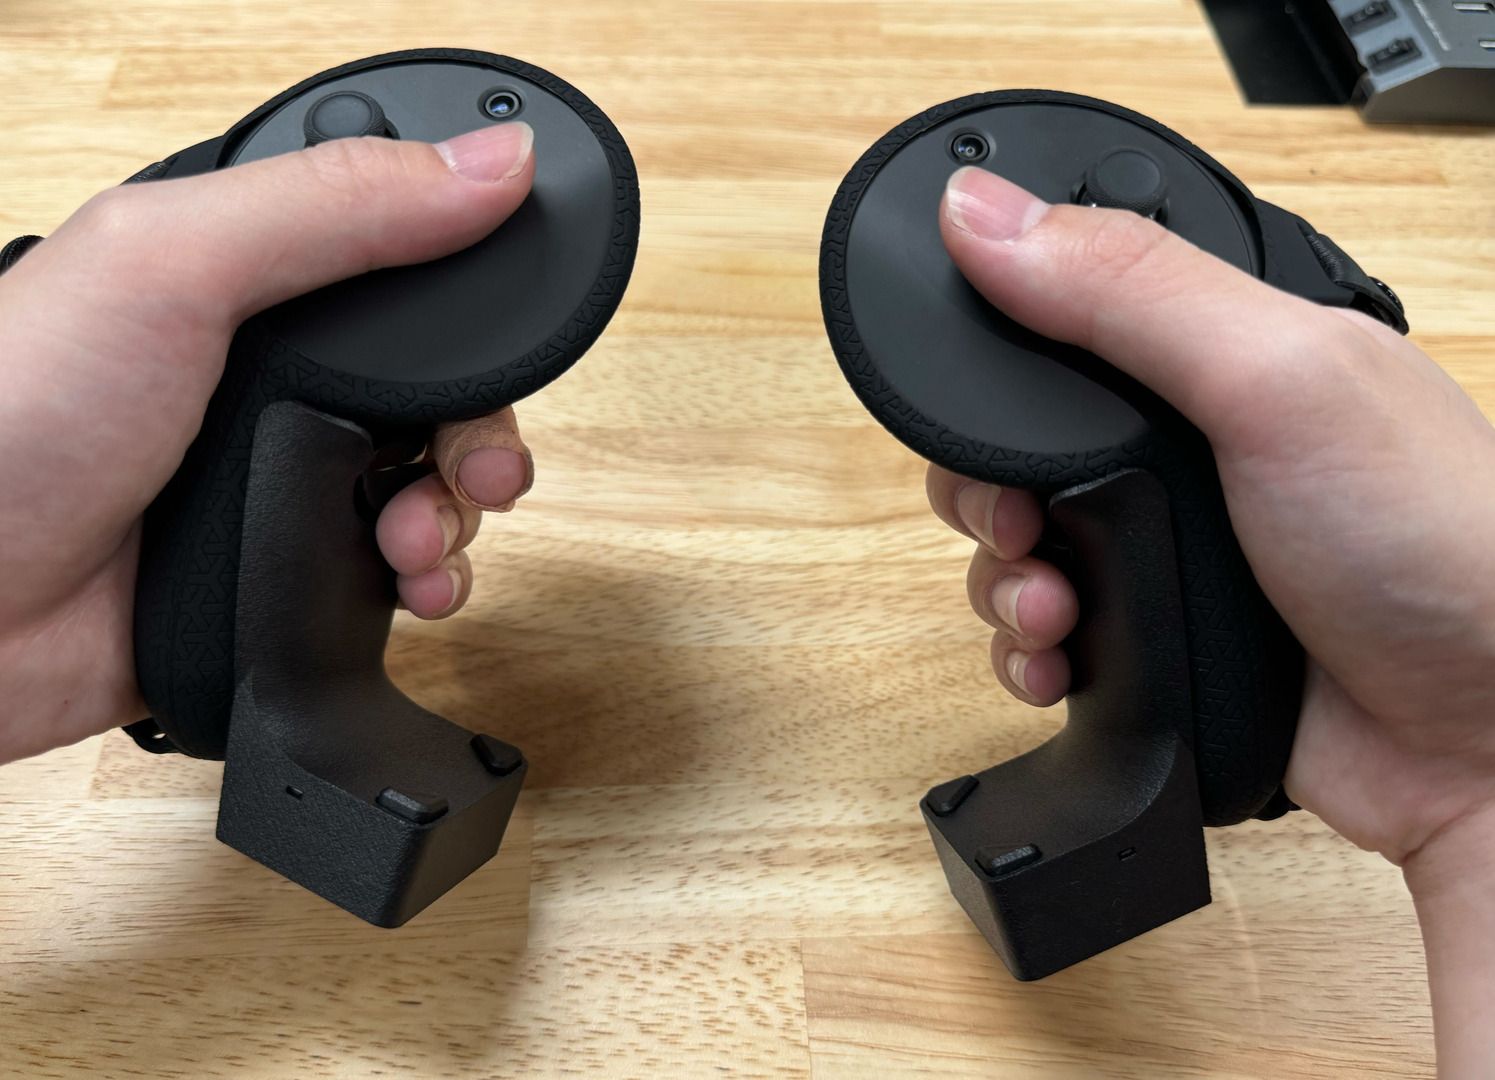
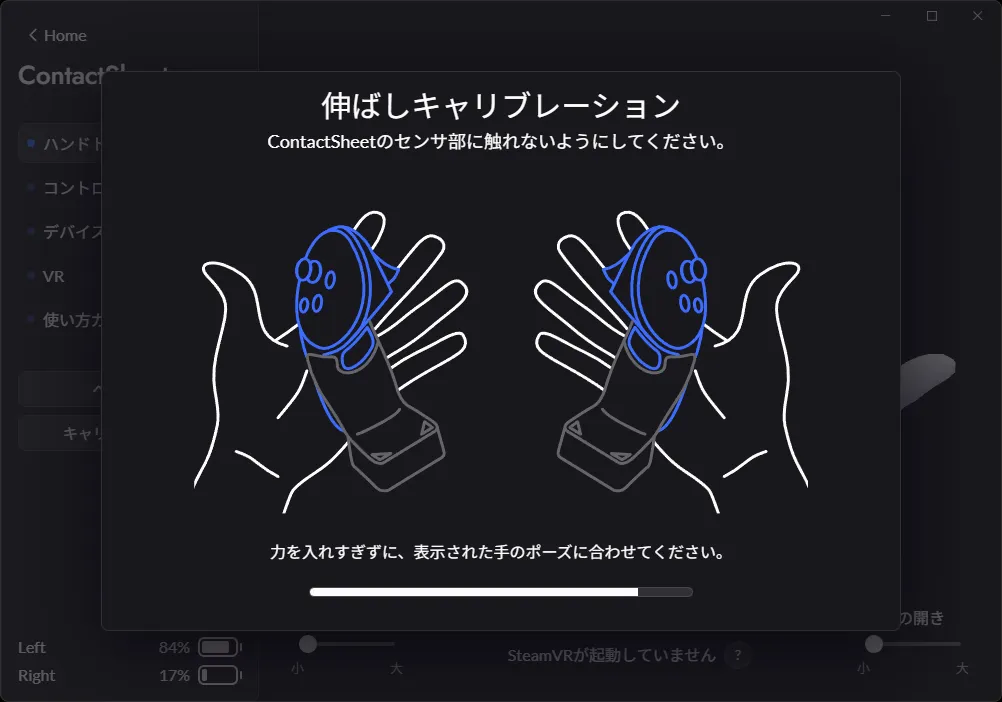
- Perform the extension calibration (fingers straight).
With the strap securely tightened, extend/spread your fingers without touching the ContactSheet main unit.
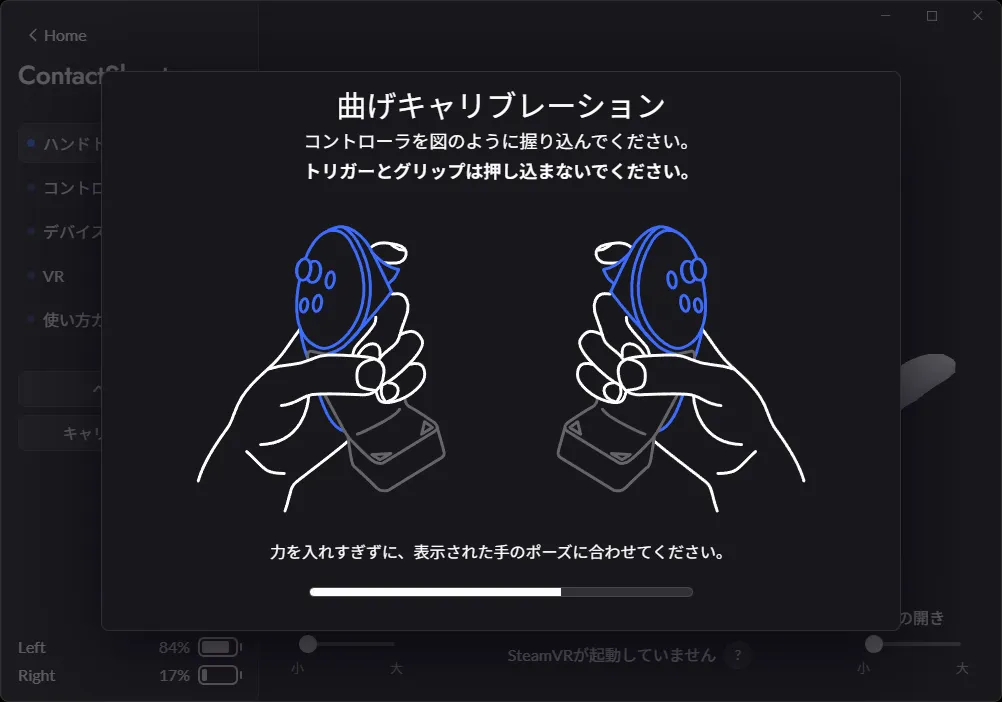
- Perform the flexion calibration (fingers bent).
- Perform this with the strap securely tightened.
- Try to grip the main unit without squeezing the trigger or grip buttons.
- As shown in the image on the screen, curl your thumb in as if making a circle with your thumb and middle finger.
- Calibration works best if you grip while keeping a little space between your middle, ring, and little fingers.
SteamVR Related Settings
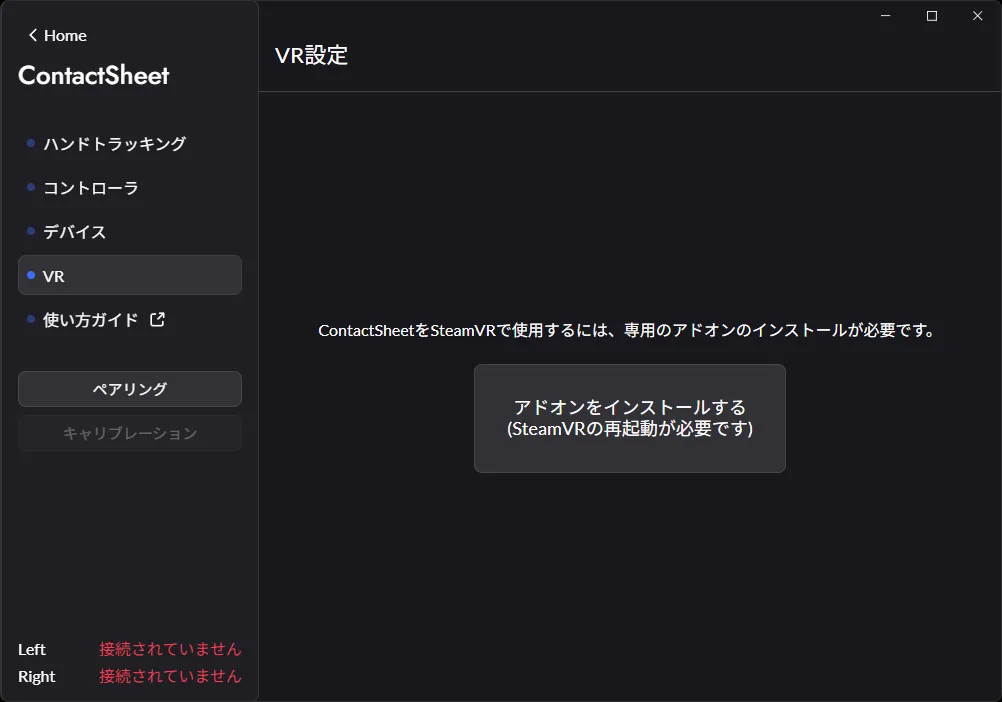
- Select "VR" from the left menu on the screen and install the dedicated add-on.
- Start SteamVR using your preferred PCVR streaming software.
About VirtualDesktop
- Check the box for Streaming > Advanced Options > Track controllers.
- If this is unchecked, the controllers will not be recognized.
- While we experimentally support VirtualDesktop's Index controller emulation, we recommend using it with Streaming > Advanced Options > Forward tracking data to PC > Emulate Index Controllers unchecked.
- If you want to change the bindings for specific SteamVR applications while VirtualDesktop's Index controller emulation is enabled, you can do so with the following steps:
- Turn ON the "Emulate Index Controllers" check.
- Go to SteamVR Settings > Controllers > Show Binding UI.
- Select the application in the binding UI.
- Confirm that the current controller is listed as "Index Controller".
- Change the application bindings.
- If you want to change the bindings for specific SteamVR applications while VirtualDesktop's Index controller emulation is enabled, you can do so with the following steps:
- In the SteamVR status window, confirm that the ContactSheet icon is lit and that the Quest controller (with ContactSheet attached) icon is off.
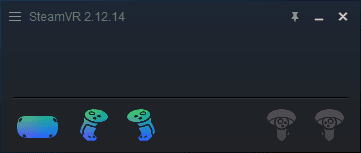
- It will be detected as a Valve Index controller in SteamVR.
- Confirm that controller input and hand tracking are working in your SteamVR content.
Regarding Controller Input
Although it appears as an Index controller in SteamVR, the controller input conforms to the Quest 2/3/Pro controllers. More details below:
-
Trigger and Grip input in SteamVR
- Input is only registered when you press the Trigger/Grip buttons on the Quest 2/3/Pro controller.
- = Squeezing only the ContactSheet unit will not register Trigger and Grip input.
-
ThumbPad input in SteamVR
-
You can input trackpad touch and force using the Quest controller's touchpad (Thumbrest) and the ContactSheet's thumb sensor.
-
When touching the touchpad: Touch=ON, Force=0
-
When touching the ContactSheet's thumb sensor: Touch=ON, Force=1
Regarding Gestures in VRChat
- Specifications for gestures and inputs:
- ContactSheet sensors (excluding thumb): Bending of index to little finger, up to the middle joint.
- Quest 2/3/Pro controller Trigger: Bending of the index finger from the middle joint to a full fist.
- Quest 2/3/Pro controller Grip: Bending of the middle to little fingers from the middle joint to a full fist.
- Quest 2/3/Pro controller A/B/Joystick touch sensors: Thumb bend.
- GestureWeight value (for Fist): Controlled by the Trigger amount of the Quest 2/3/Pro controller.
Regarding switching between ContactSheet+Quest Controller ⇔ Quest Controller only
- You can switch to using only the Quest controller by turning off the ContactSheet's power.